Teacher Help Center
Welcome to the Teacher Help Center. Here you’ll find step-by-step guides to help you set up your classroom, run a smooth book project, and celebrate your students as published authors. Whether you’re just getting started or looking for a quick how-to, everything you need is right here.
👩🏫 Create a Teacher Account
📘 How to Make Your First Book
📚 Setting up your class and getting started
Teacher Onboarding
This guide walks you through the full teacher onboarding flow on Build My Story, starting from selecting your role and grade level to creating your first classroom and setting up a class project with a start date.
Select Grade Level
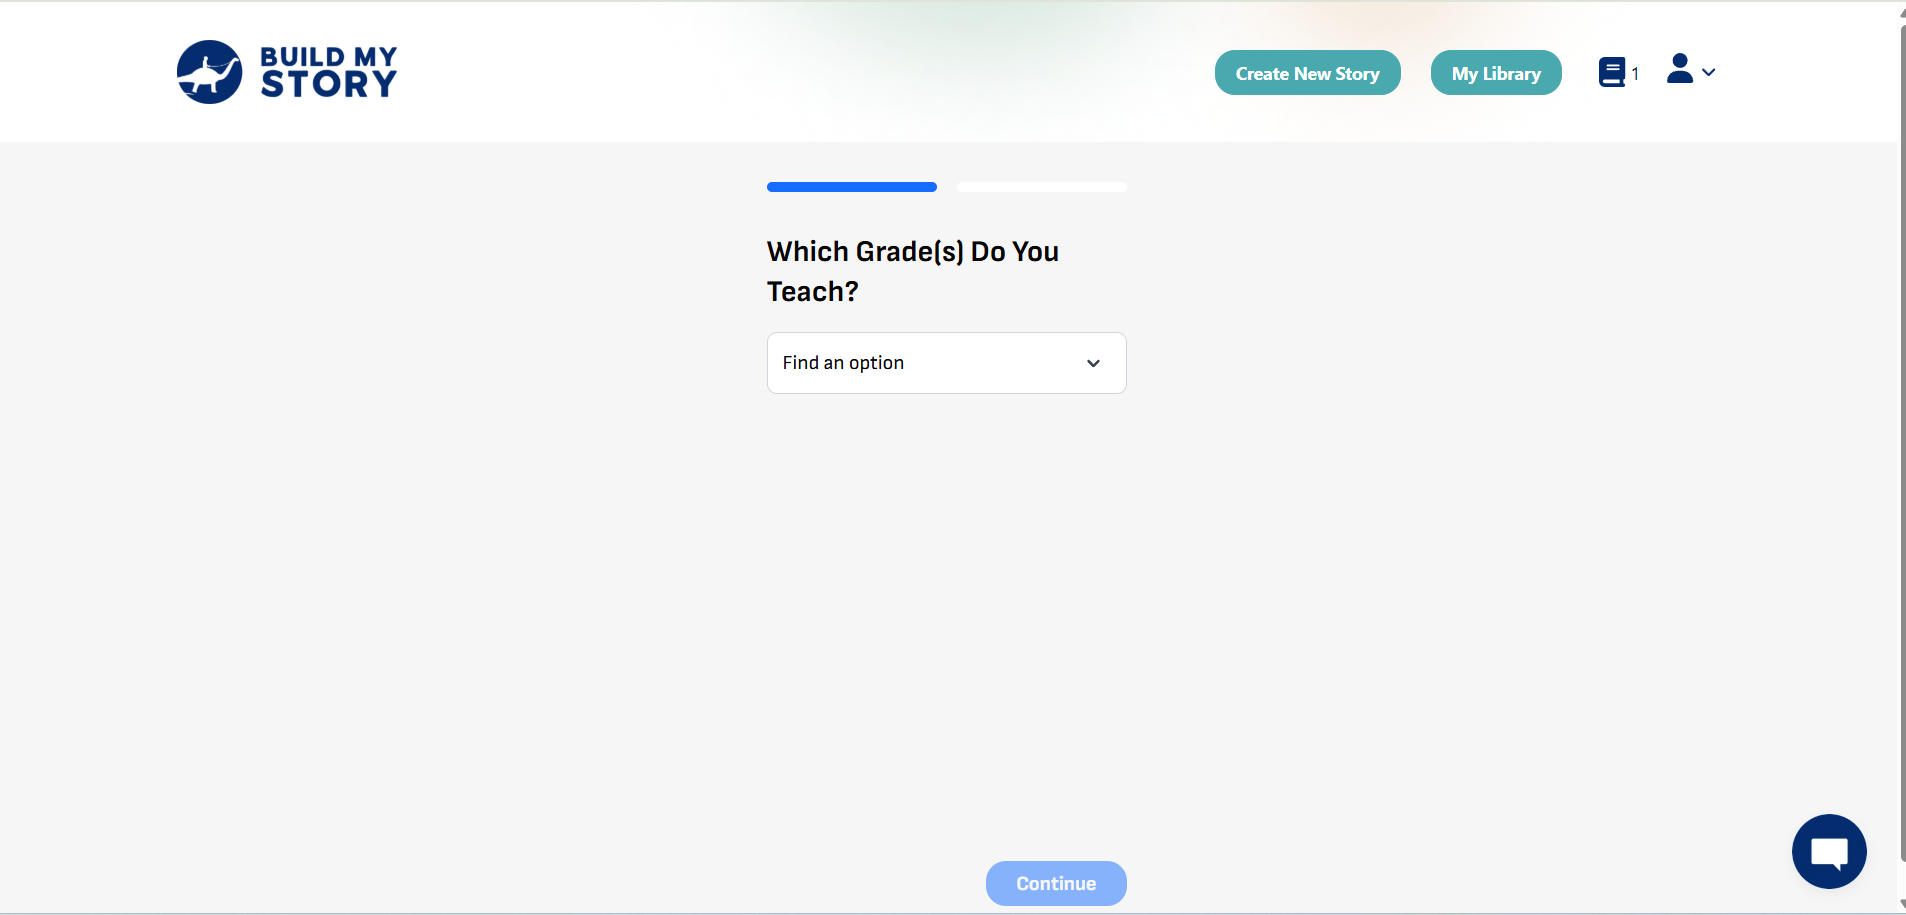
Choose the grade level(s) for your class. This helps tailor the experience for your students and ensures age-appropriate prompts and guidance throughout the book-making process.
Number of Students
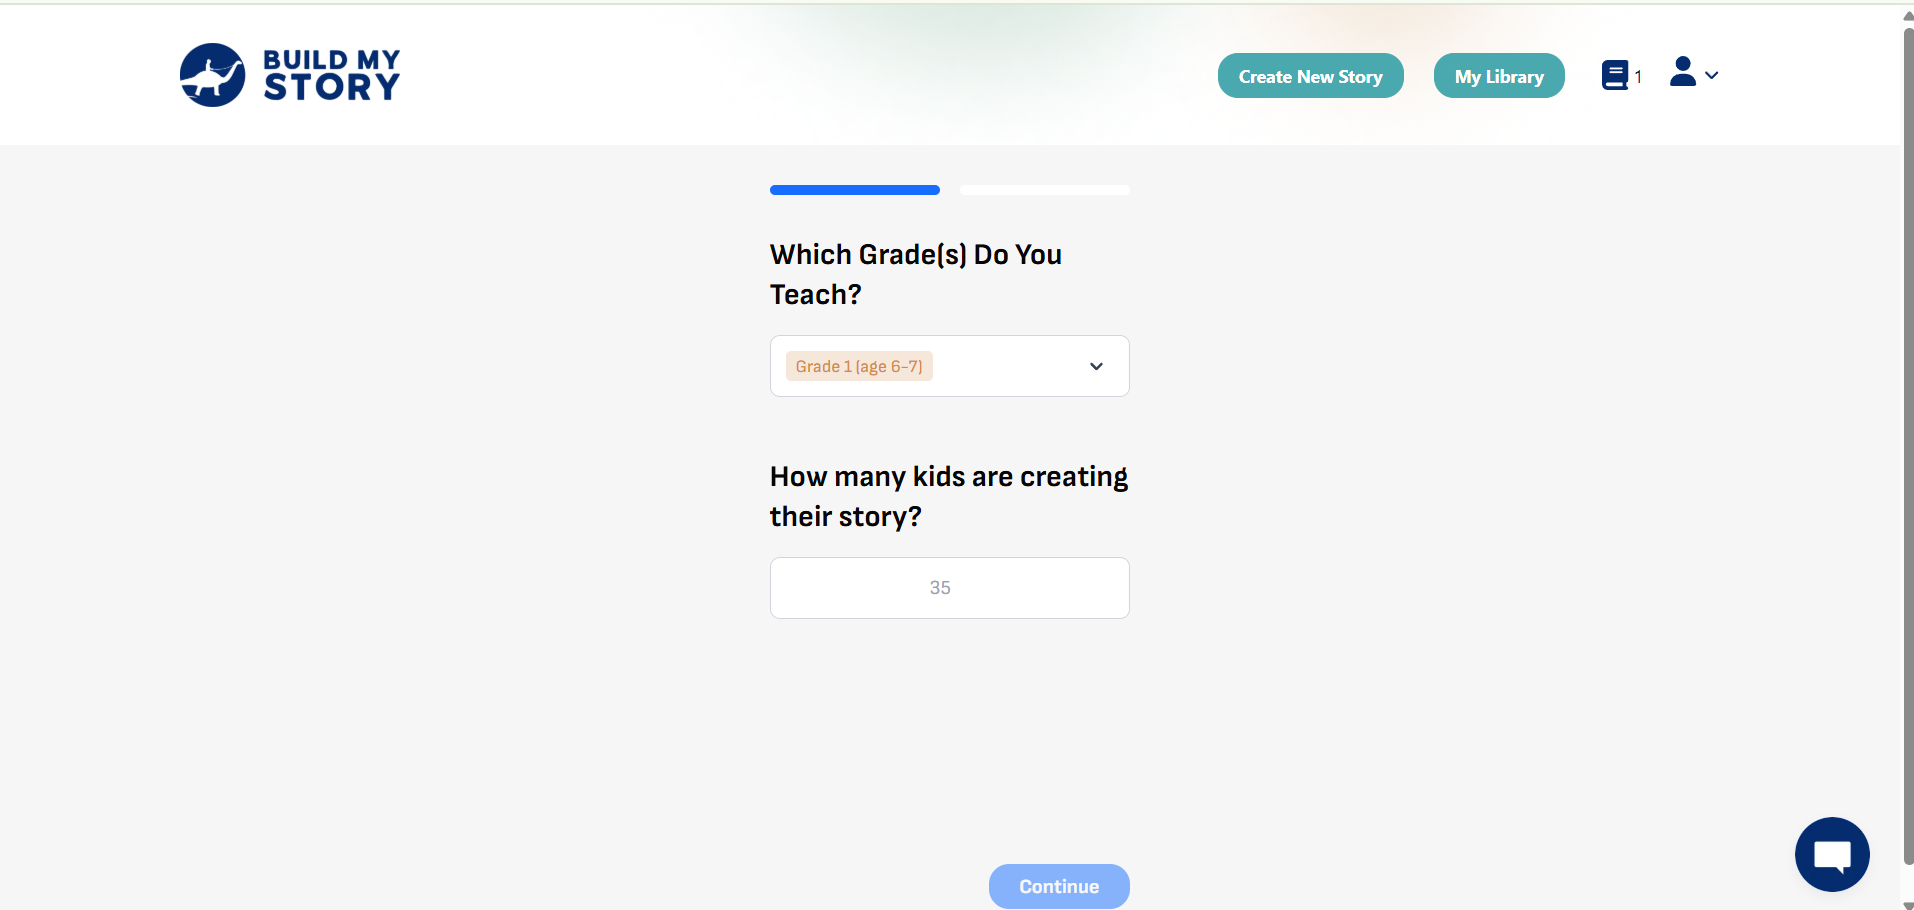
Enter how many students will participate. We use this to prepare your dashboard and track progress.
Classbook or Individual Books
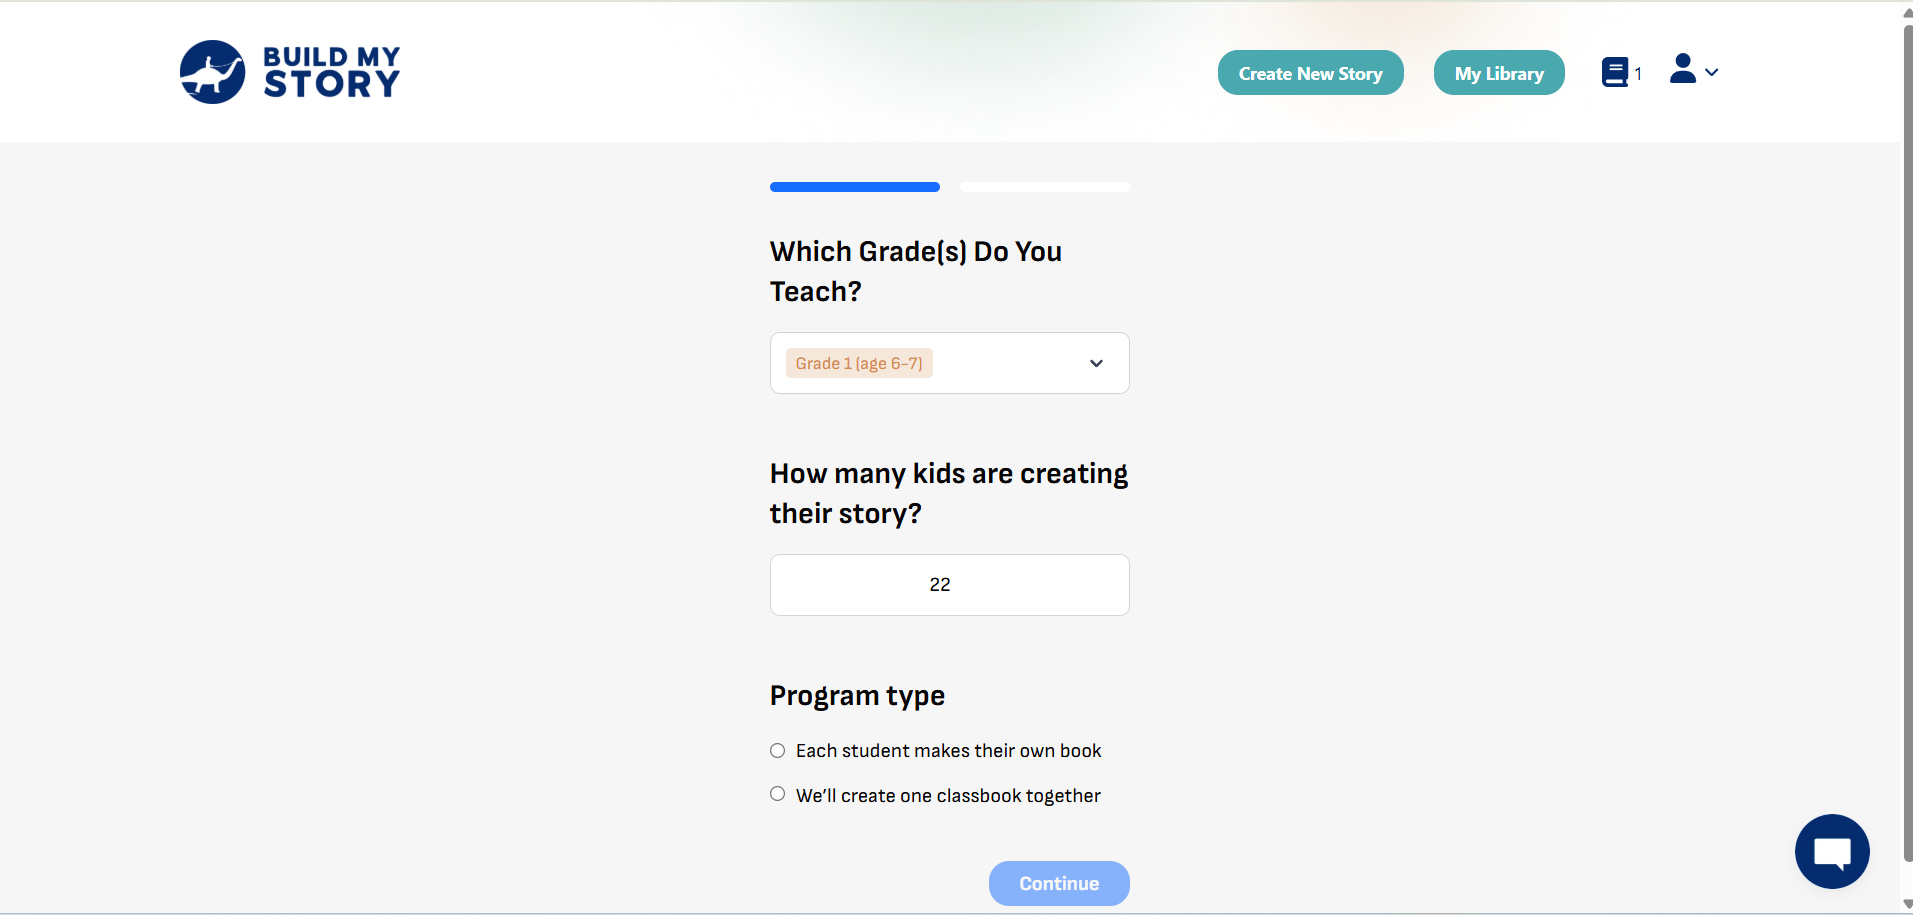
Pick a project format. Classbook means one shared book. Individual means each student creates their own. This choice is for internal setup and planning. You can change your mind later if needed.
Enter Your School Name and Shipping Address
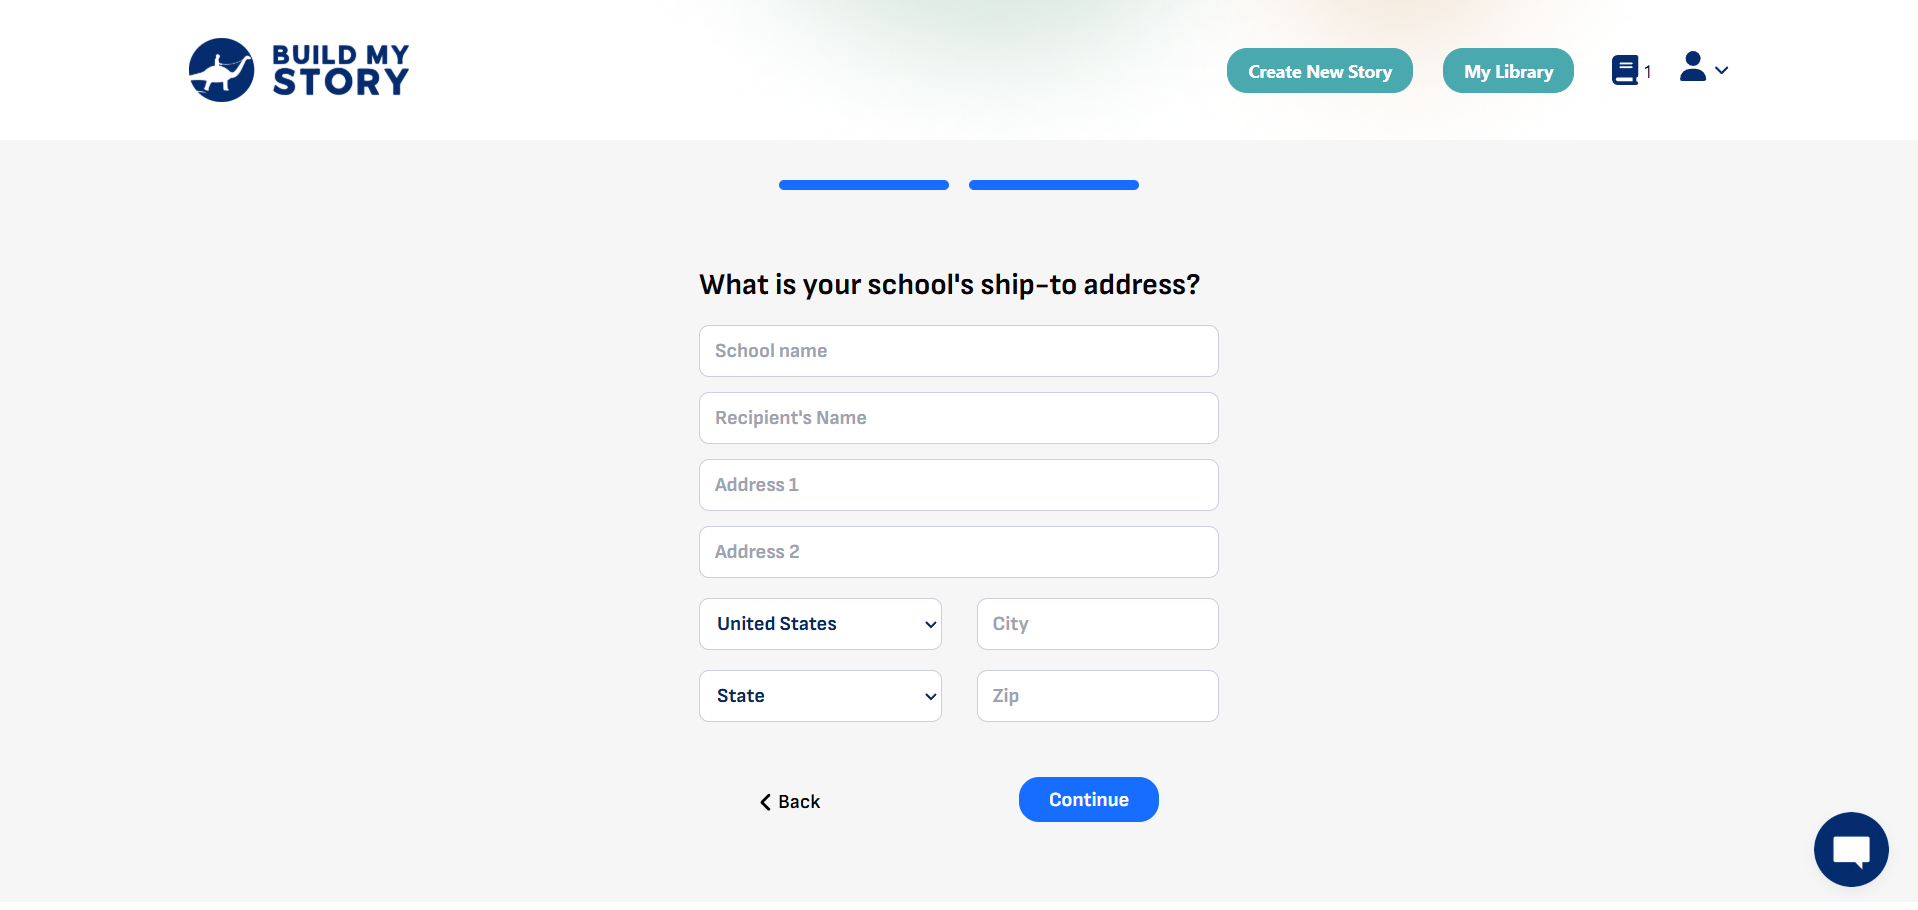
Add your school name and delivery address. We use this for printing and shipping physical books and for keeping your records accurate.
Create a Classroom
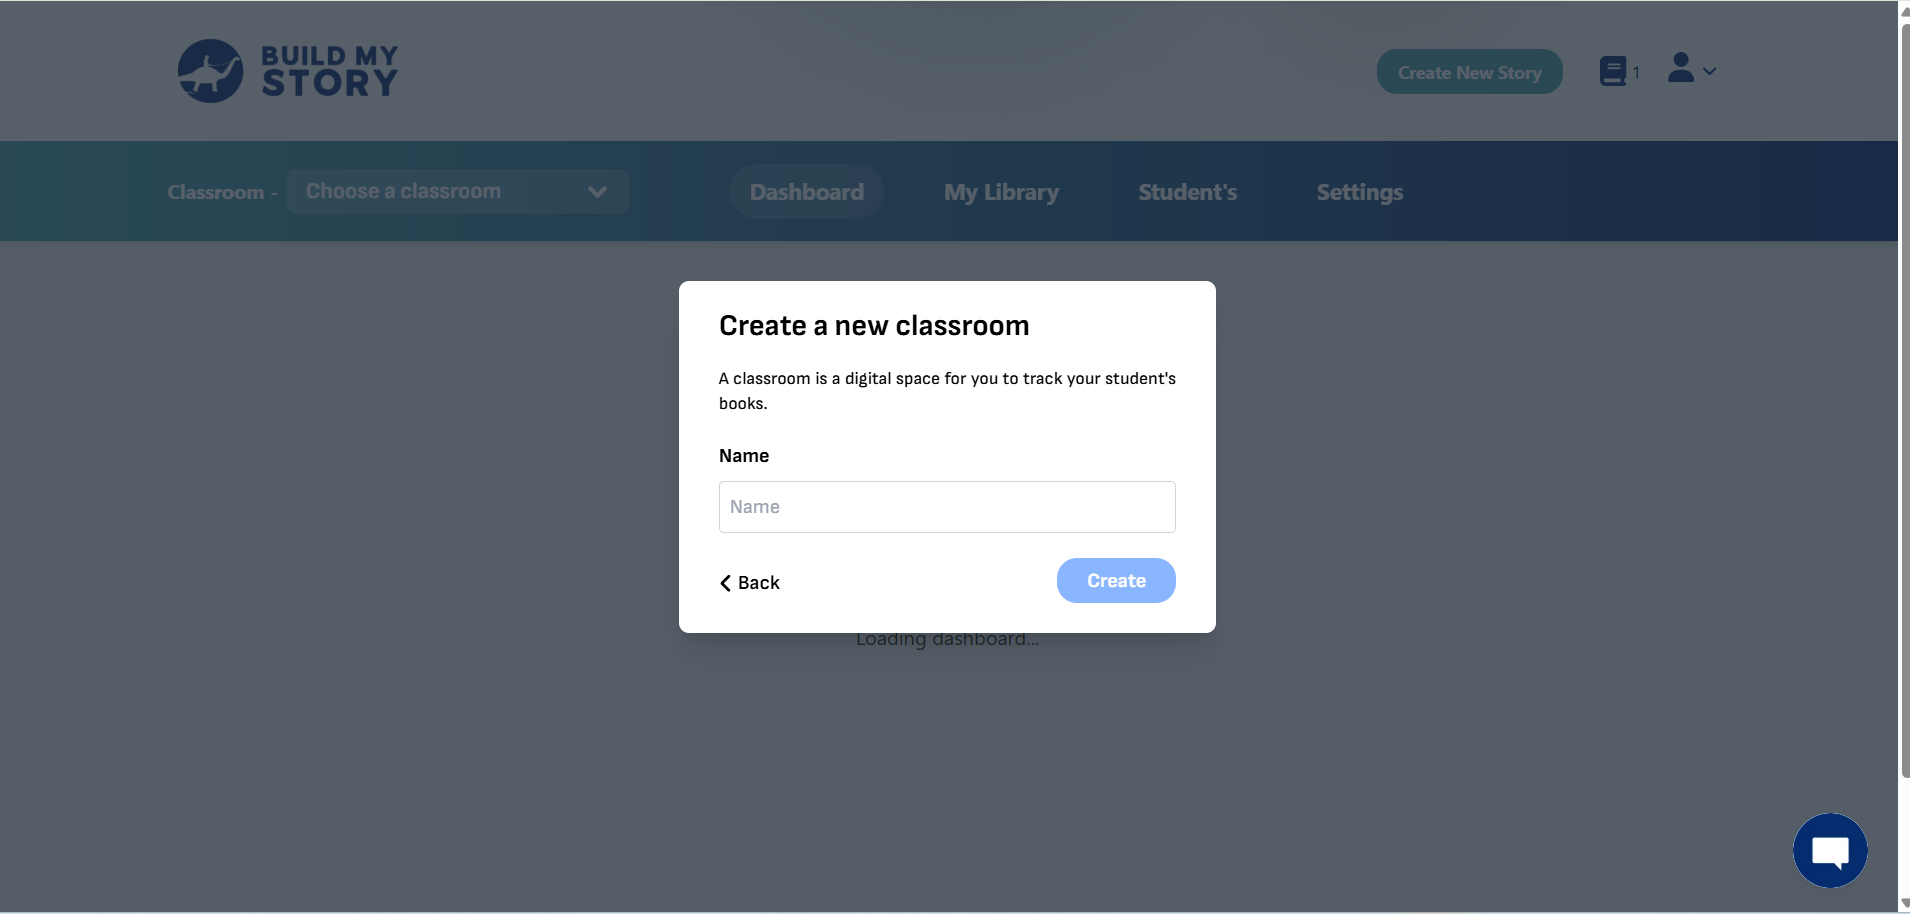
Choose any name that works for you, such as “Bluebirds,” “Room 12,” or “Mrs. Lopez’s Class.” This helps you stay organized, especially if you decide to create more classrooms later. You can add additional classrooms at any time.
After naming your classroom, click Create to proceed.
Select a Start Date
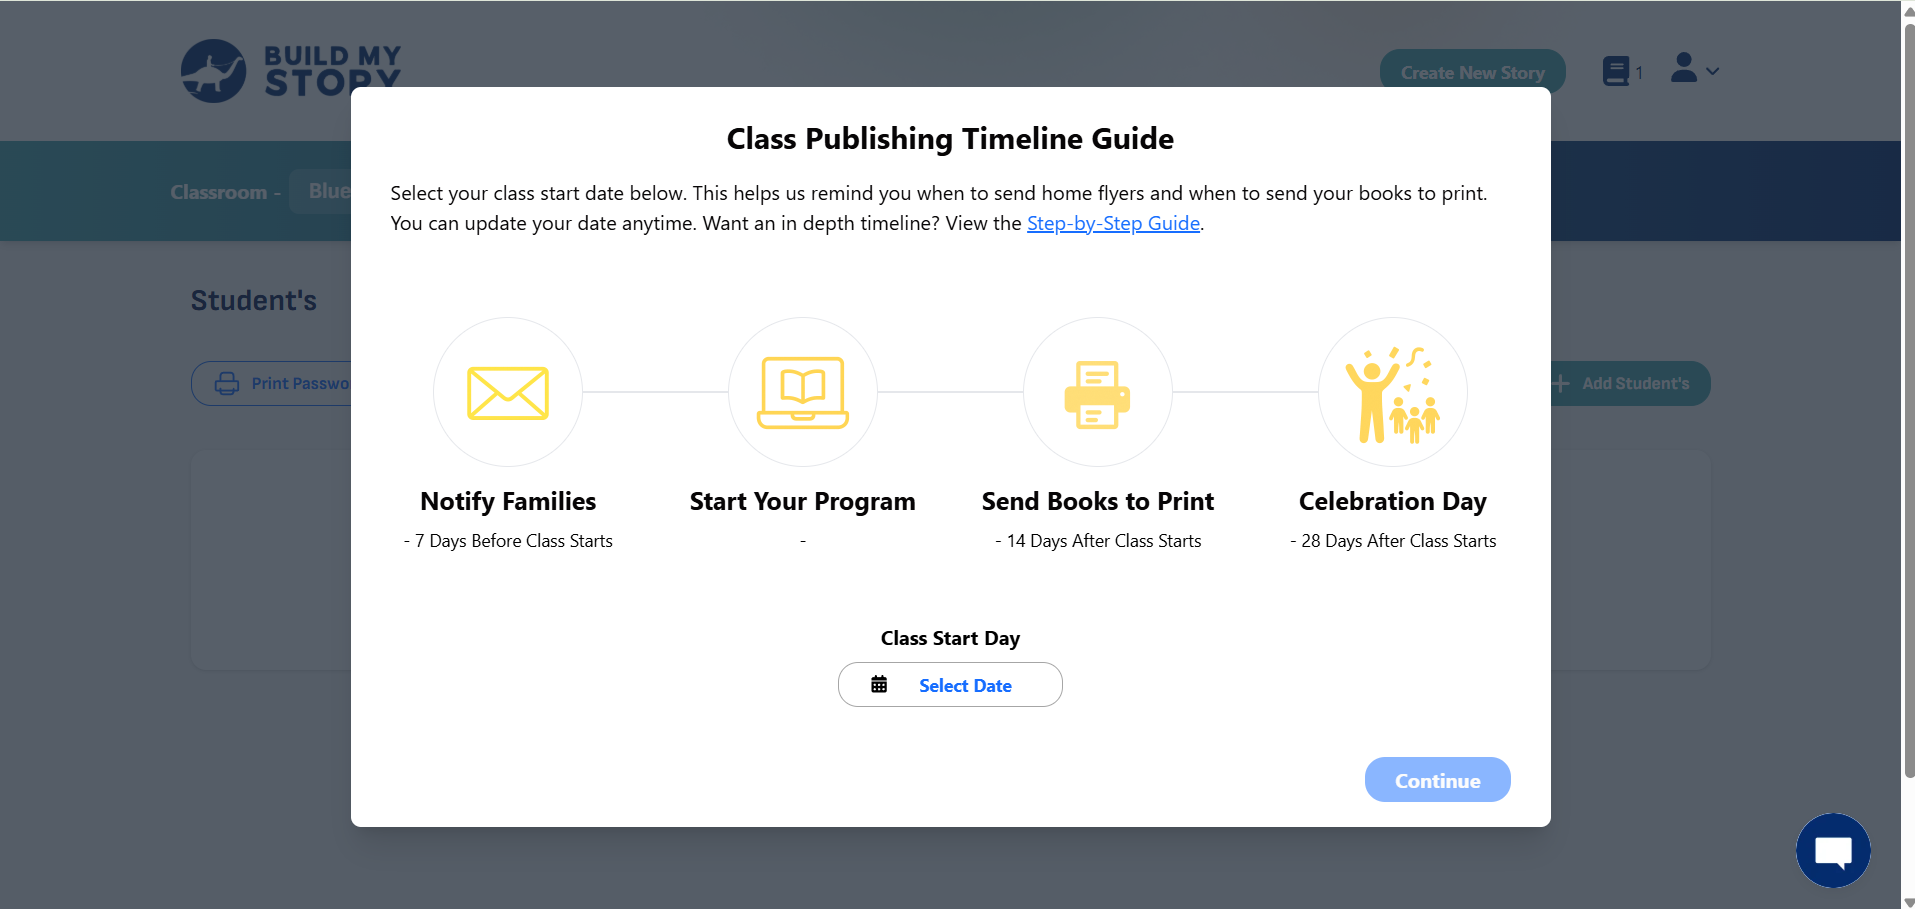
Choose when you want the project to begin. This helps schedule reminders and keep your class on track.
Add Students
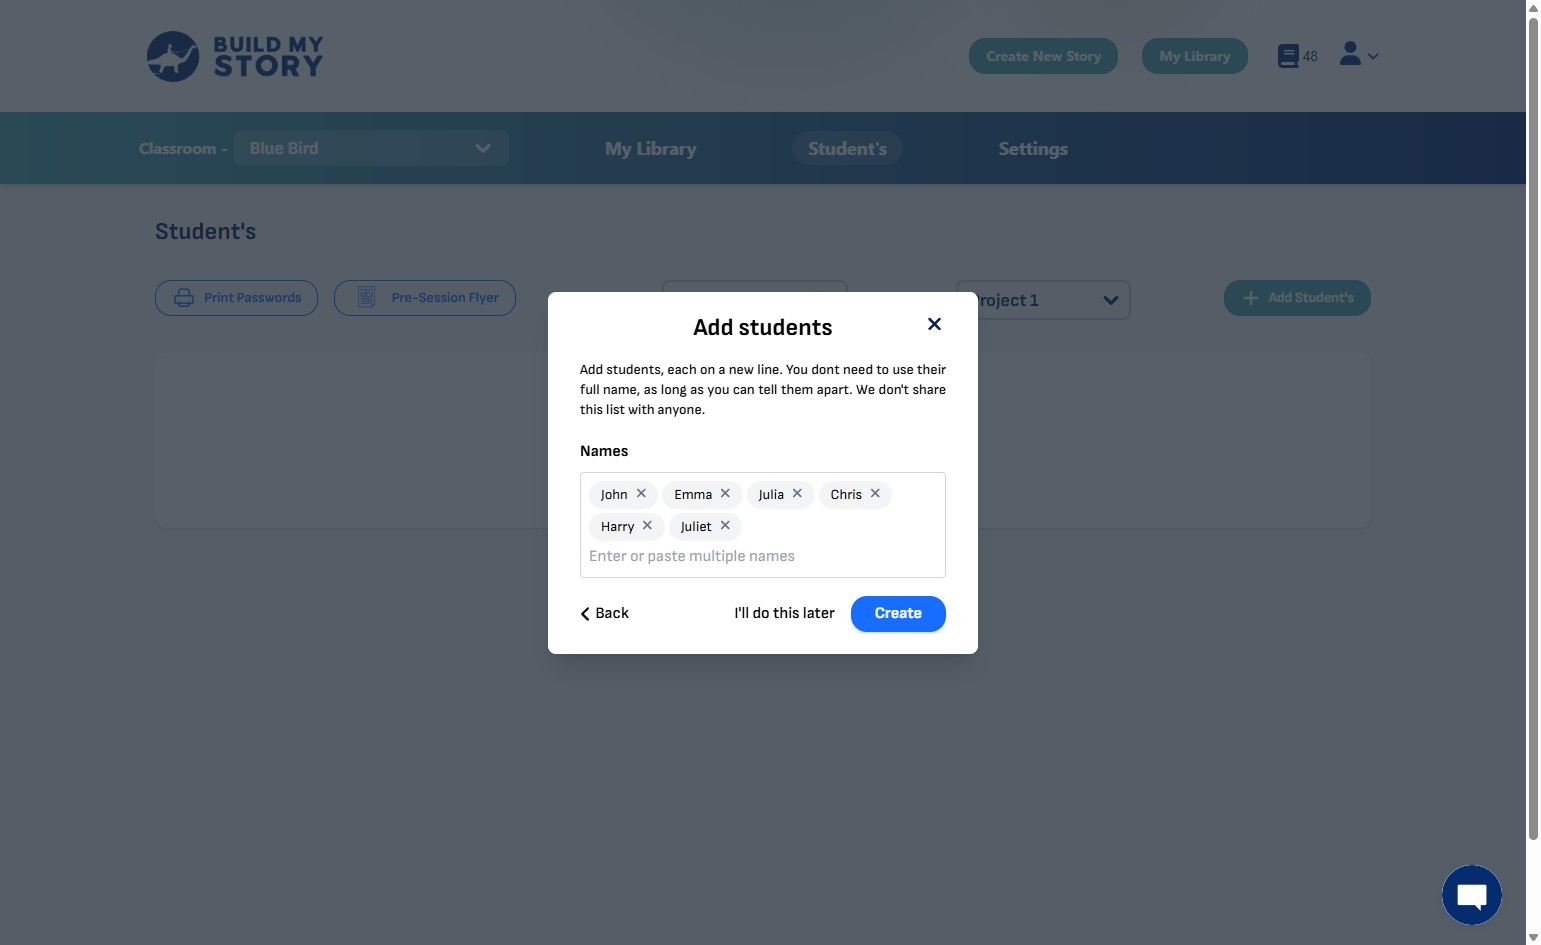
Enter your students’ names, one per line. You don’t need full names, just enough to tell them apart. This list is private and won’t be shared with anyone.
If two students have the same first name, add a letter to distinguish them:
JohnA, JohnB
EmmaL, EmmaT
ChrisM, ChrisT
You can also add your students automatically if your school uses Clever by connecting your account and importing your roster.
When you’re ready, click Create to add your classroom.
Or, if you prefer to add students later, click I’ll do this later to skip this step for now.
Story Details
In this section, you’ll set up the key parts of your students’ books — including character name, reading level, artwork style, and how the story will be created.
You can choose between two paths for creating stories:
- Help Me Write My Story – Students get guided prompts and worksheets to build their story step-by-step.
- I Want to Write It Myself – Students write their story independently, with optional blank worksheets for planning.
Once you choose a path, the steps below will guide you through completing the story details for that option.
Choose Your Character Name

Enter the name of your story’s main character. This can be a student’s name, a made-up name, or even a fun nickname. The character name will appear throughout the book and can help make the story more personal.
Select Reading Level

Estimated Word Count Per Page: 10
Designed for early learners who are just beginning to explore text. Sentences are simple, repetitive, and supported heavily by images. Great for preschool or kindergarten students, or any child not yet reading independently.
Estimated Word Count Per Page: 40
Ideal for young readers who are starting to read short sentences on their own. Books use simple vocabulary and straightforward sentence structure. Suitable for early primary grades (typically ages 5–7).
Estimated Word Count Per Page: 60
For confident readers who can read full paragraphs with some support. This level introduces more complex ideas and vocabulary while keeping the content age-appropriate. Best for mid-to-late primary grades (ages 7–10).
Estimated Word Count Per Page: 80
Choose this if the story is being written by an adult or for an adult reader. Includes longer, more descriptive language and assumes a higher reading comprehension level. Often used by educators or parents writing as a sample or keepsake.
Choose Artwork Style
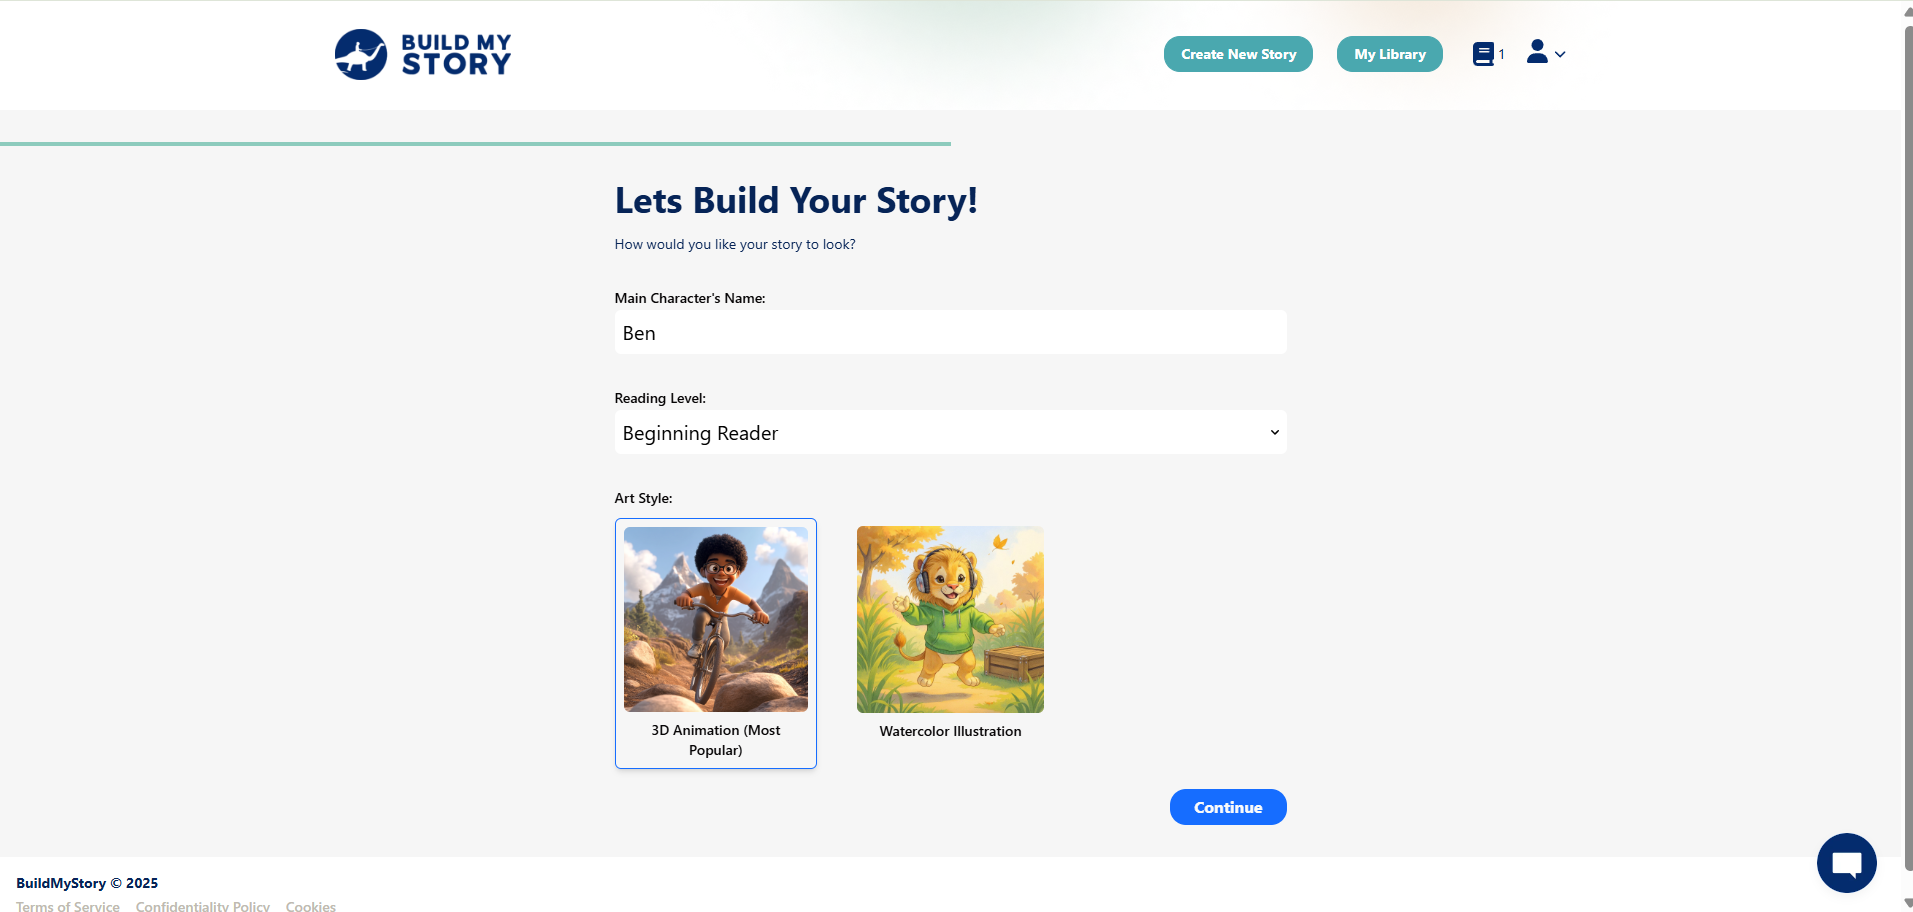
Pick the style of illustrations you want in the book. This could be a 3D animation or a watercolor illustration. The chosen style will be used for all images in your story.
Story Assignment Overview
Decide how your students will create their stories. You can choose a guided option where we help write the story, or a fully independent option where students write it themselves. Each has its own steps below.
You will need to tell students which option to select, depending on the way you have planned the class.
Assignment Type 1: Help Me Write My Story
This guided option is designed for students who may find it hard to get their ideas down on paper and need a little Build My Story support along the way. They will still learn key storytelling skills, but with extra prompts, planning sheets, and encouragement to help them bring their ideas to life.
It’s also perfect if you and your students want a fun experience where you get creative starting from just a few lines of thought. Through a step-by-step process, students choose characters, settings, and plot details while we help turn their ideas into a complete story.
The story can be edited later, so students can refine or improve their work after the first draft is created. Teachers can use our ready-made worksheets, adapt class materials, or create their own to make the experience personal and engaging.
Using Worksheets (Help Me Write My Story)
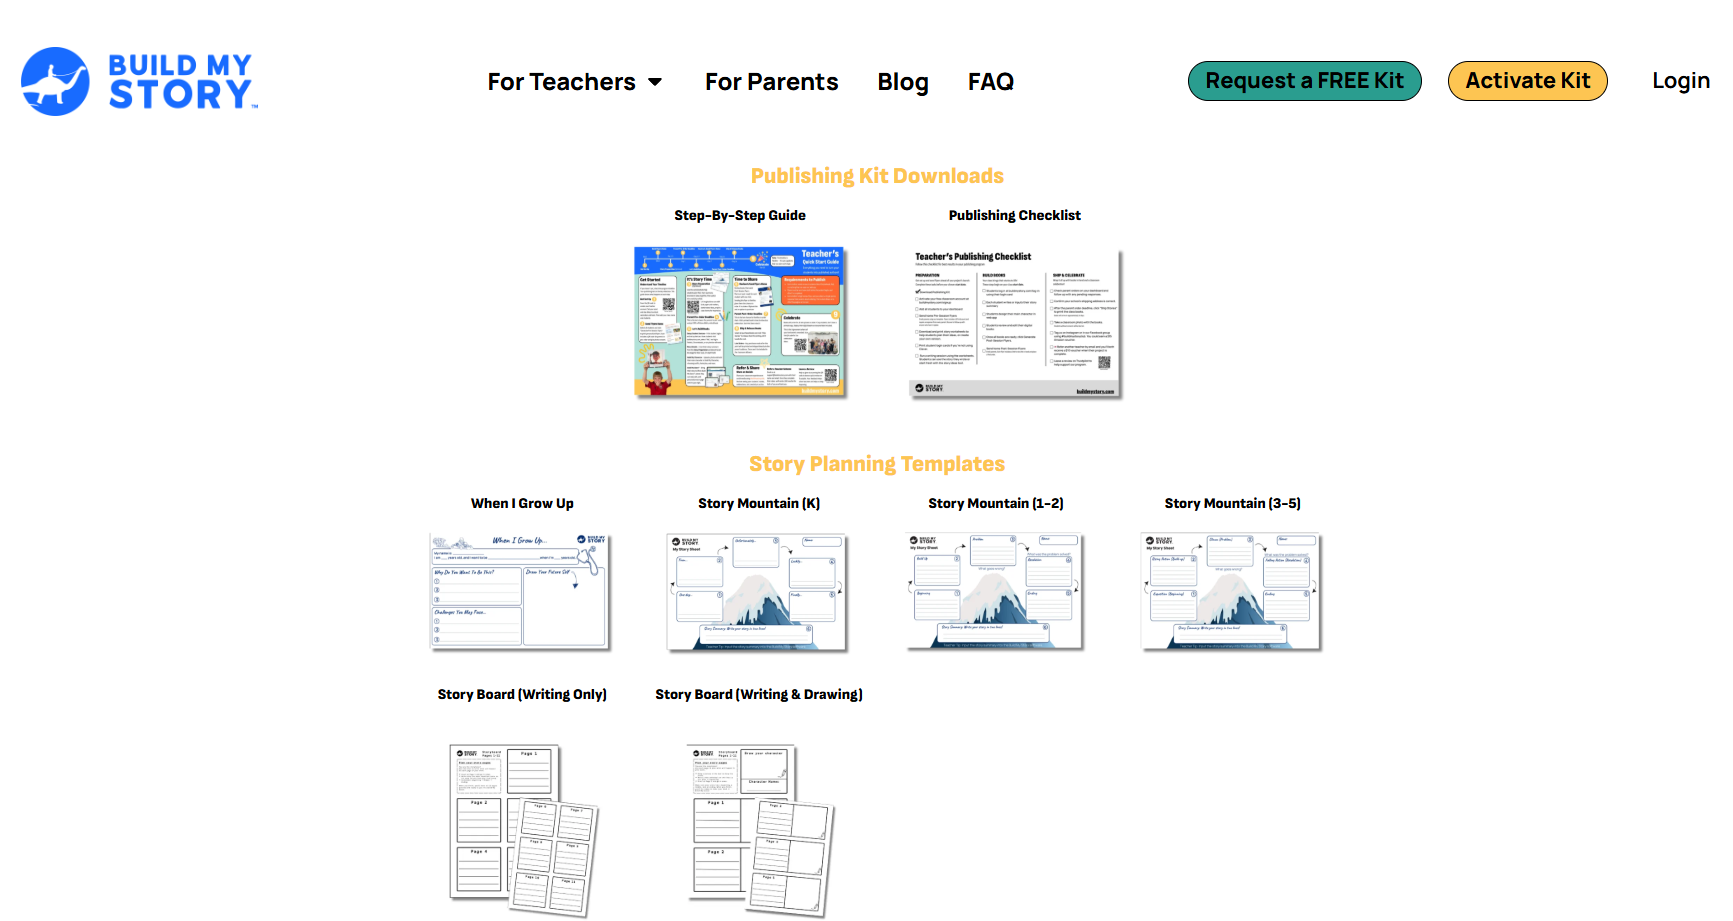
We provide worksheets that help students think about how a story is structured. You can start with our Story Mountain Worksheet or guide students to create a book about their future goals using the When I Grow Up Worksheet.
We will be adding new worksheets over time. If you have ideas or requests for worksheets you would like to see, CLICK HERE to let us know.
Teachers are free to create their own worksheets or adapt existing class materials to fit this project. You have complete freedom to shape the activity for your students.
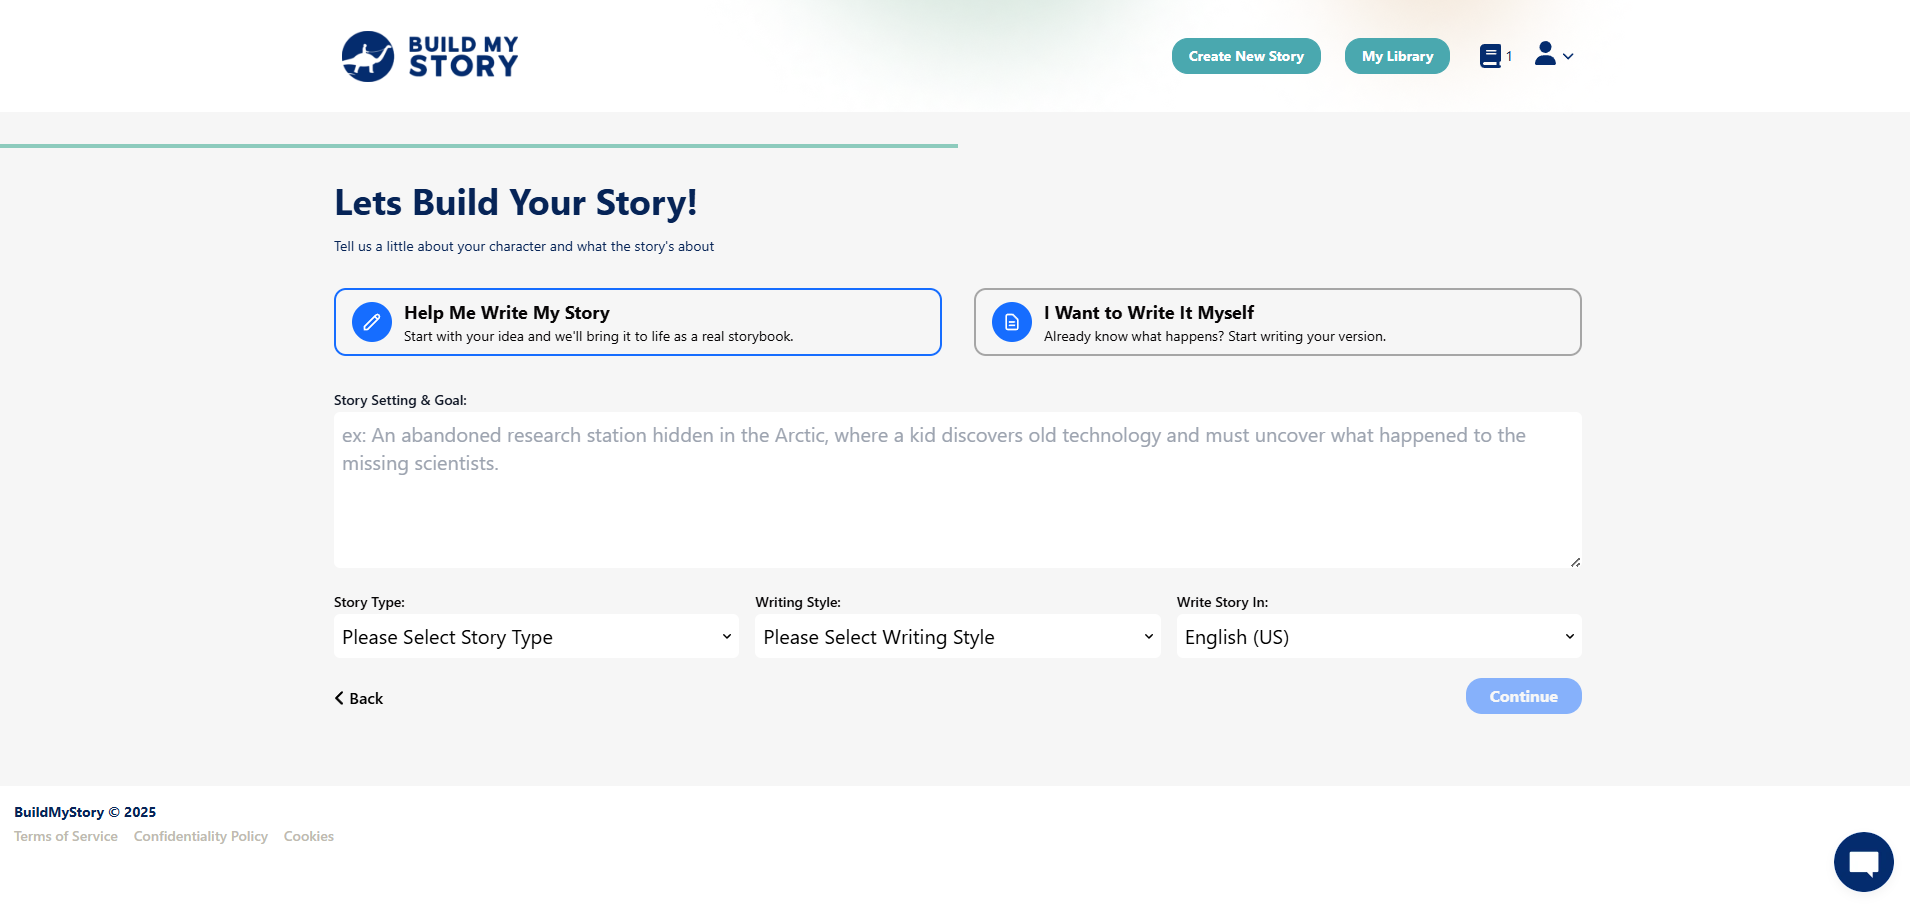
Story Setting and Goal
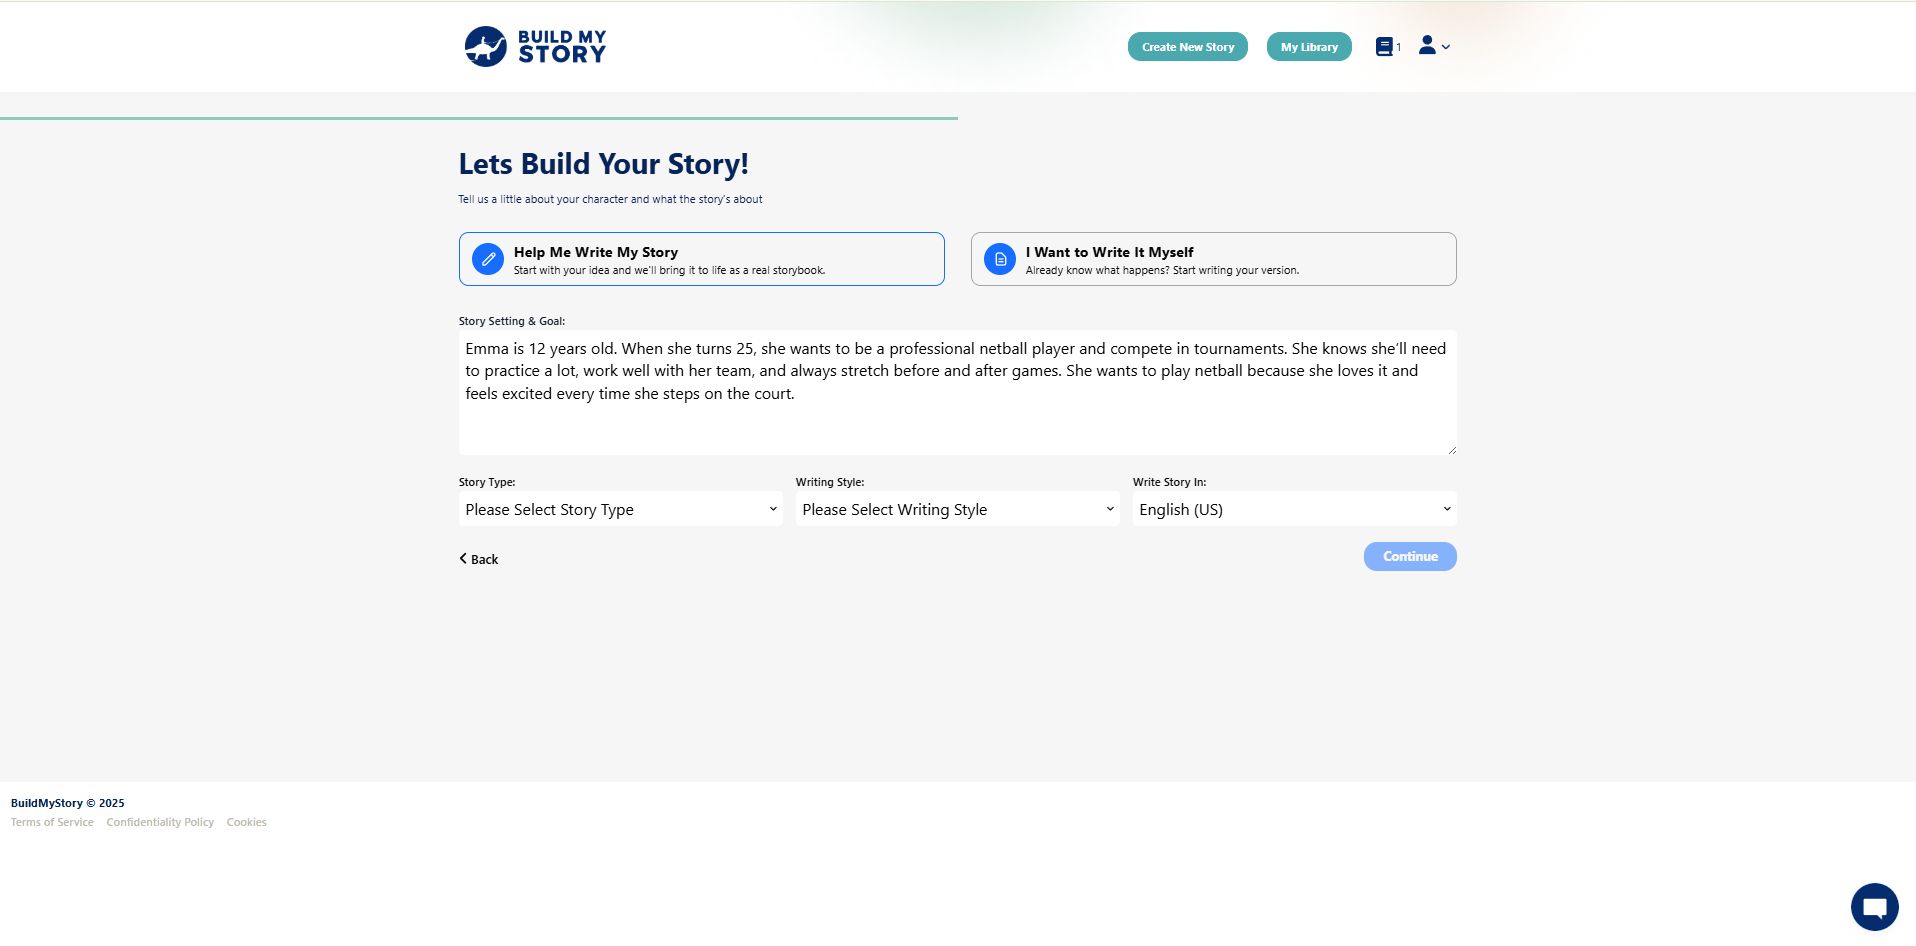
In this step, write a few sentences about your main character’s age, dream, and what they’ll need to do to achieve it. Keep it short, realistic, and focused on effort, motivation, and personal growth.
📝 Example:
Emma is 12 years old. When she turns 25, she wants to be a professional netball player and compete in tournaments. She knows she’ll need to practice a lot, work well with her team, and always stretch before and after games. She wants to play netball because she loves it and feels excited every time she steps on the court.
This helps guide the story with a clear goal and positive mindset.
If you or your students are using worksheets, then please see the steps below step to assist.
Select Story Type
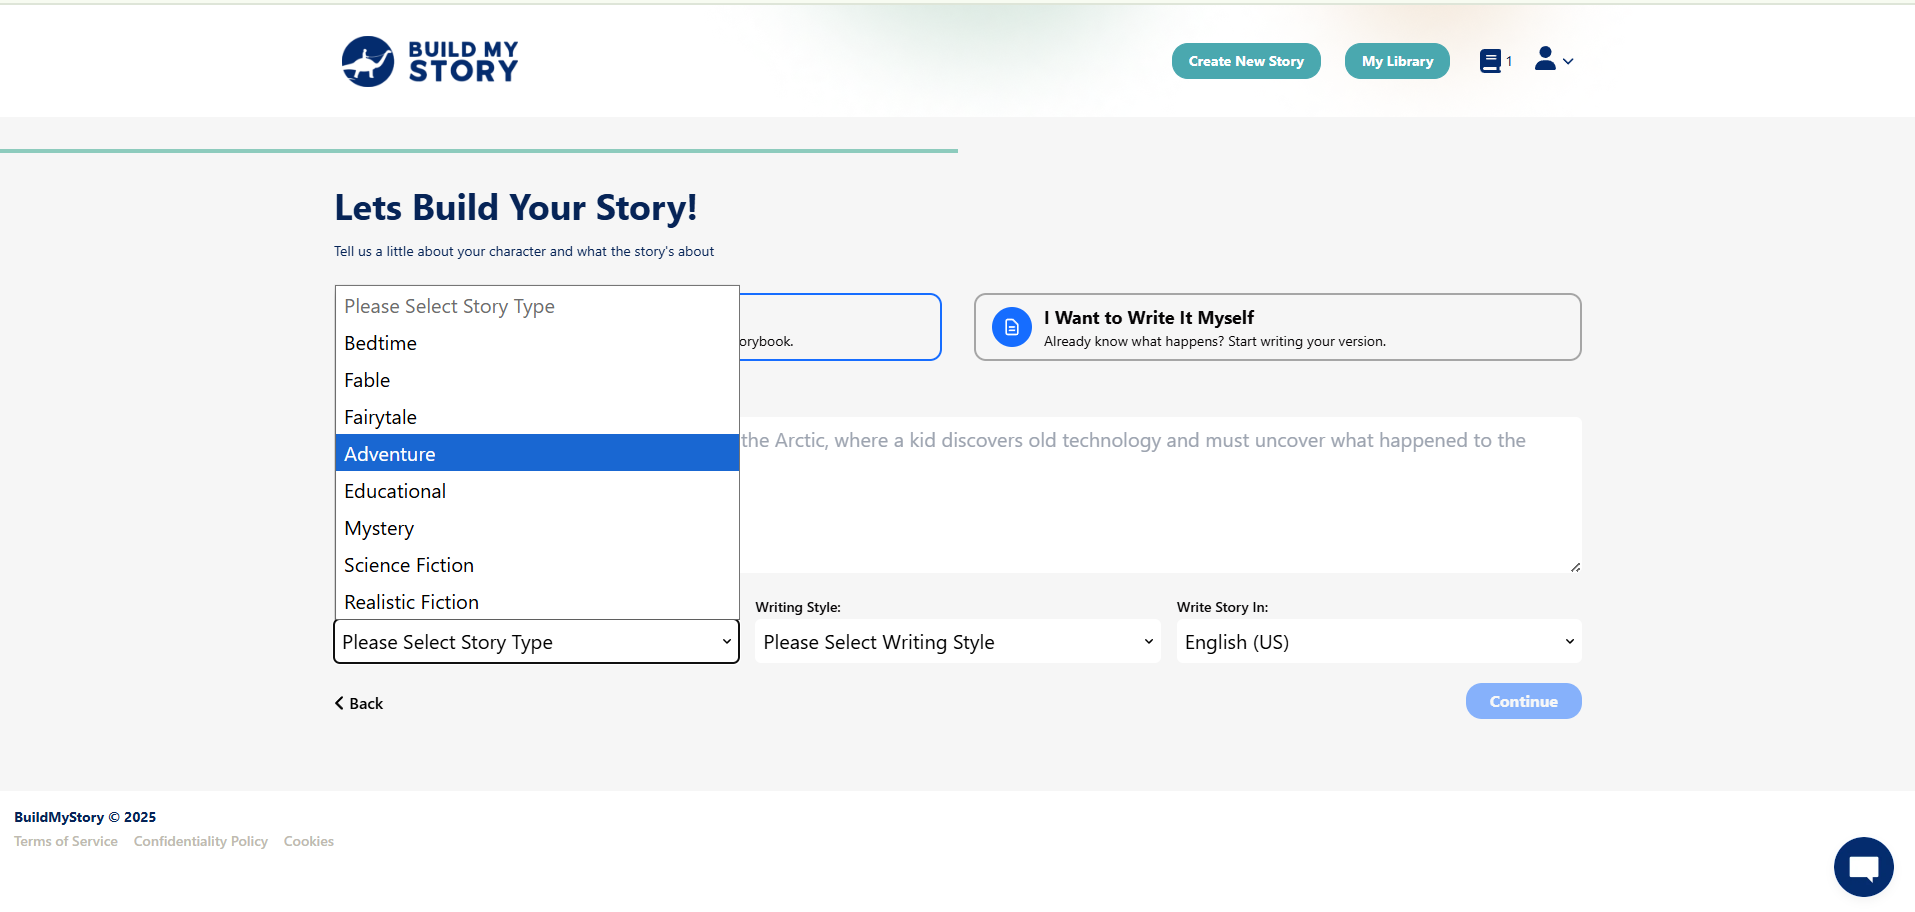
This is where you decide what kind of story your child will tell. Whether it’s an exciting adventure, a calming bedtime tale, or a magical fairytale, each story type gives your author a different way to express their creativity. Pick the style that best fits their personality or the message they want to share.
A gentle, calming story that helps children wind down and get ready for sleep.
A short story that teaches a moral or lesson, often with animals as characters.
A magical story with make-believe characters like princesses, dragons, or talking animals.
An exciting story where the main character faces big challenges or goes on a daring journey.
A story designed to help children learn something new, like a fact, skill, or life lesson.
A curious story where something needs to be solved or discovered by the main character.
A futuristic or space-themed story with science, technology, or imaginary worlds.
A story that feels like real life, with believable characters and situations.
Select Writing Style
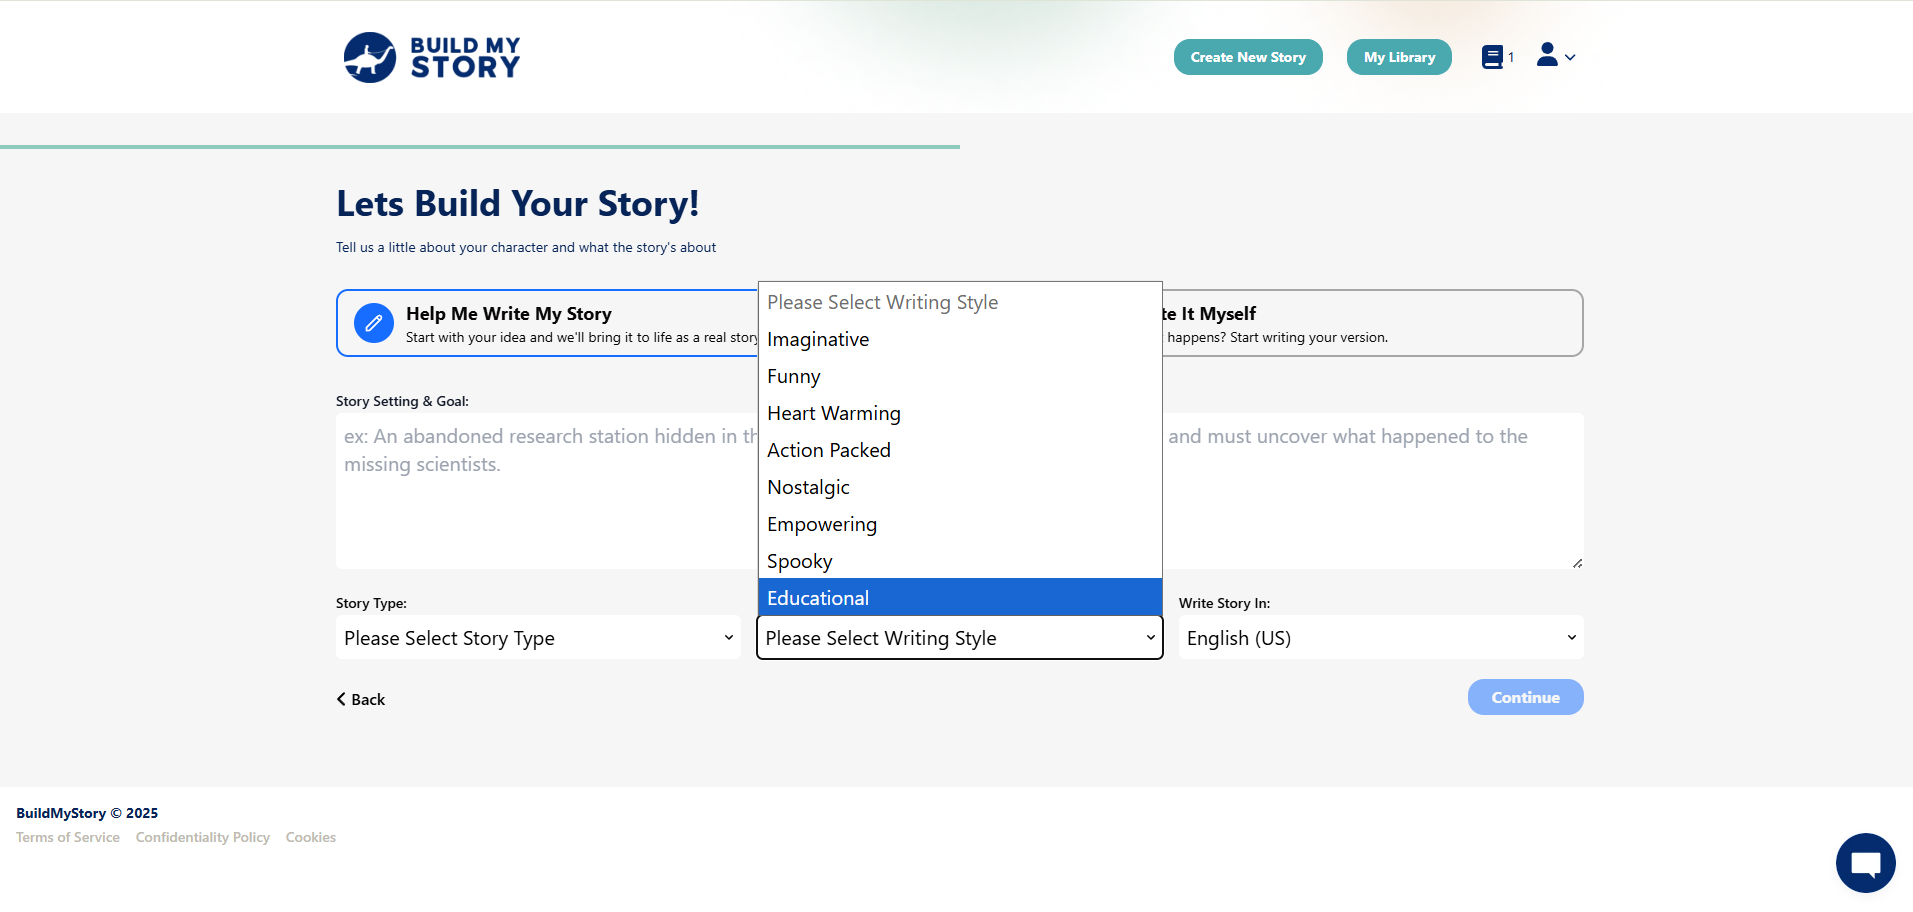
Writing style is the overall tone and feeling of the story. It shapes how the story sounds and how it makes the reader feel – whether it’s funny, inspiring, spooky, or educational. Choosing a style helps set the mood and guides how the story is written from start to finish.
Select Language
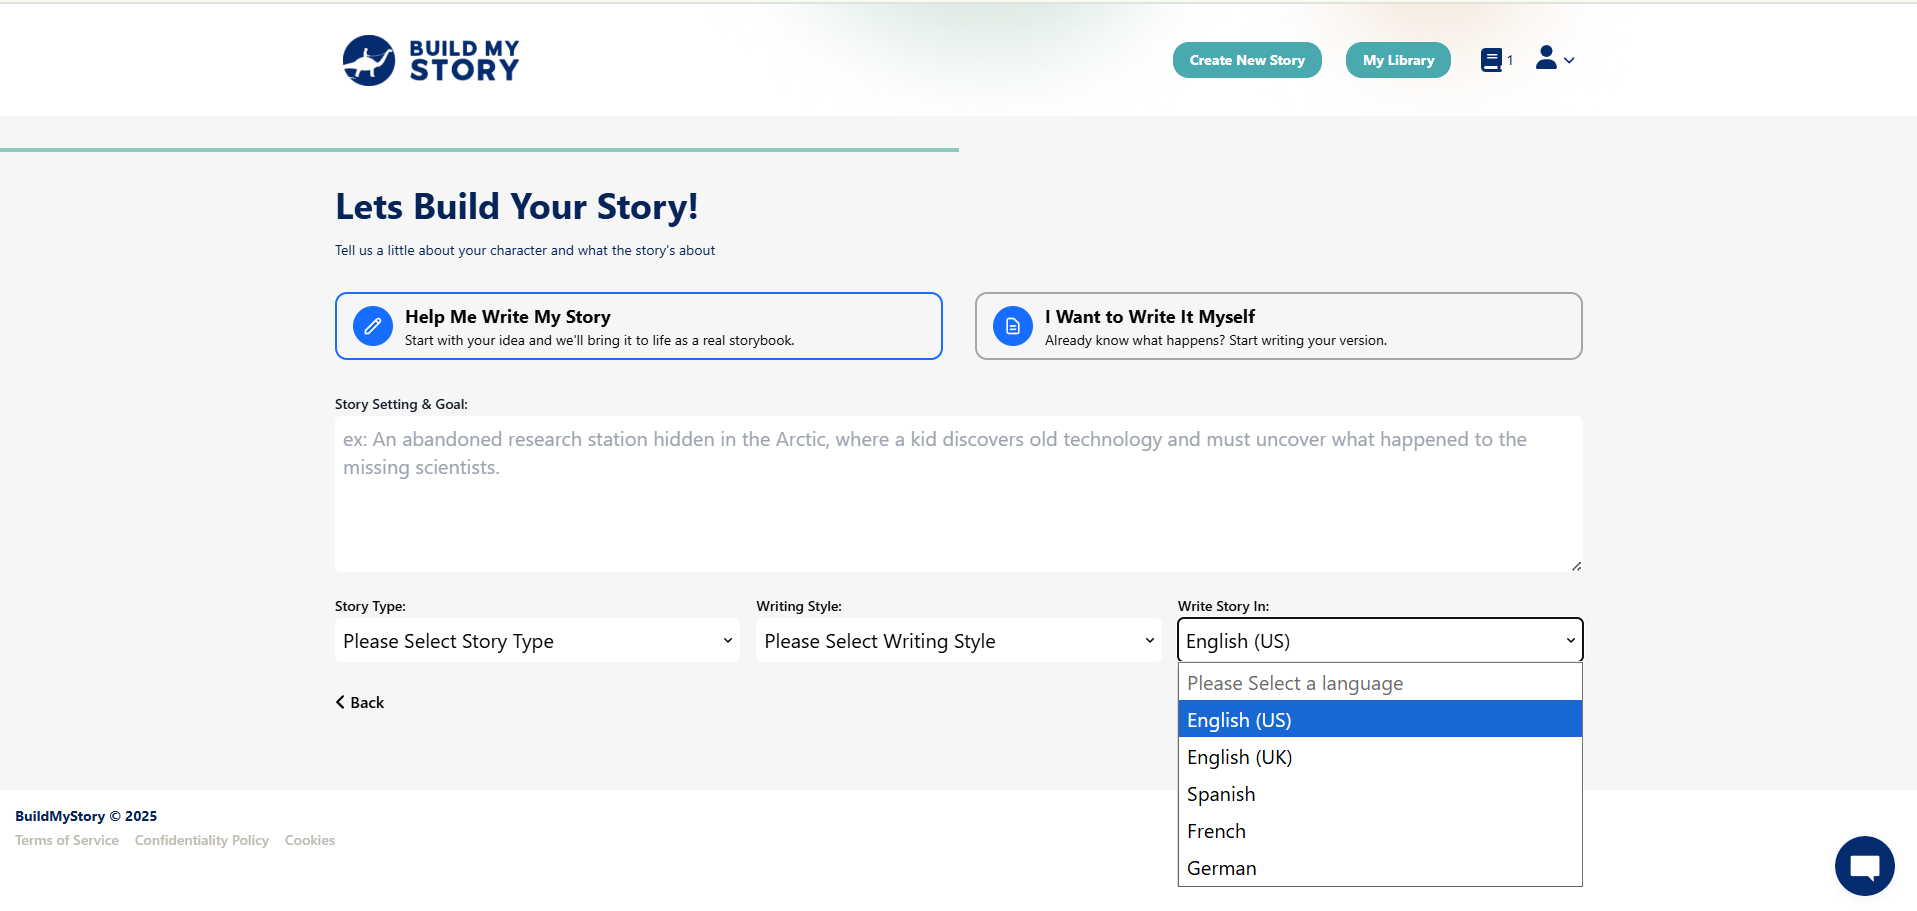
You can choose to have your entire story written in English (US or UK), Spanish, French, or German. Whatever language you select here will apply to all the pages of the book, including the title, narration, and any character dialogue.
Assignment Type 2: I Want to Write It Myself
This option is for students who are ready to take full control of their storytelling. They write the entire story in their own words, and we keep the text exactly as they type it. Our role is to add the magical illustrations that bring their words to life.
Students can still use our worksheets to plan their ideas, such as the Story Mountain or When I Grow Up sheets, or they can use your own classroom materials. Once their story is written, they simply type it into the web app, and we create the images to match. Feel Free to download and hand out our Story Board Templates to assist your students in writing their story structure.
The text will remain exactly as the student writes it, preserving their unique voice and creativity while still giving them a beautiful, illustrated book they can be proud of.
Using Worksheets (Help Me Write My Story)

This option lets students upload their own completed story. In this guide, we will include an example from a student called Lila, showing how she used our Storyboard Template to plan her story before typing it into the web app.
Teachers can combine different planning sheets such as the Story Mountain or When I Grow Up Worksheet to help students prepare their story. Students can then type their final draft into the web app, and we will generate the illustrations to match their text.
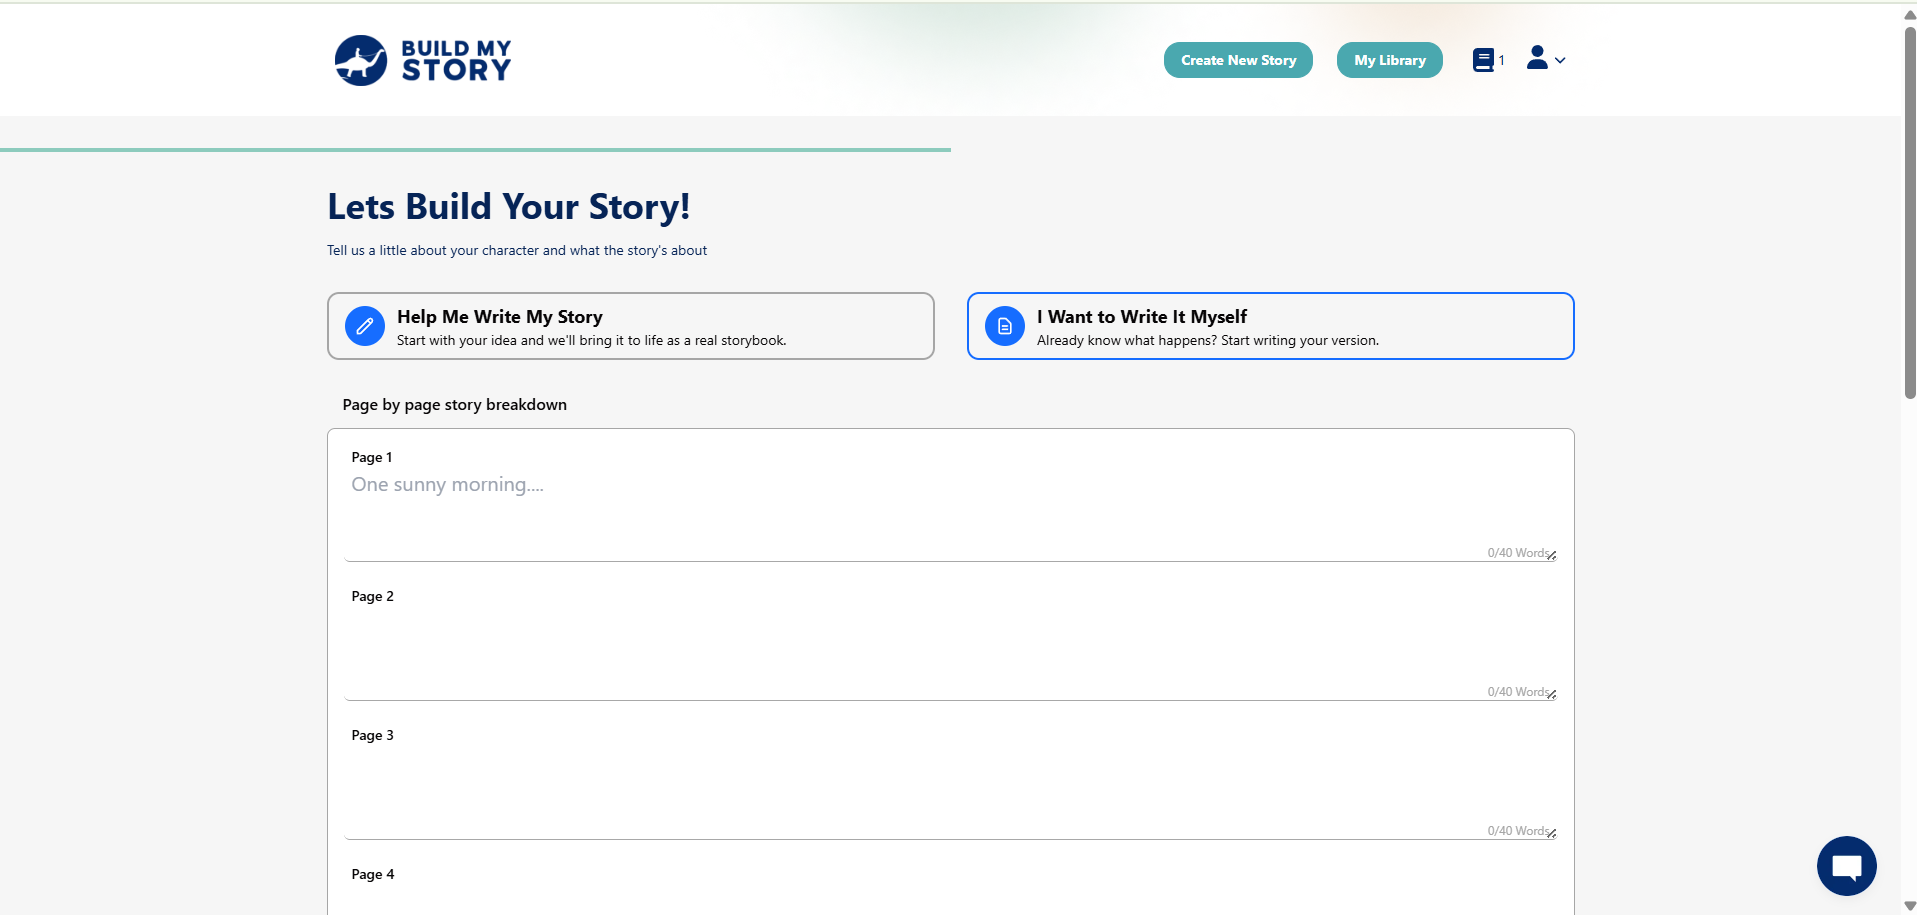
Enter Story Into Web App

Here is an example from a student named Lila. The text you see on each page has been typed manually by the student directly into the web app, using one of our planning worksheets to guide the story.
Each page slot in the web app corresponds to a page in the printed book, so students can break their story into scenes and type them in one at a time. Once the text is entered, Build My Story automatically creates the illustrations to match, turning the student’s writing into a fully illustrated book.
Press Continue once all 11 pages have content.
Build My Character
This guide walks you through how to complete the Build My Character page on Build My Story, including setting the character’s name, age, appearance, and clothing, so the book feels personal and visually accurate to the child it’s made for.
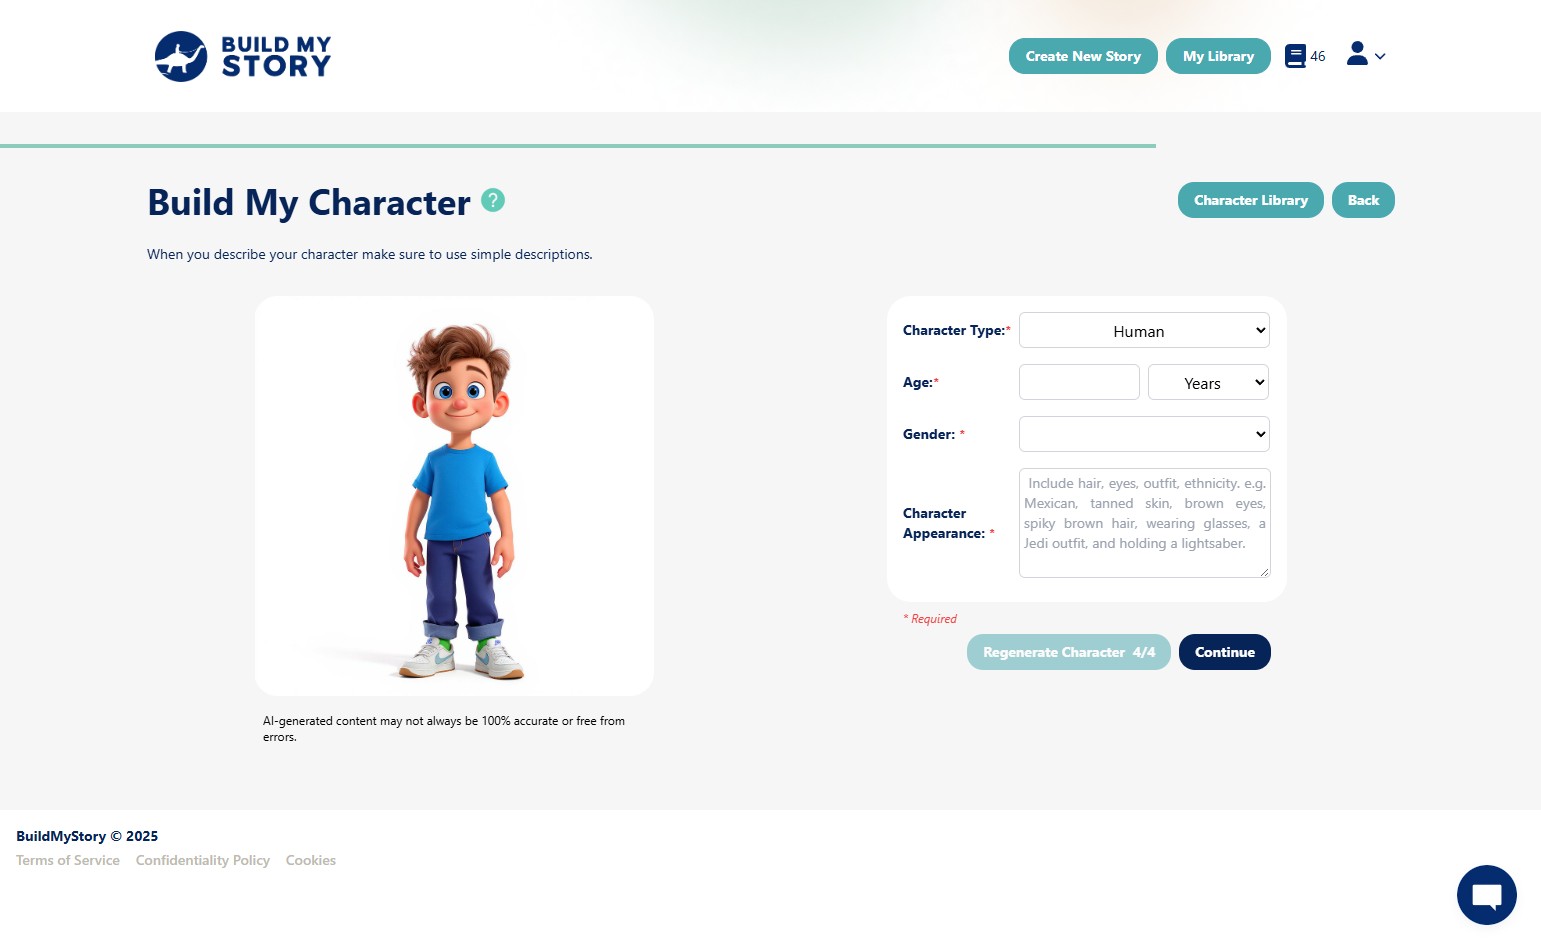
Choose Your Character Type
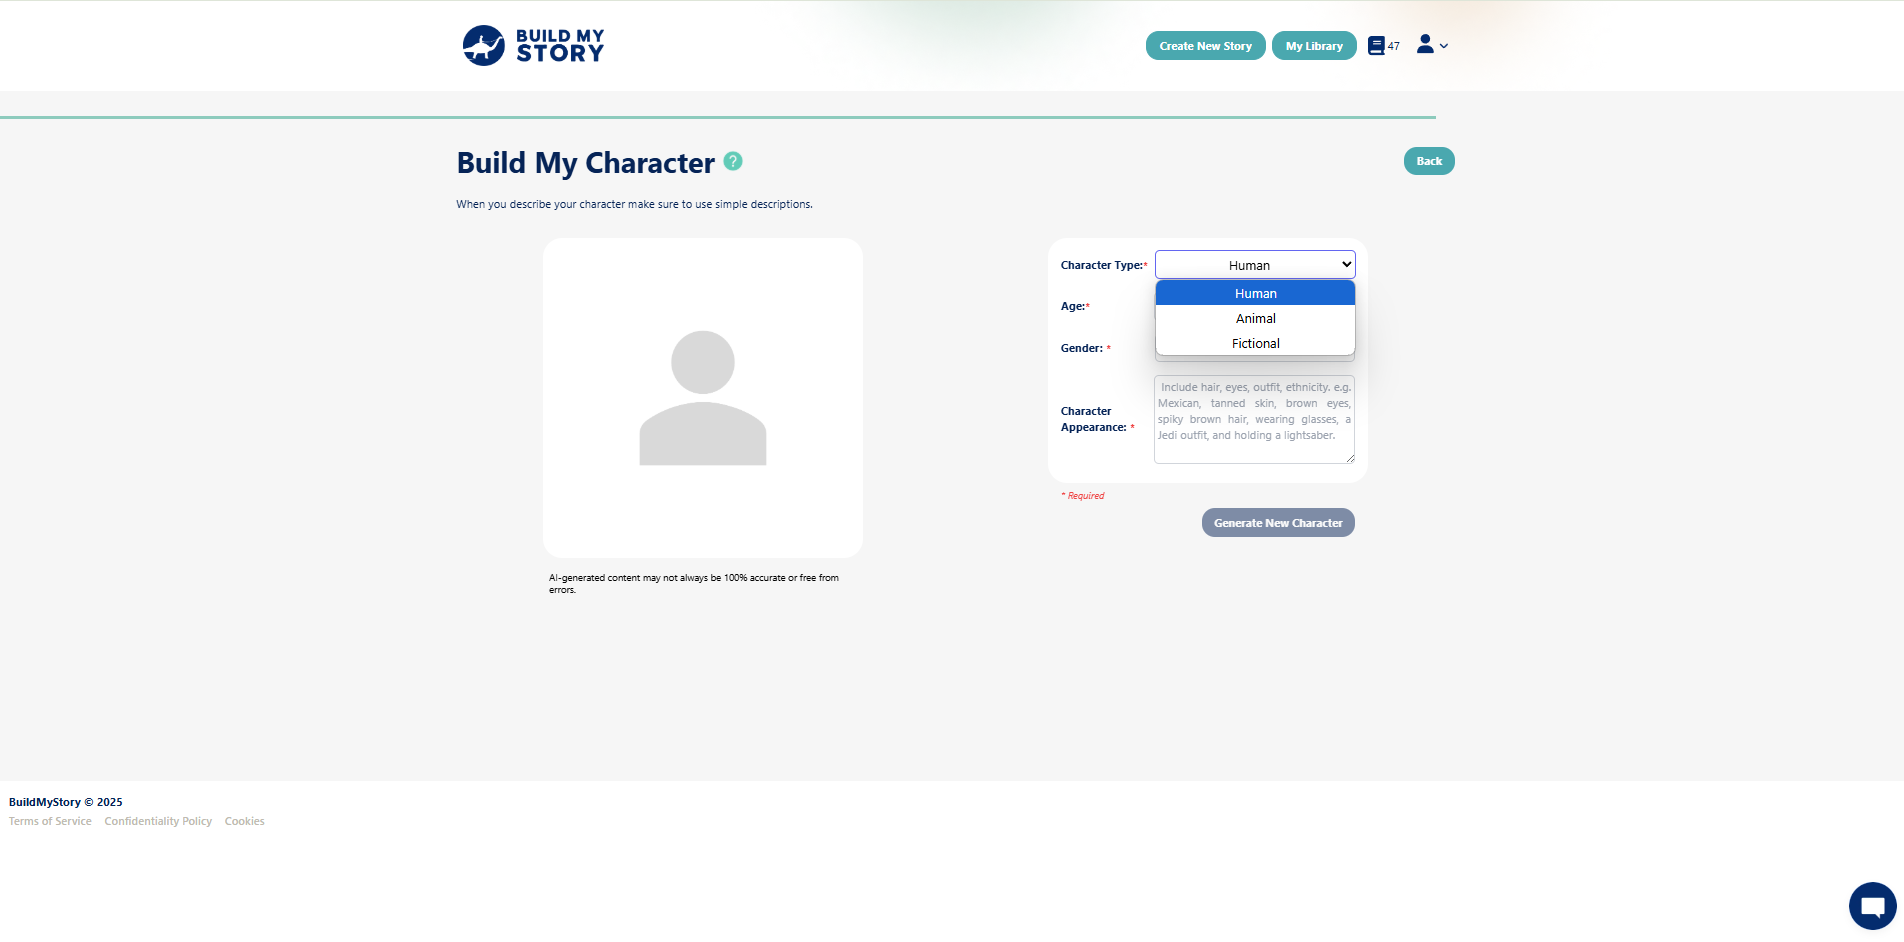
Choose what kind of character will be the star of your story:
Human is for when the hero is yourself or another human character.
Animal lets you turn your favorite pet or animal into the main character.
Fictional opens the door to wild imagination. Create a magical creature, robot, alien, or anything you dream up.
Character Type Example: Human
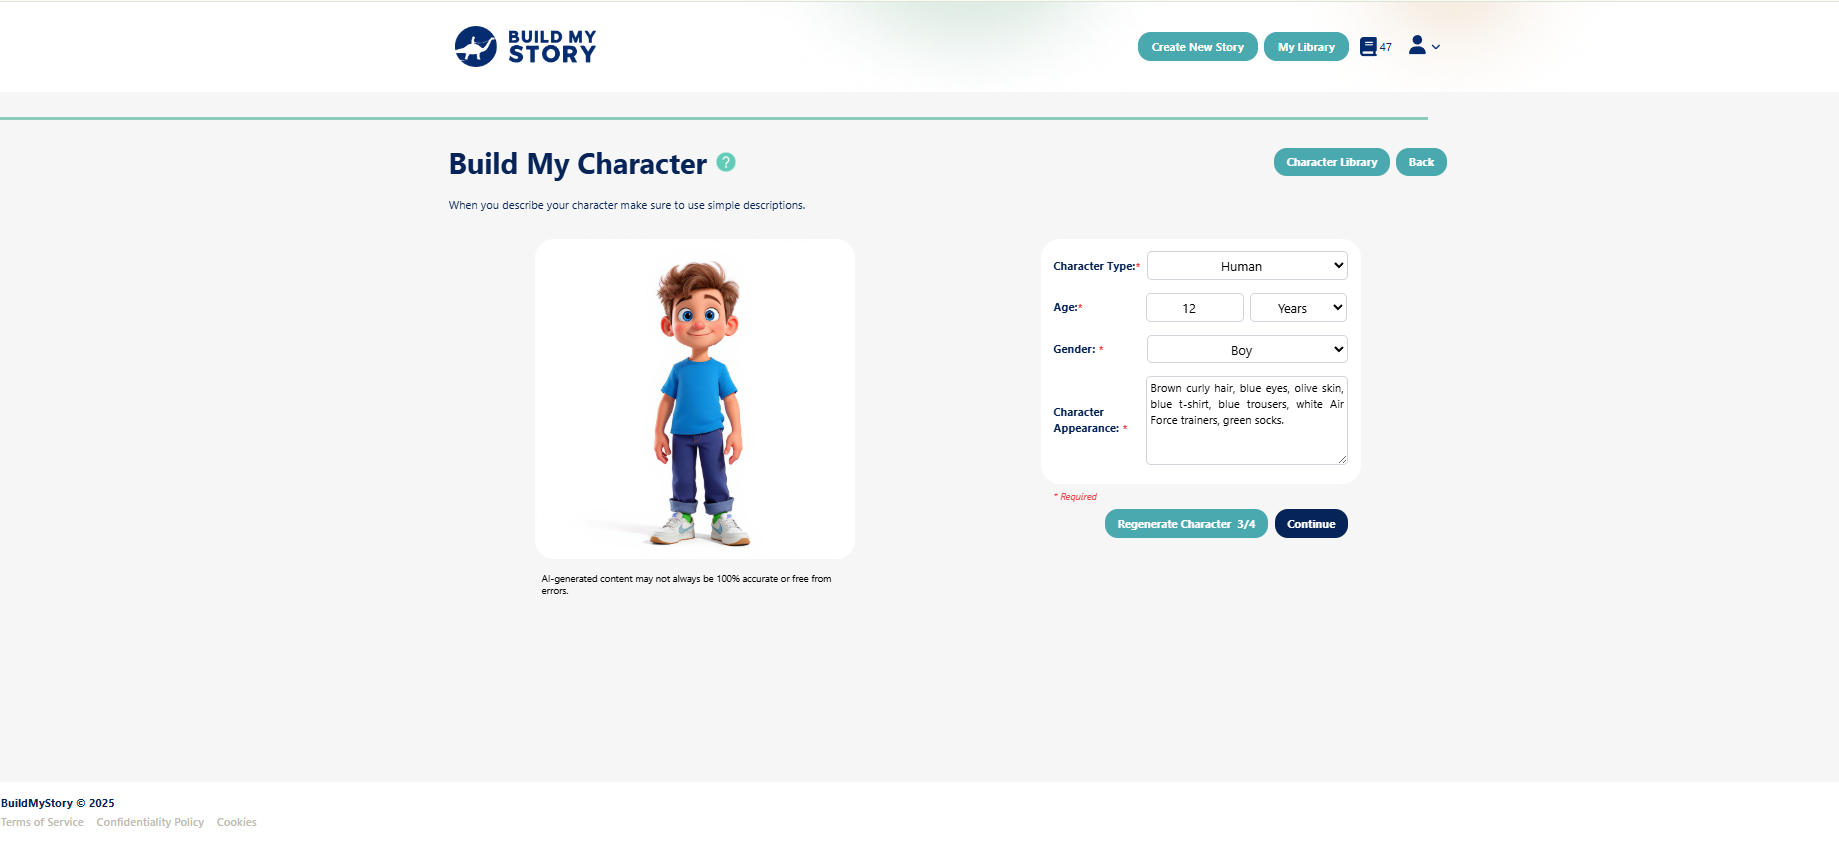
For a human character, you’ll need to fill in age, gender, and character appearance.
Gender: Choose either boy or girl.
Age: This helps us match the character’s behavior and storyline to their age.
Character Appearance: Be as specific as possible. Include details like hair type and color, eye color, skin tone, and clothing. Describe outfits head to toe, including shoes and colors.
For example:Brown curly hair, blue eyes, olive skin, blue t-shirt, blue trousers, white Air Force trainers, green socks.
Character Type Example: Animal
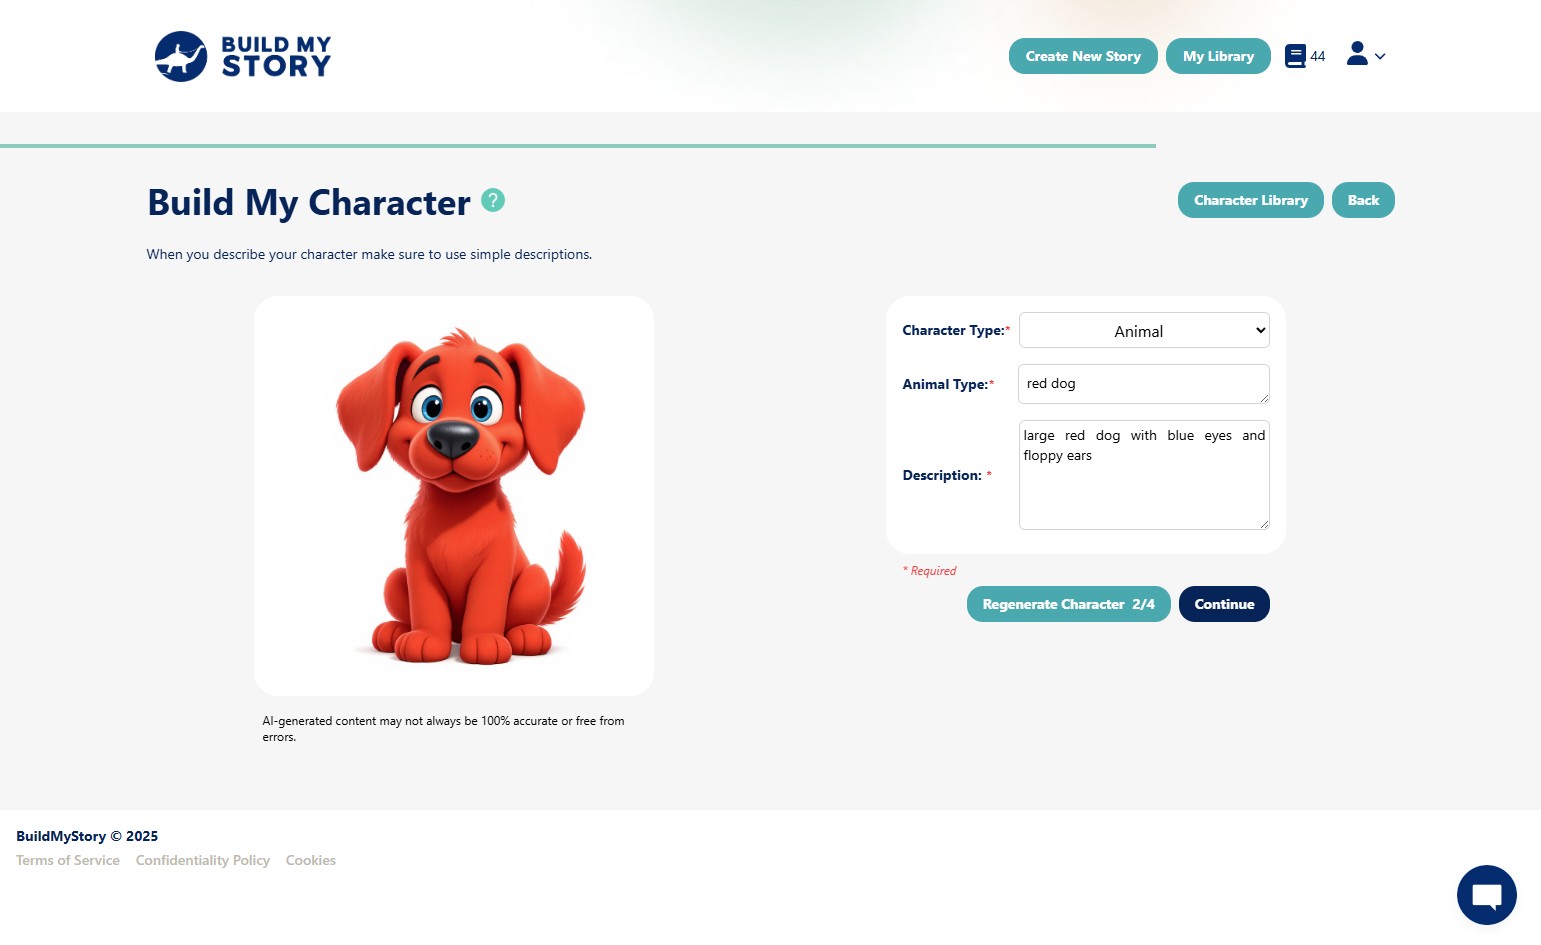
For an animal character, you’ll need to fill in animal type and description.
Animal Type: Describe the kind of animal (e.g., red dog, black cat, spotted leopard).
Description: Add clear details about what the animal looks like, including size, color, eye color, and any special features like floppy ears, stripes, or bushy tails.
For example:Large red dog with blue eyes and floppy ears.
Character Type Example: Fictional
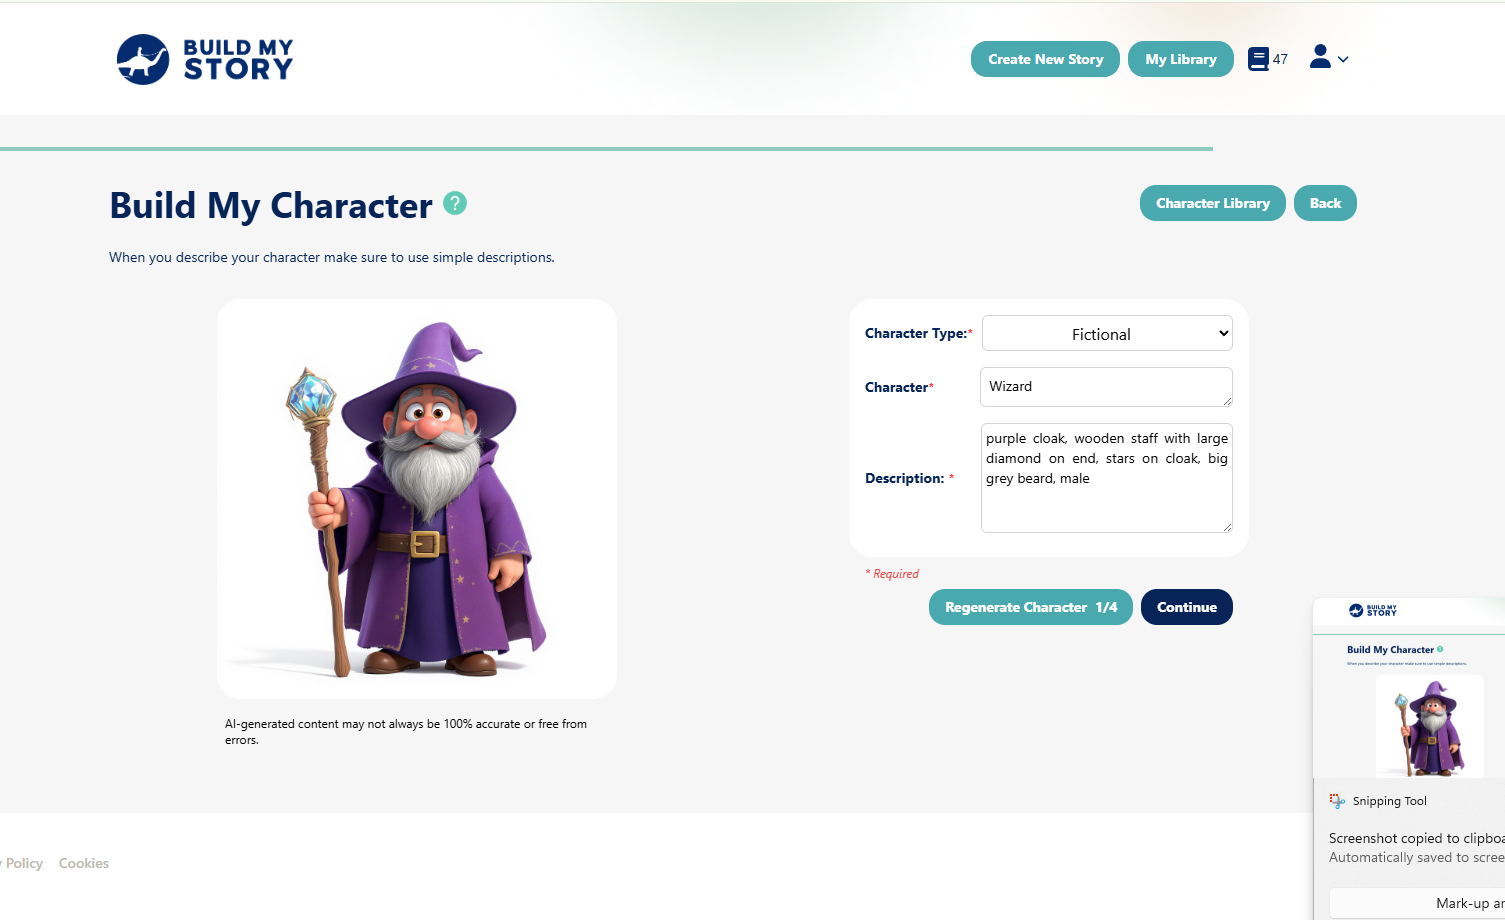
For a fictional character, you can create anything your imagination dreams up — from wizards to aliens to magical creatures.
Character: Give your character a name or role (e.g., Wizard, Robot, Space Princess).
Description: Add key details to help bring the character to life, such as clothing, accessories, colors, body features.
For example:Purple cloak, wooden staff with large diamond on end, stars on cloak, big grey beard, male
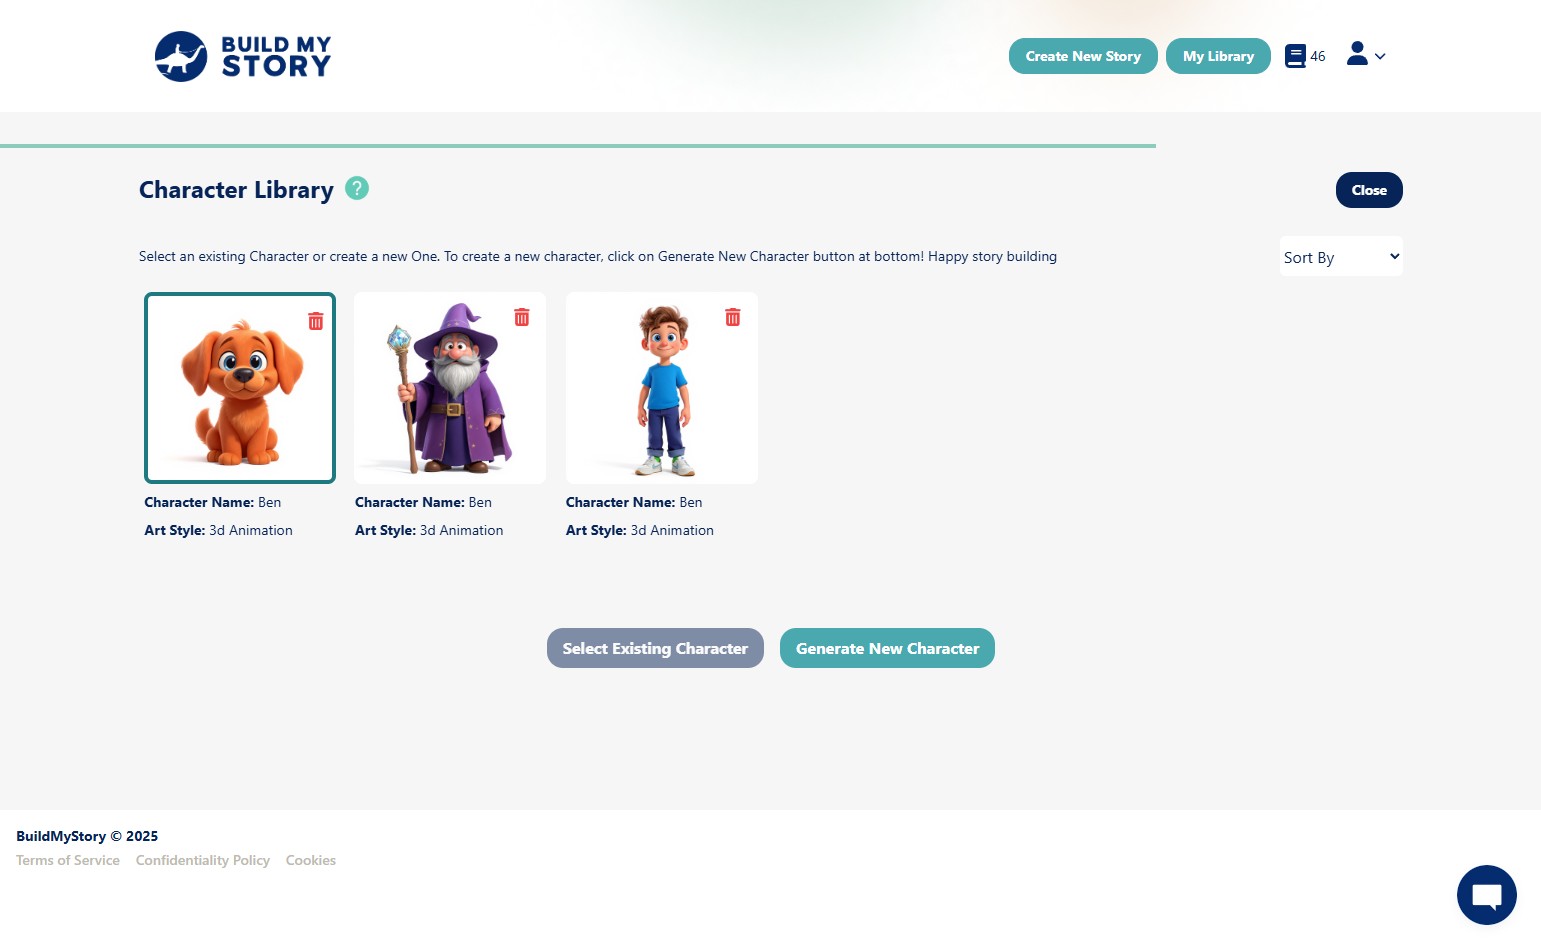
Select Existing Character
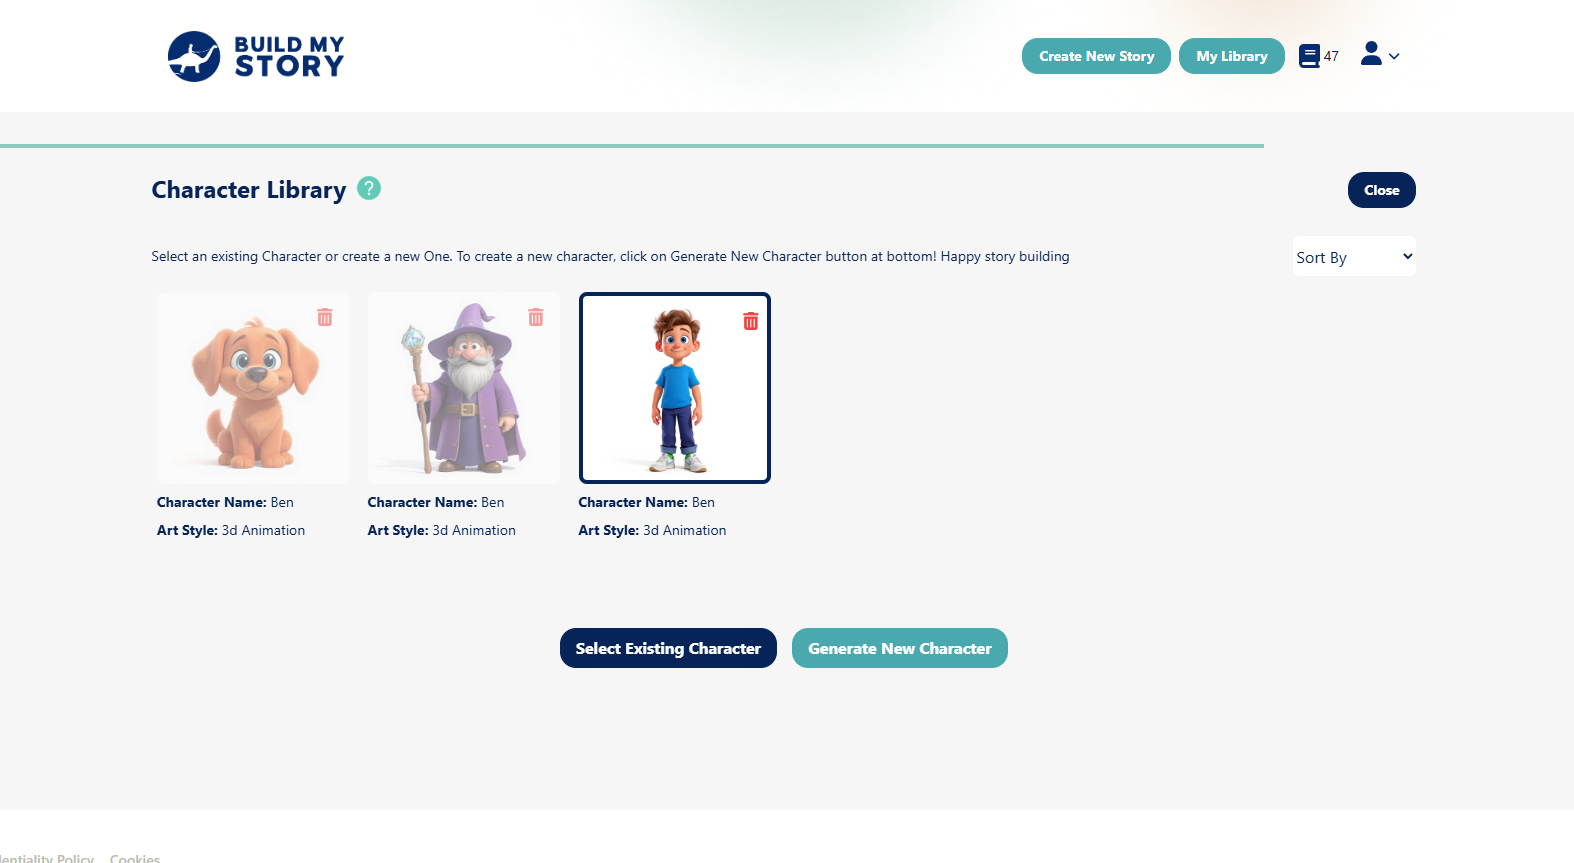
You can access all your previously created characters using the Character Library button in the top-right corner.
Click Character Library.
Browse through your saved characters.
Click Select Existing Character to pull it directly into your current book project.
⚠️ Important: Once a character is selected and added to the book, you won’t be able to change it later in the process. Make sure you’re happy with your choice before moving forward.
Build My Story
This guide walks you through how to complete the Build My Story page, including how to edit text and images, use the image library, add new characters, and update the author name and book title.
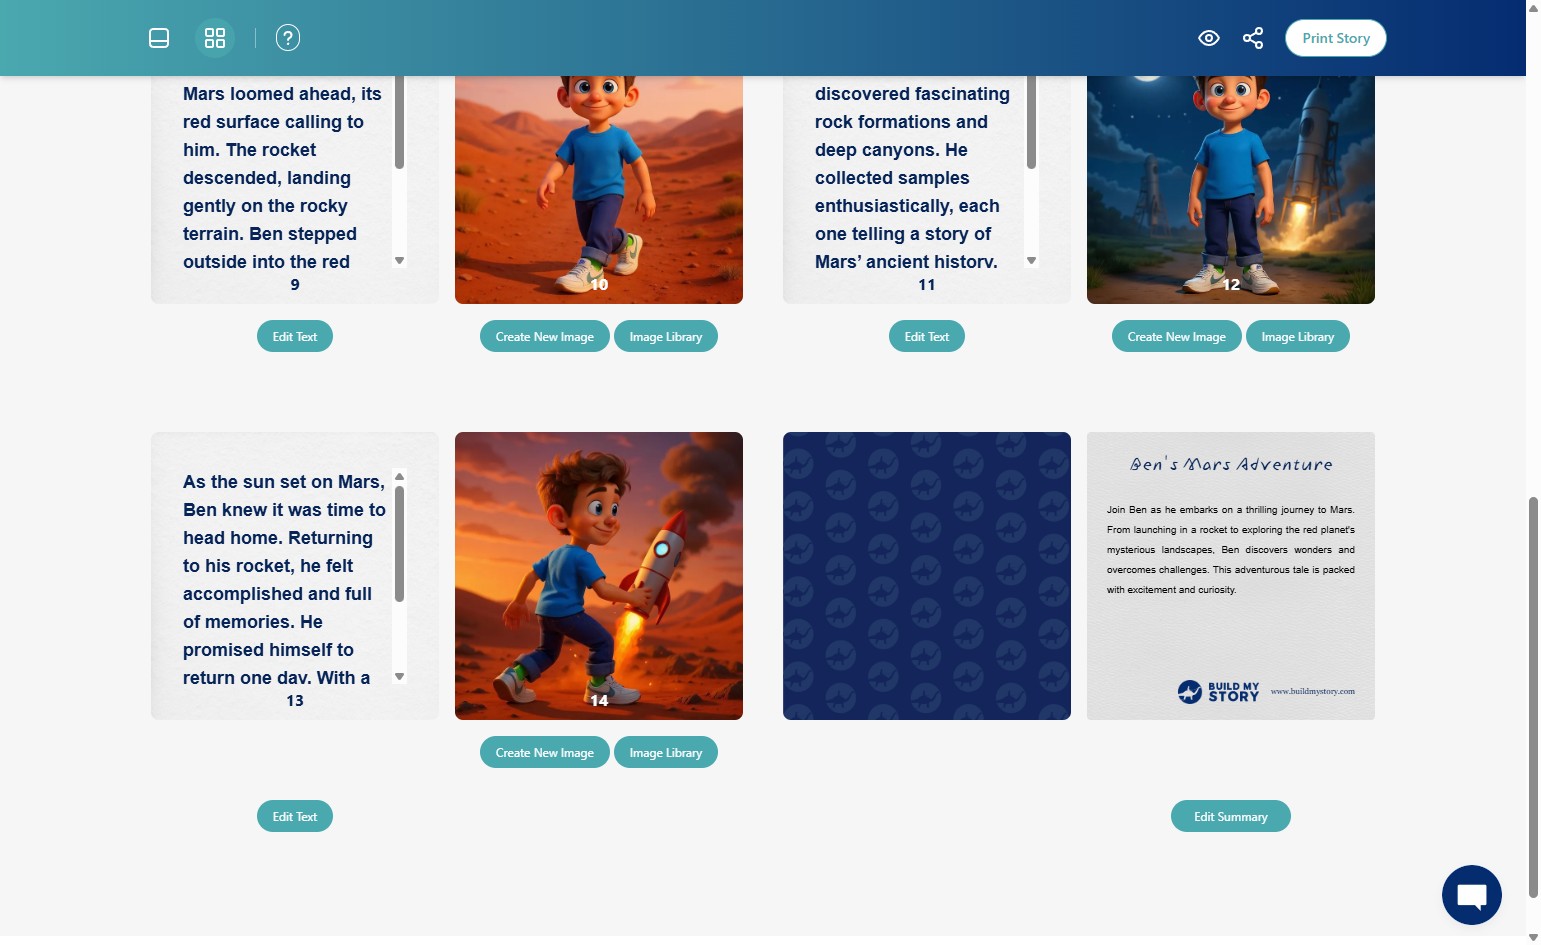
Edit Text
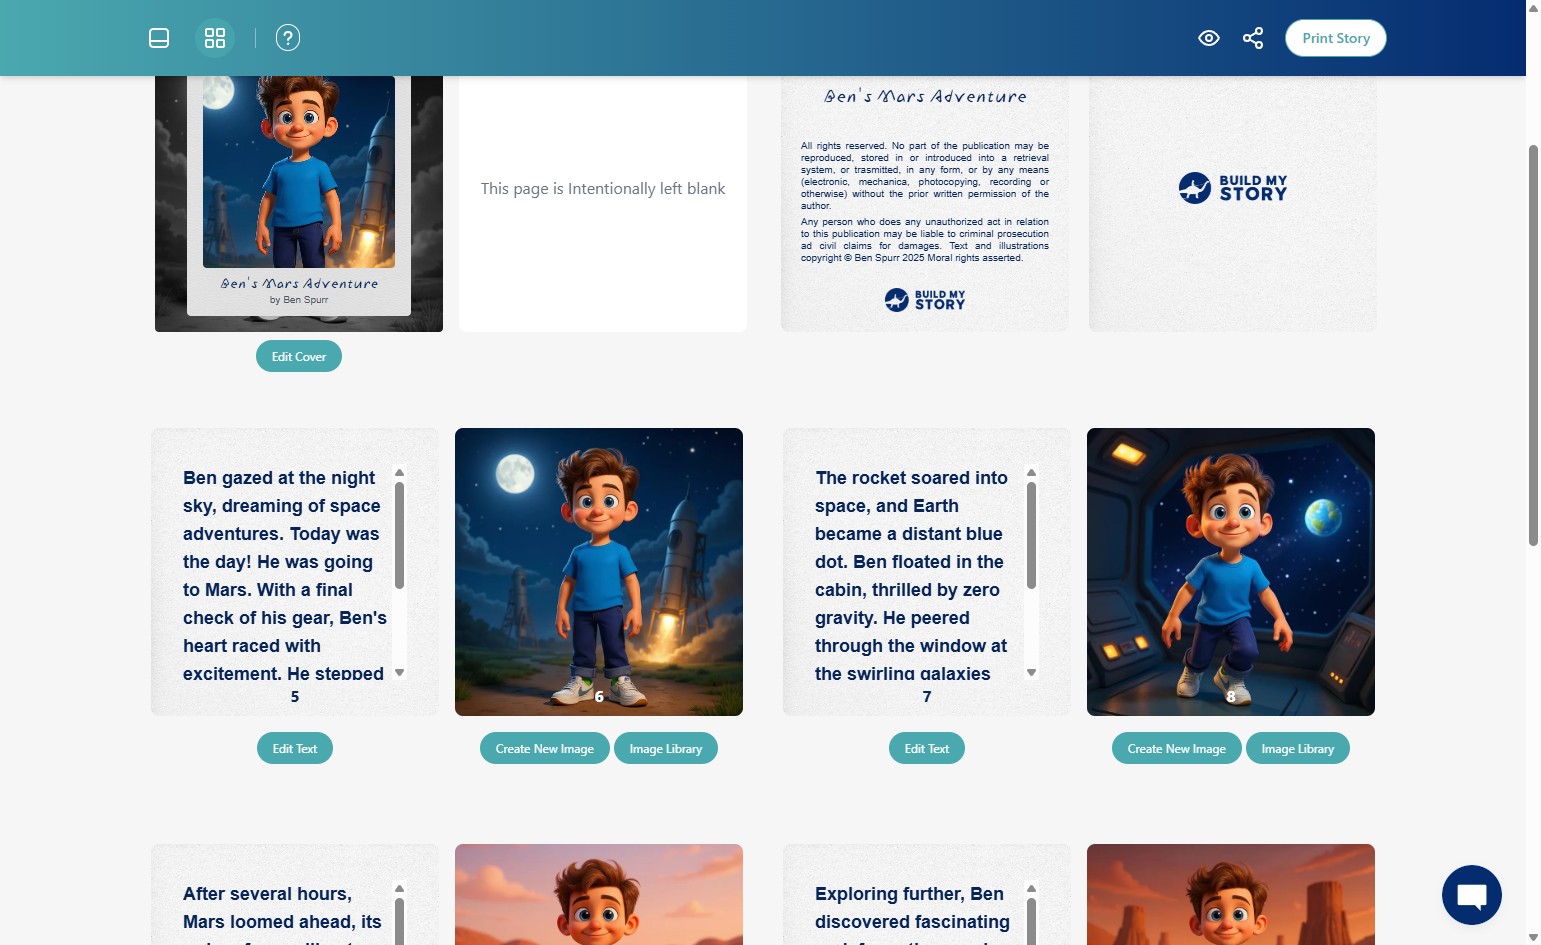
Click on “Edit Text” below any image.
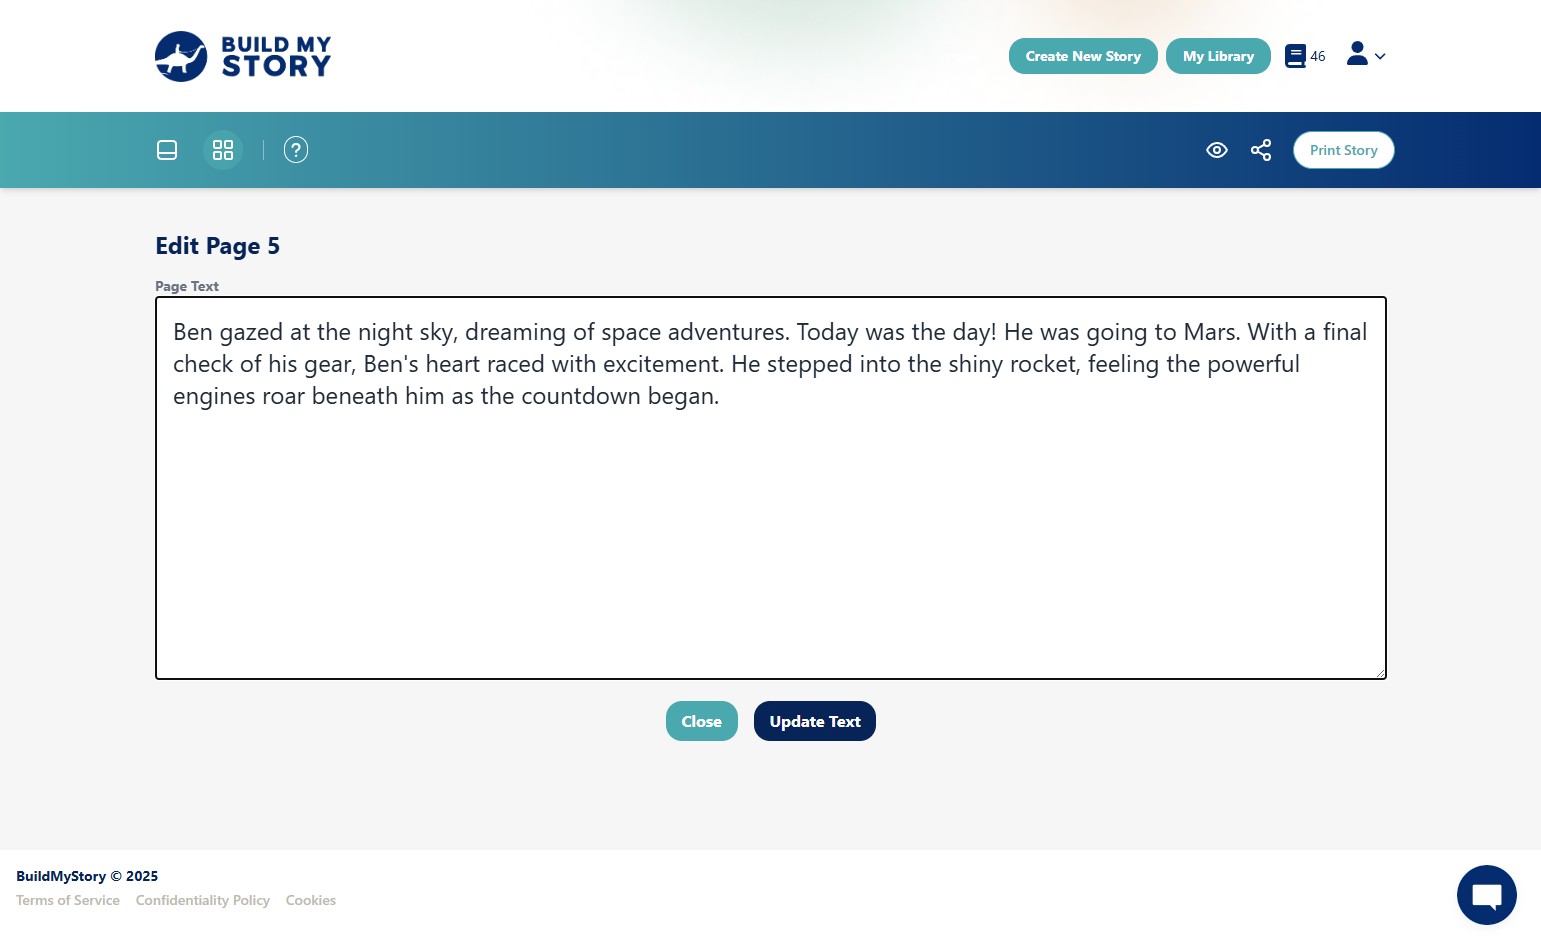
Make your changes, then click “Update Text” to save. This updates the text shown on the page of the book.
Edit Image
Click “Create New Image”
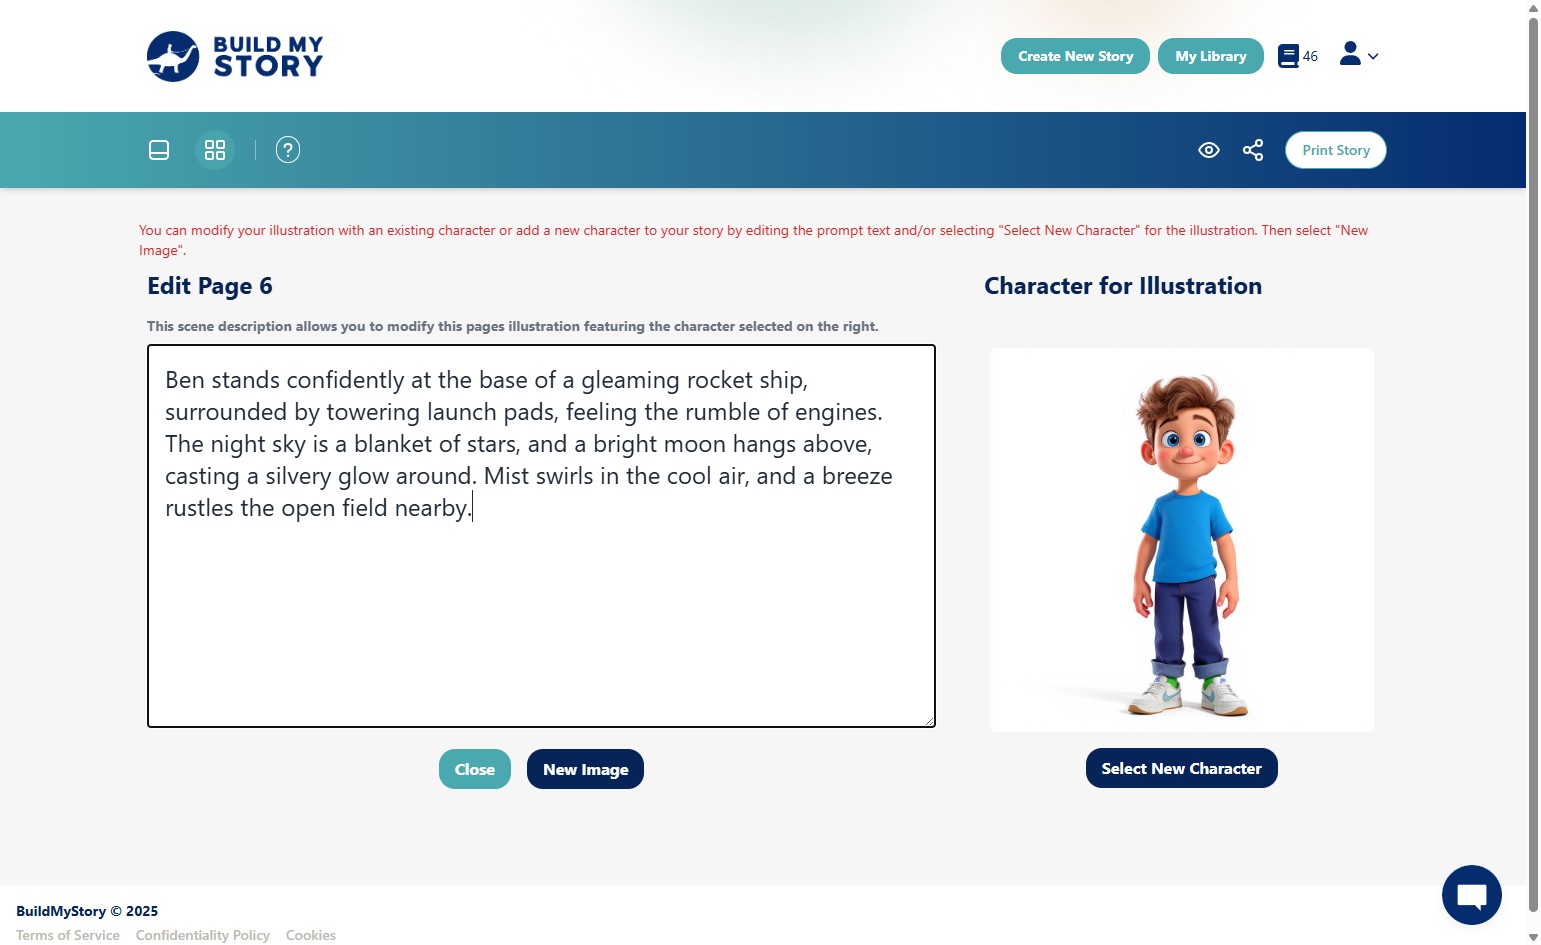
Describe the new image you want in the box on the left. Make sure to also update the text as described in the previous step so it matches the image. When ready, click “New Image” to generate it.
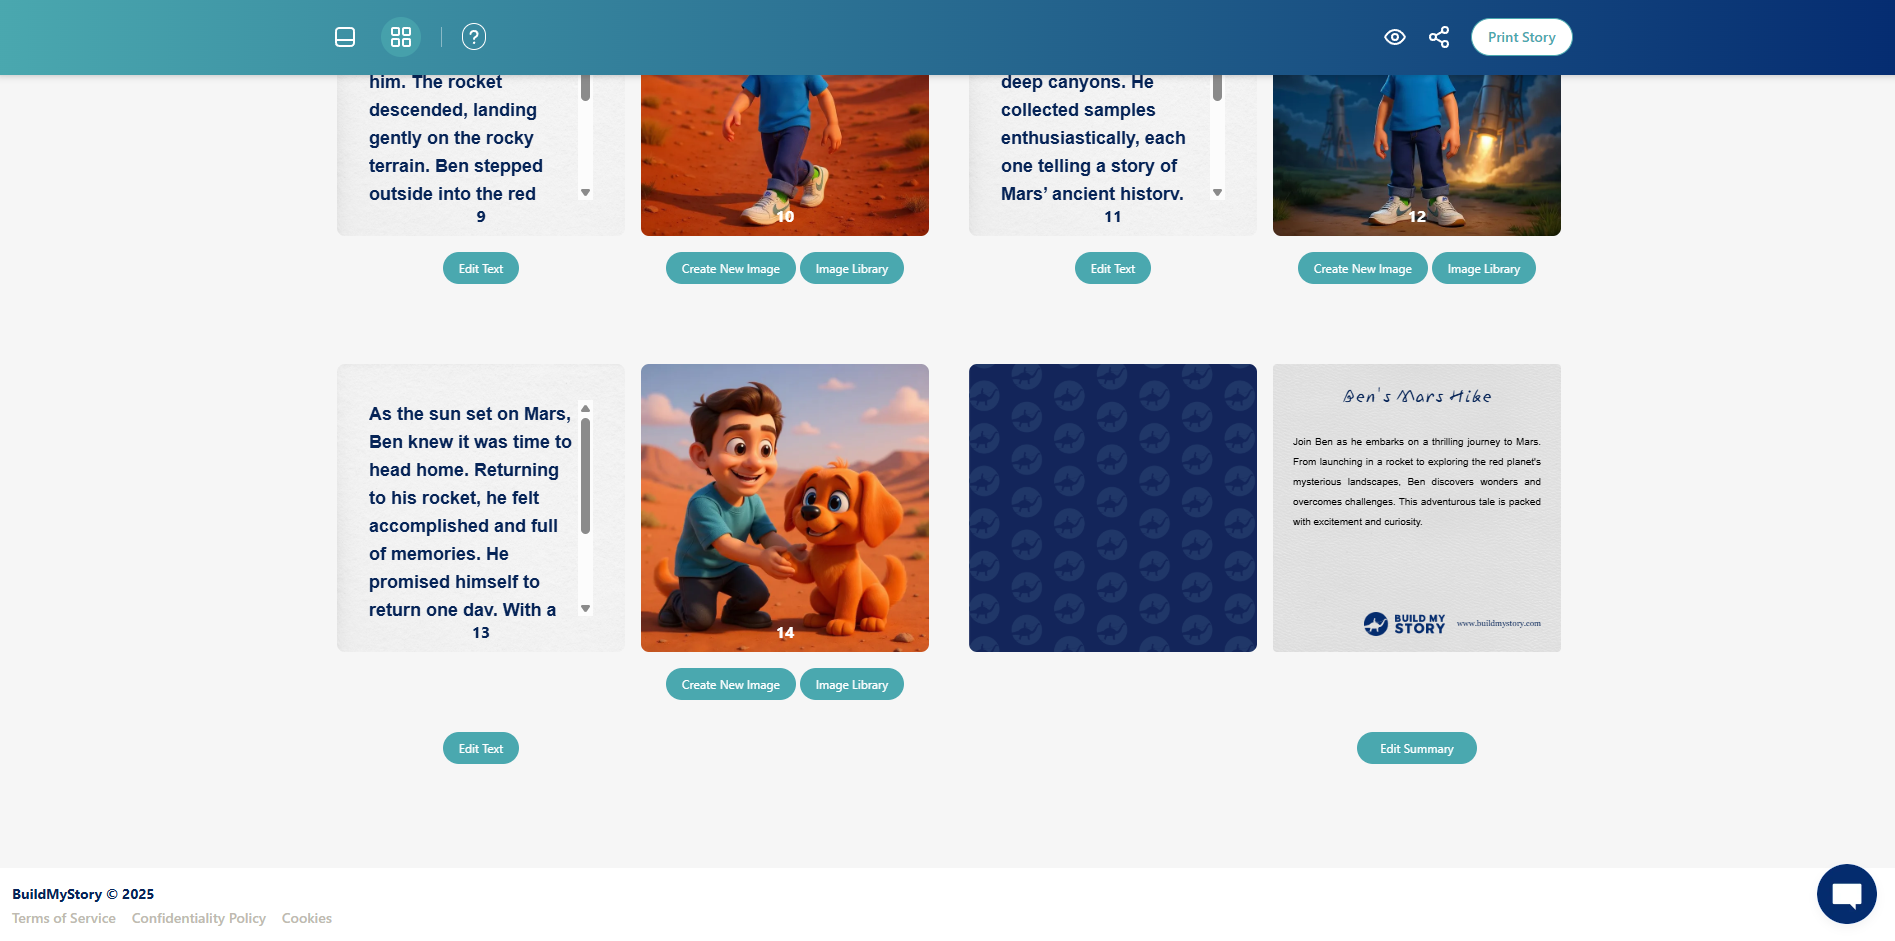
How To View Image Library
Click “Image Library” under any image to browse your previously generated images.
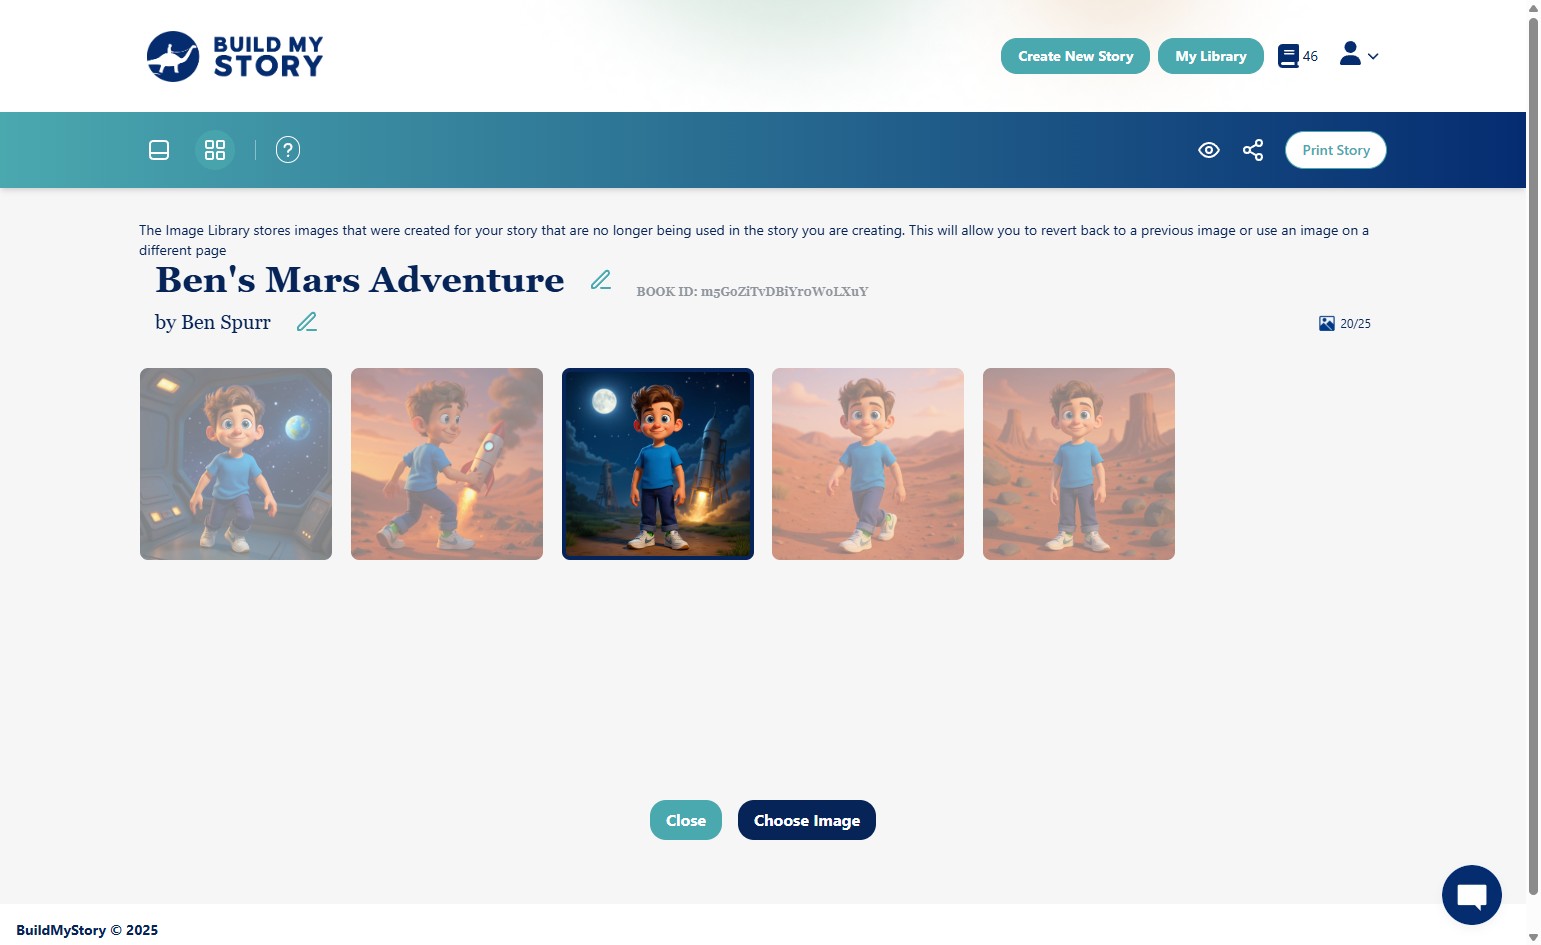
Choose the one you want and click “Choose Image” to insert it into the book.
How To Add a New Character
Follow the same steps as in “Edit Image”
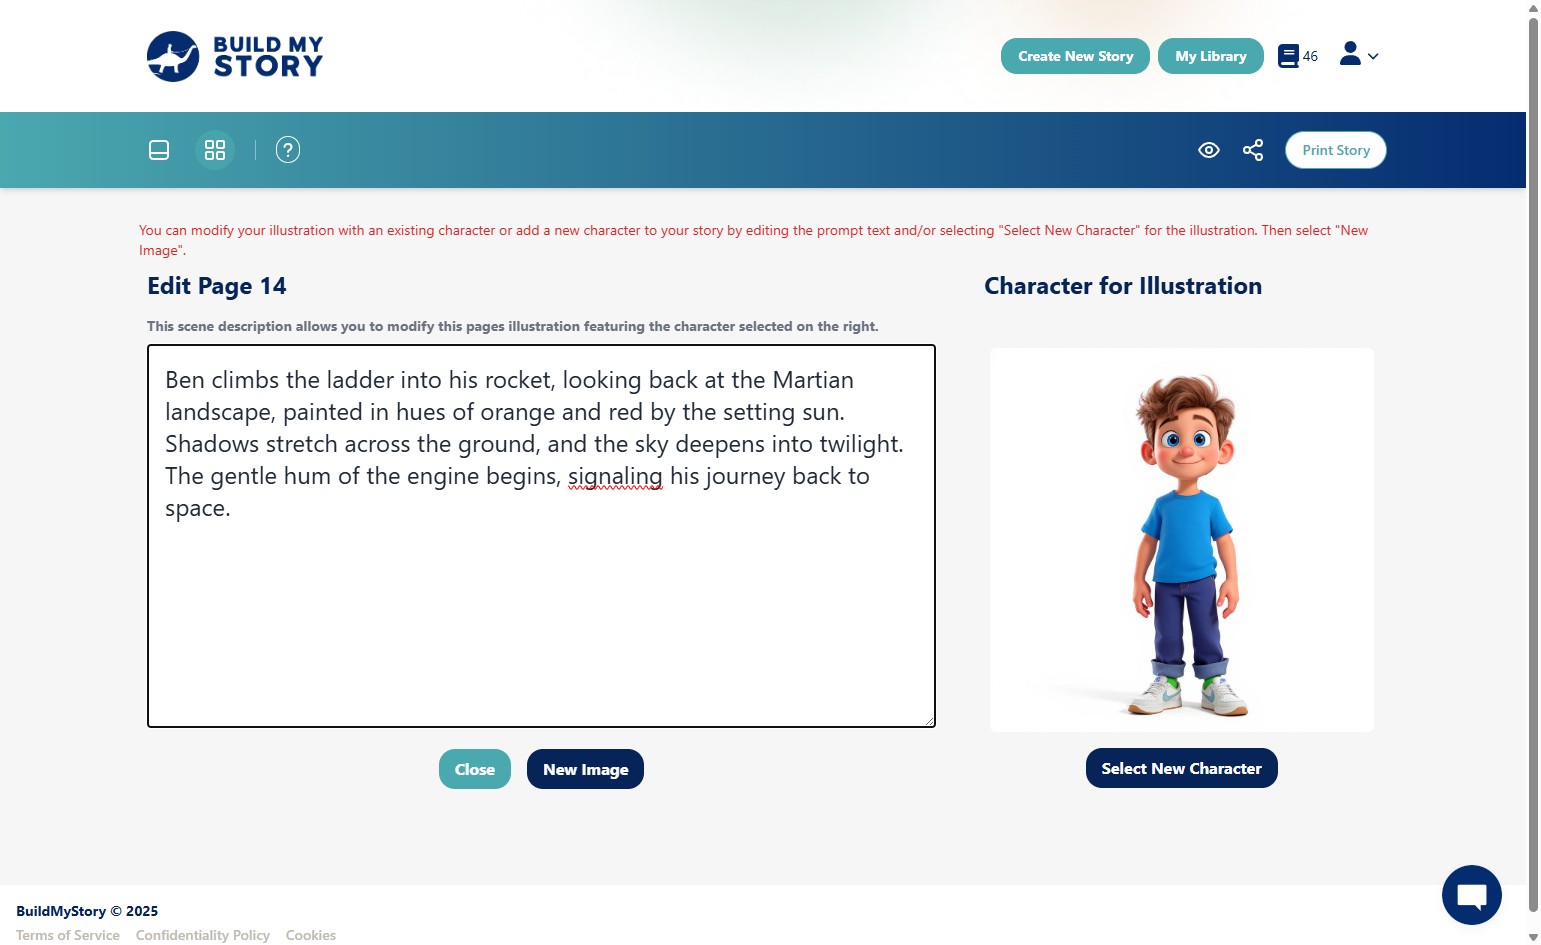
Click “Select New Character.”
You’ll be able to pick an existing character from your character library or create a new one. If you need help, see the Build My Character guide.
Select character then click “Select Existing Character”
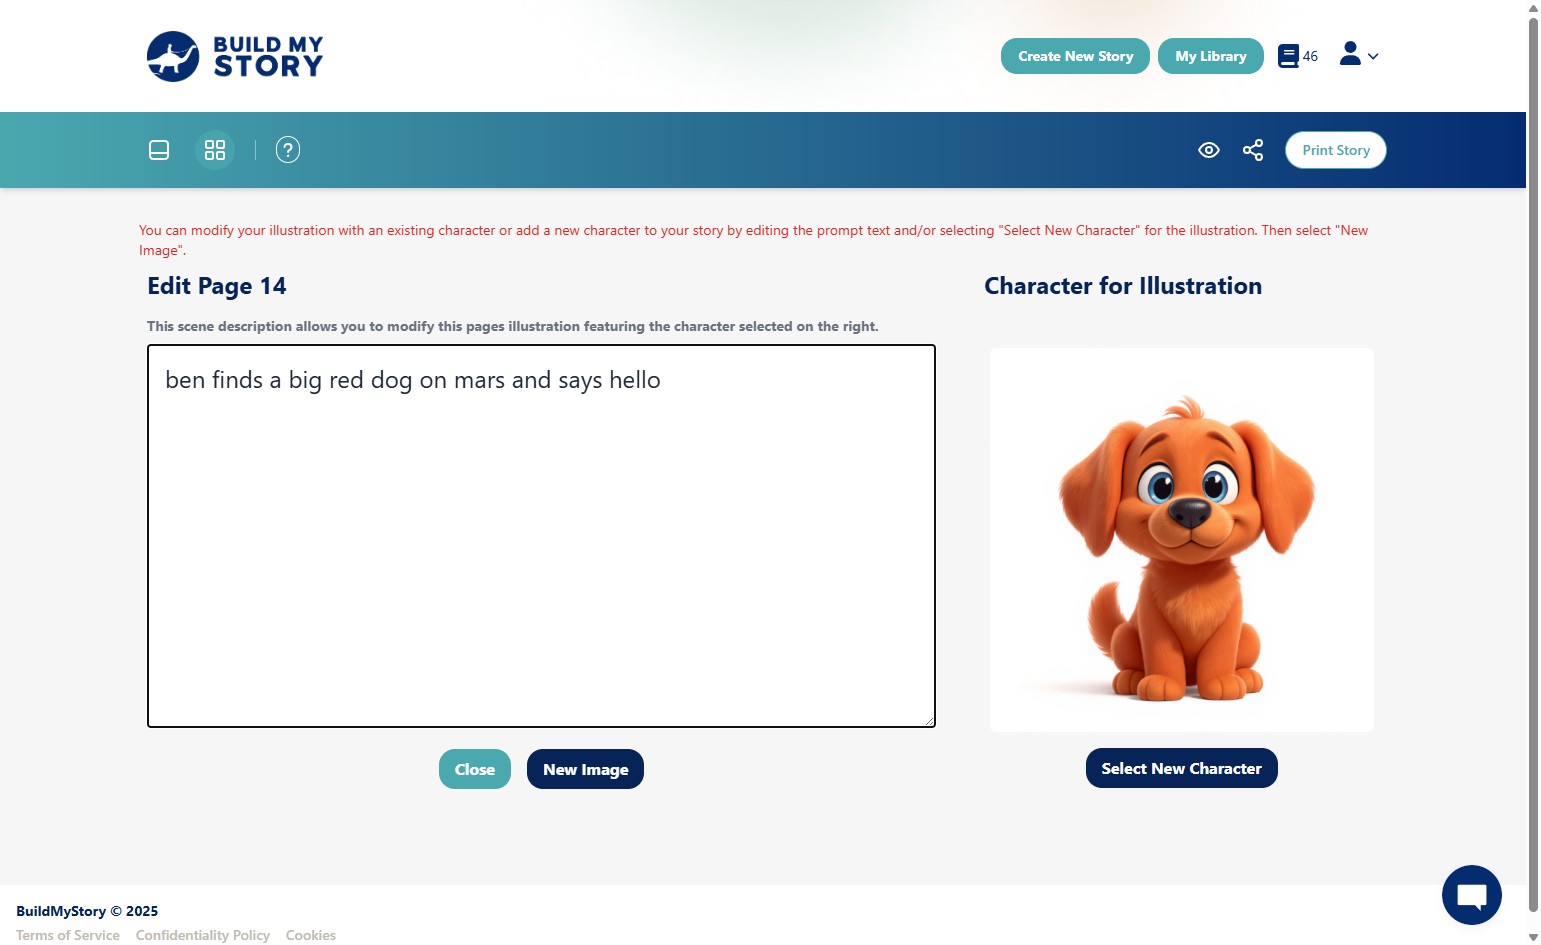
Then click “New Image” and make sure to update the text to reflect your new character. Note: only one character can be added per image for now.
How To Edit The Book Title
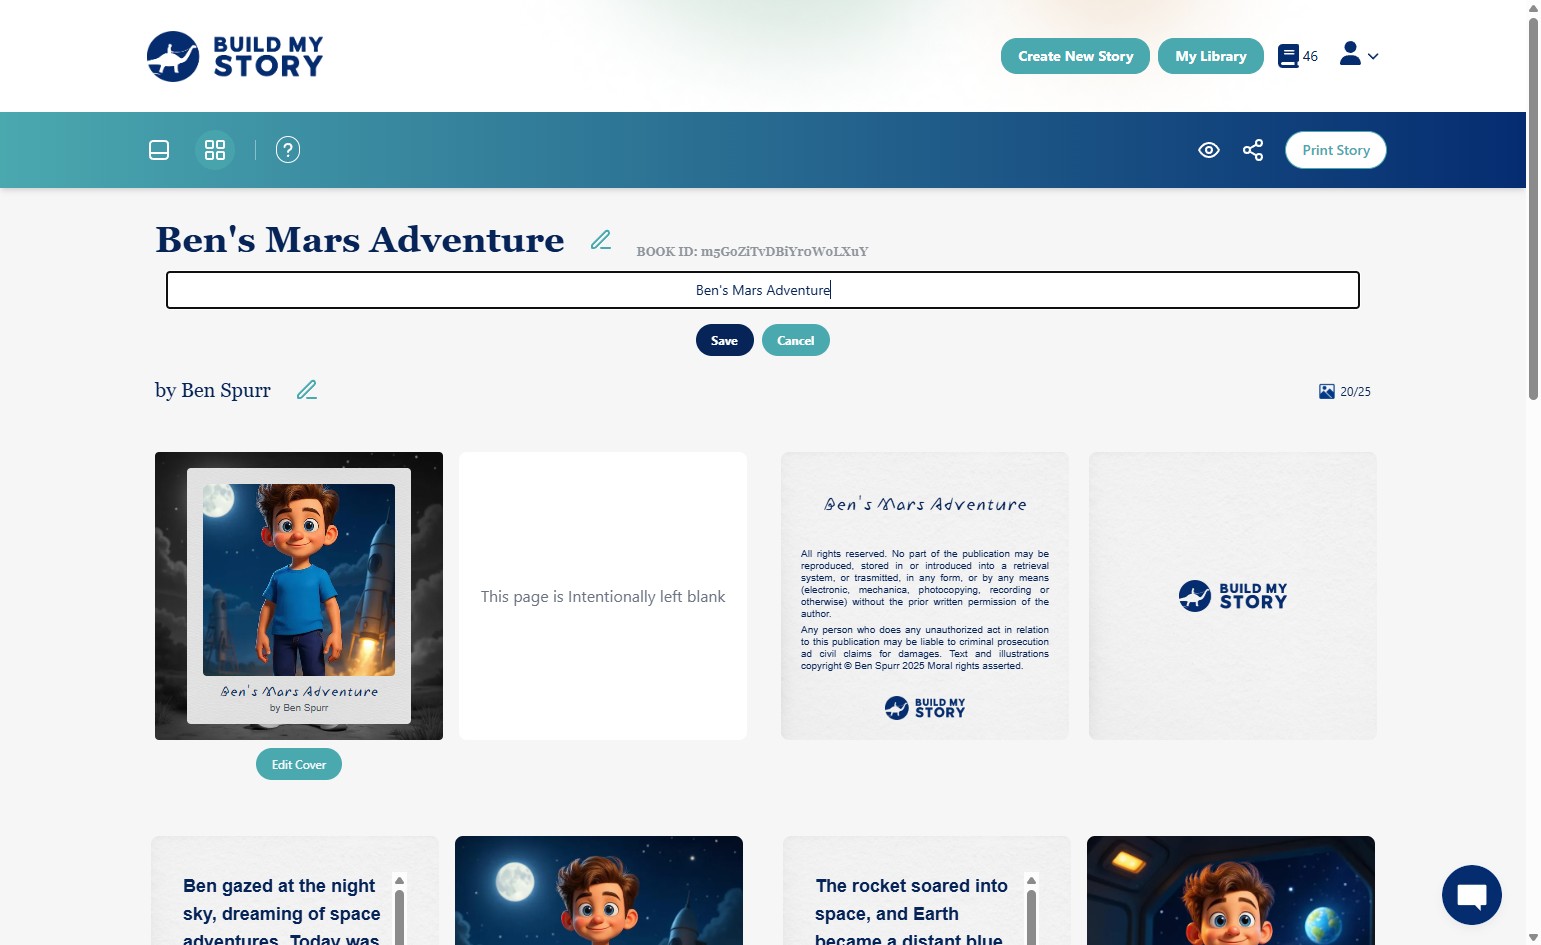
Click the pencil icon next to the book title, type your changes, then click “Save.”
How To Edit The Author Name
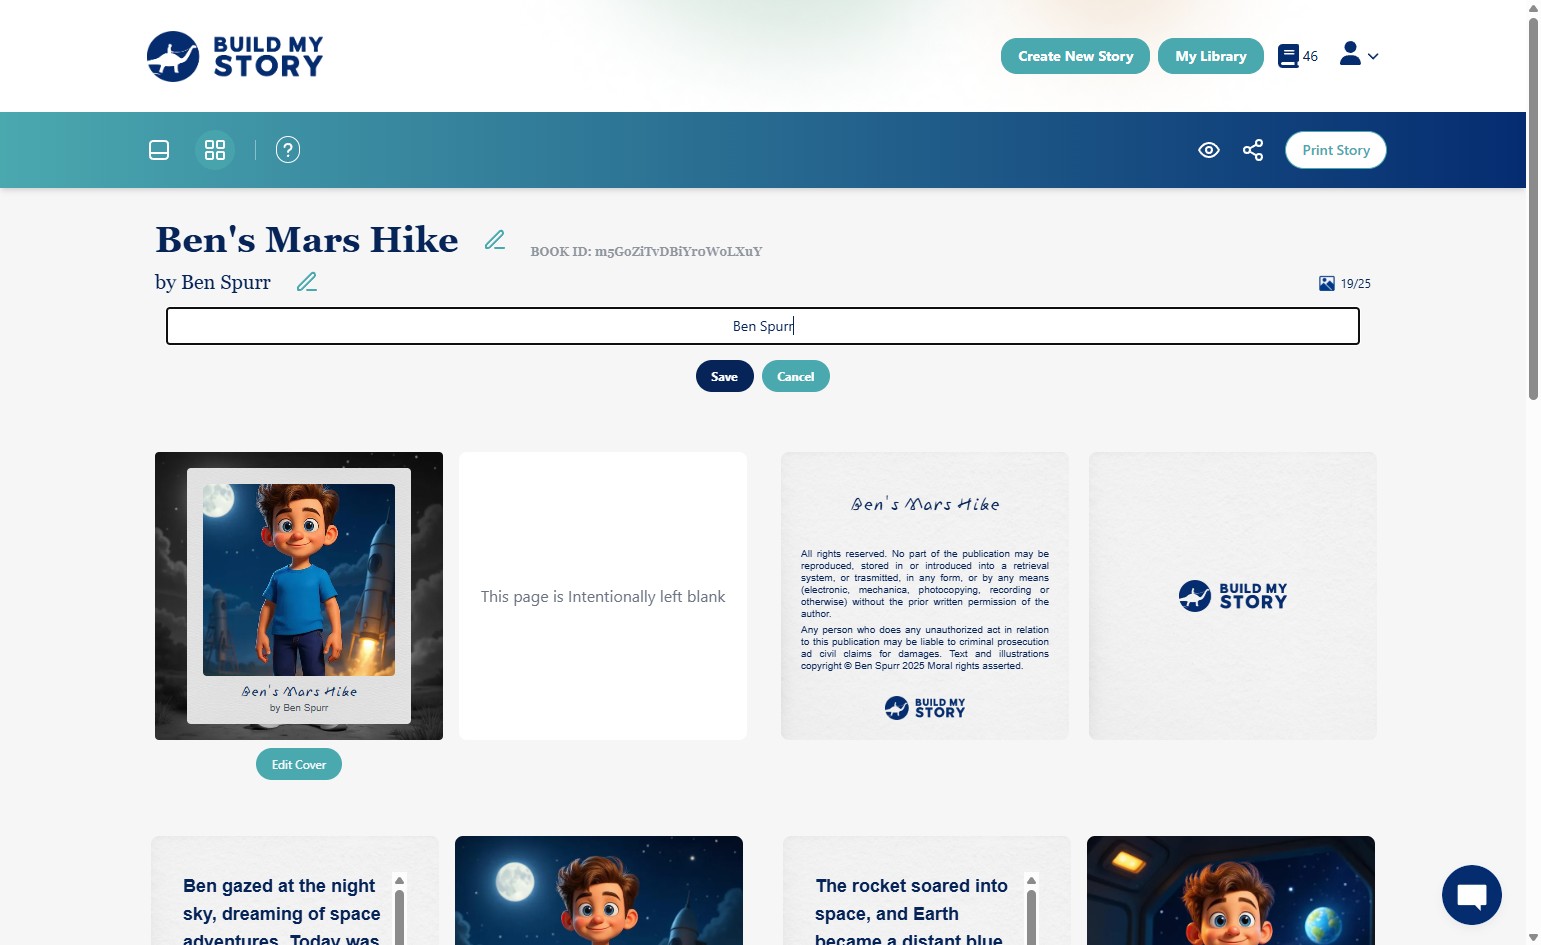
Click the pencil icon next to the author name, type your changes, and click “Save.”
How to Run the Program in Class
This guide shows you how to run a successful Build My Story session in your classroom from start to finish. You’ll learn how to add students, prepare your materials, log students in, help them create their books using worksheets, and support them through the editing and celebration steps. Everything is covered in order so you can run your session smoothly and confidently.
How to Add Students
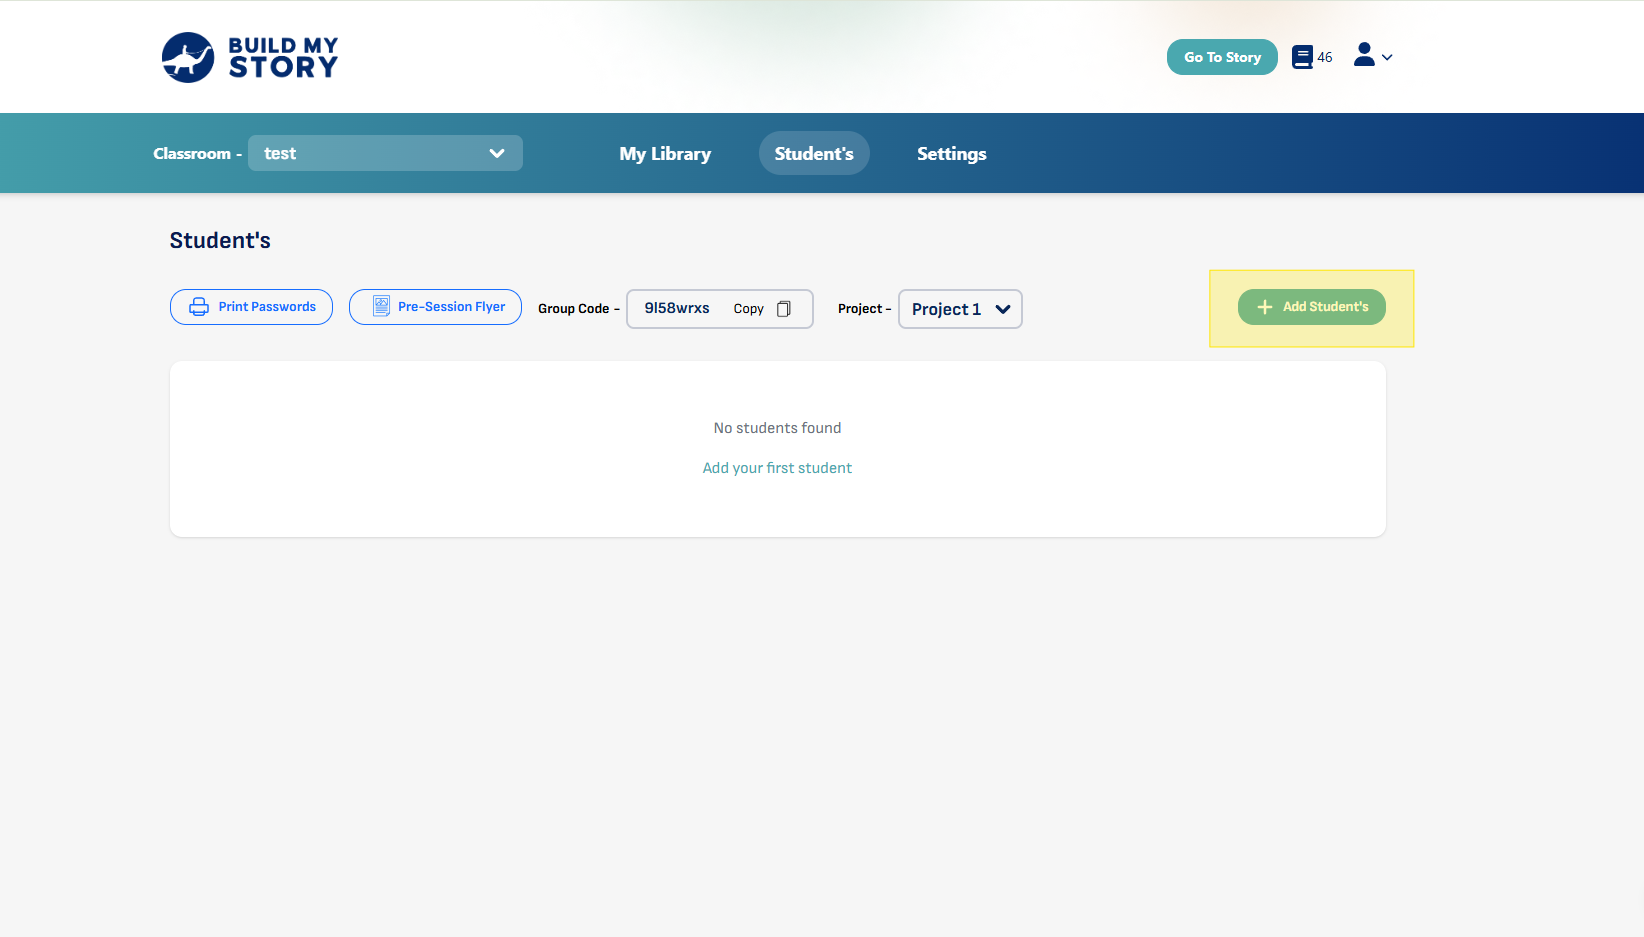
Click on “Add Students” and then continue to follow the steps outlined in the Add Students guide HERE.
How to Download Pre-Session Flyers
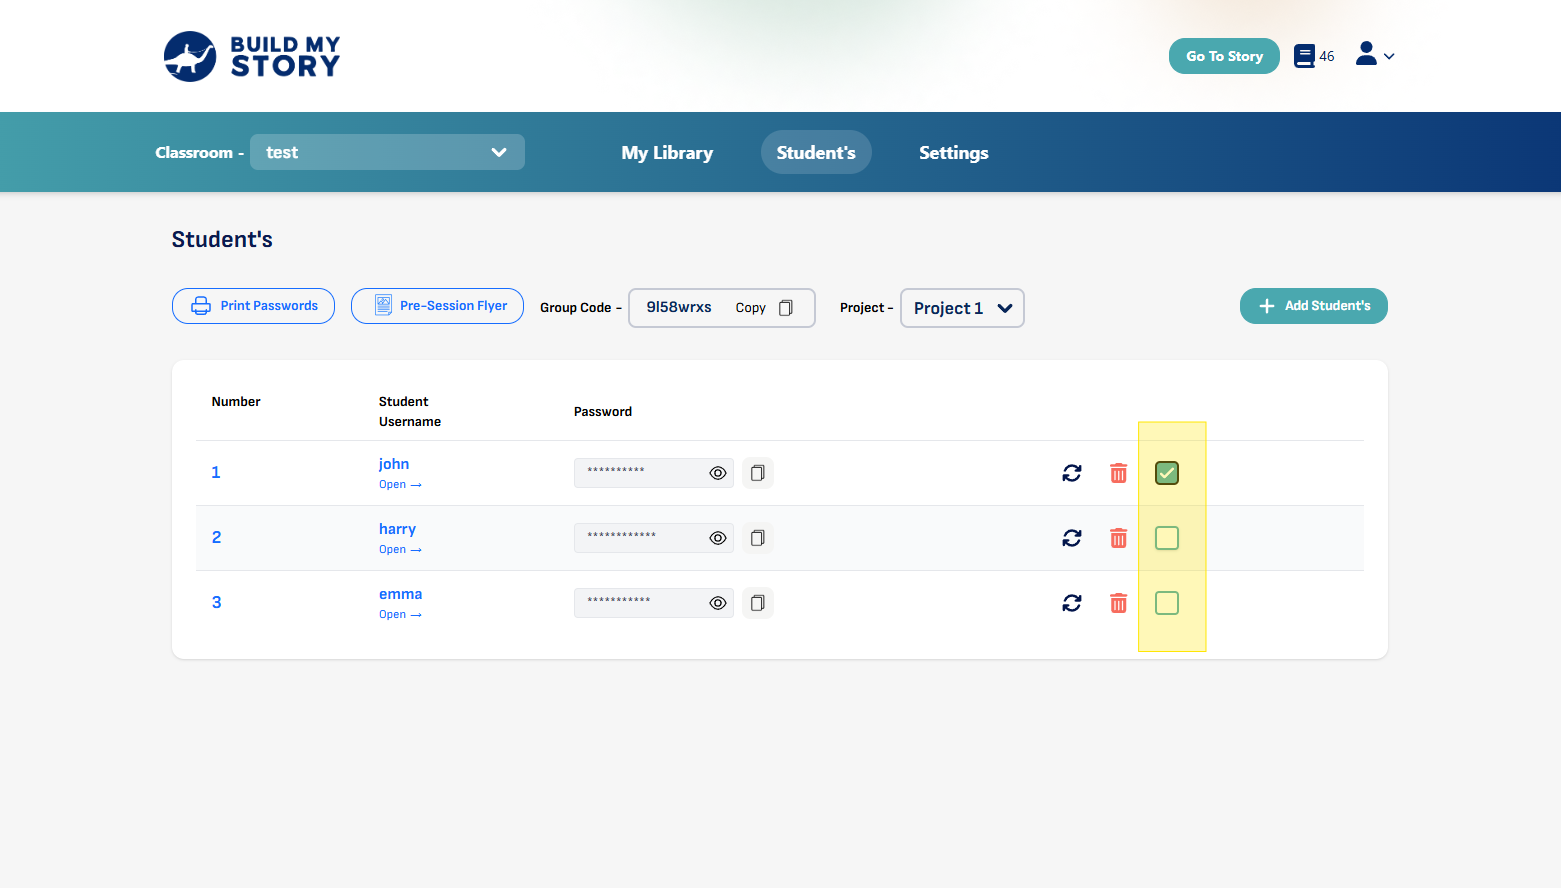
Select all Students participating in class
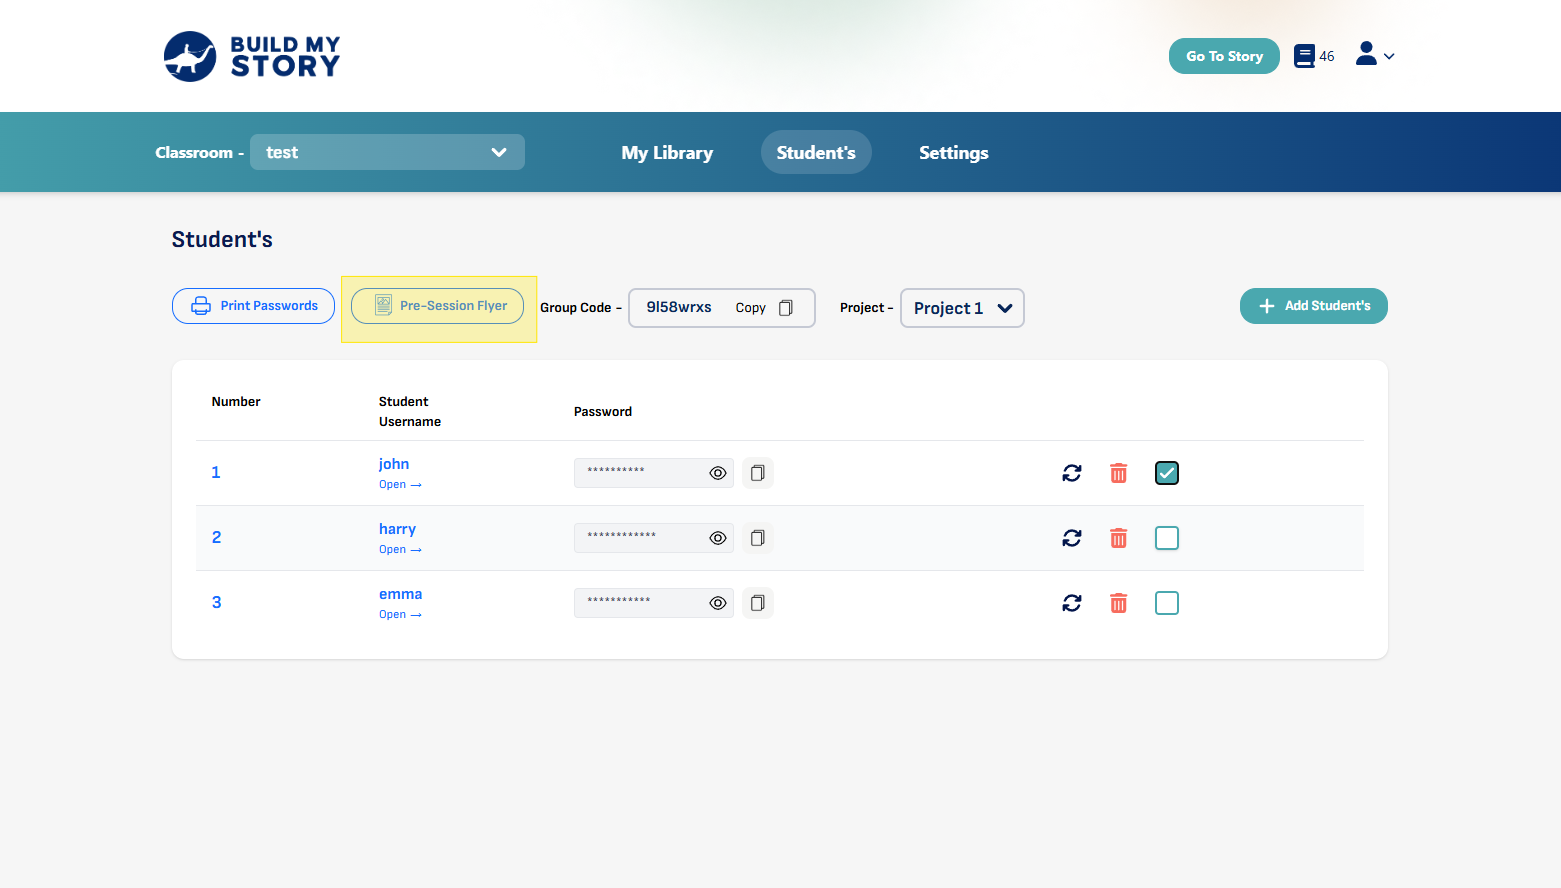
Click “Pre-Session Flyer”
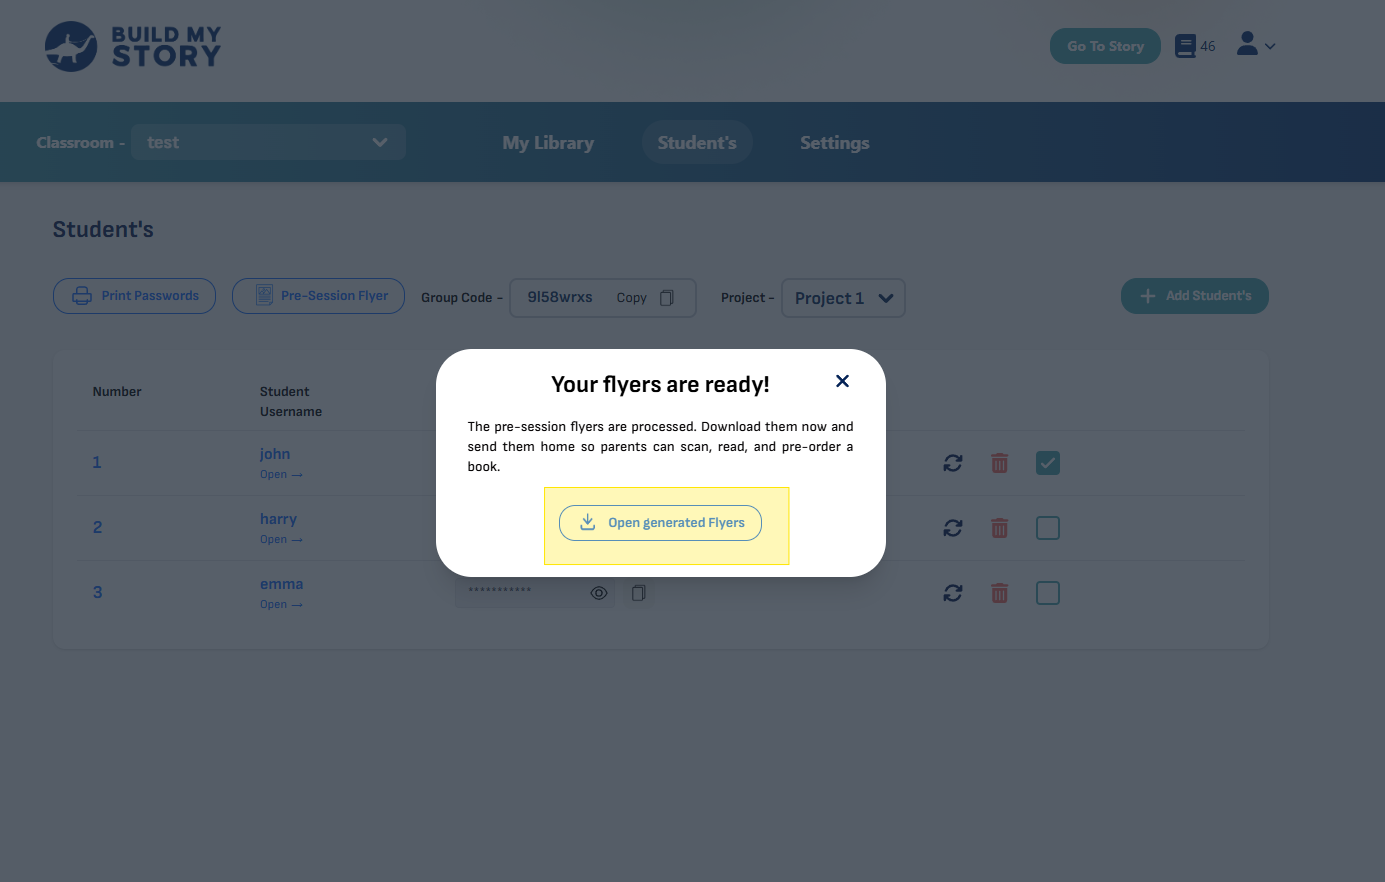
Click to “Open Generated Flyers”
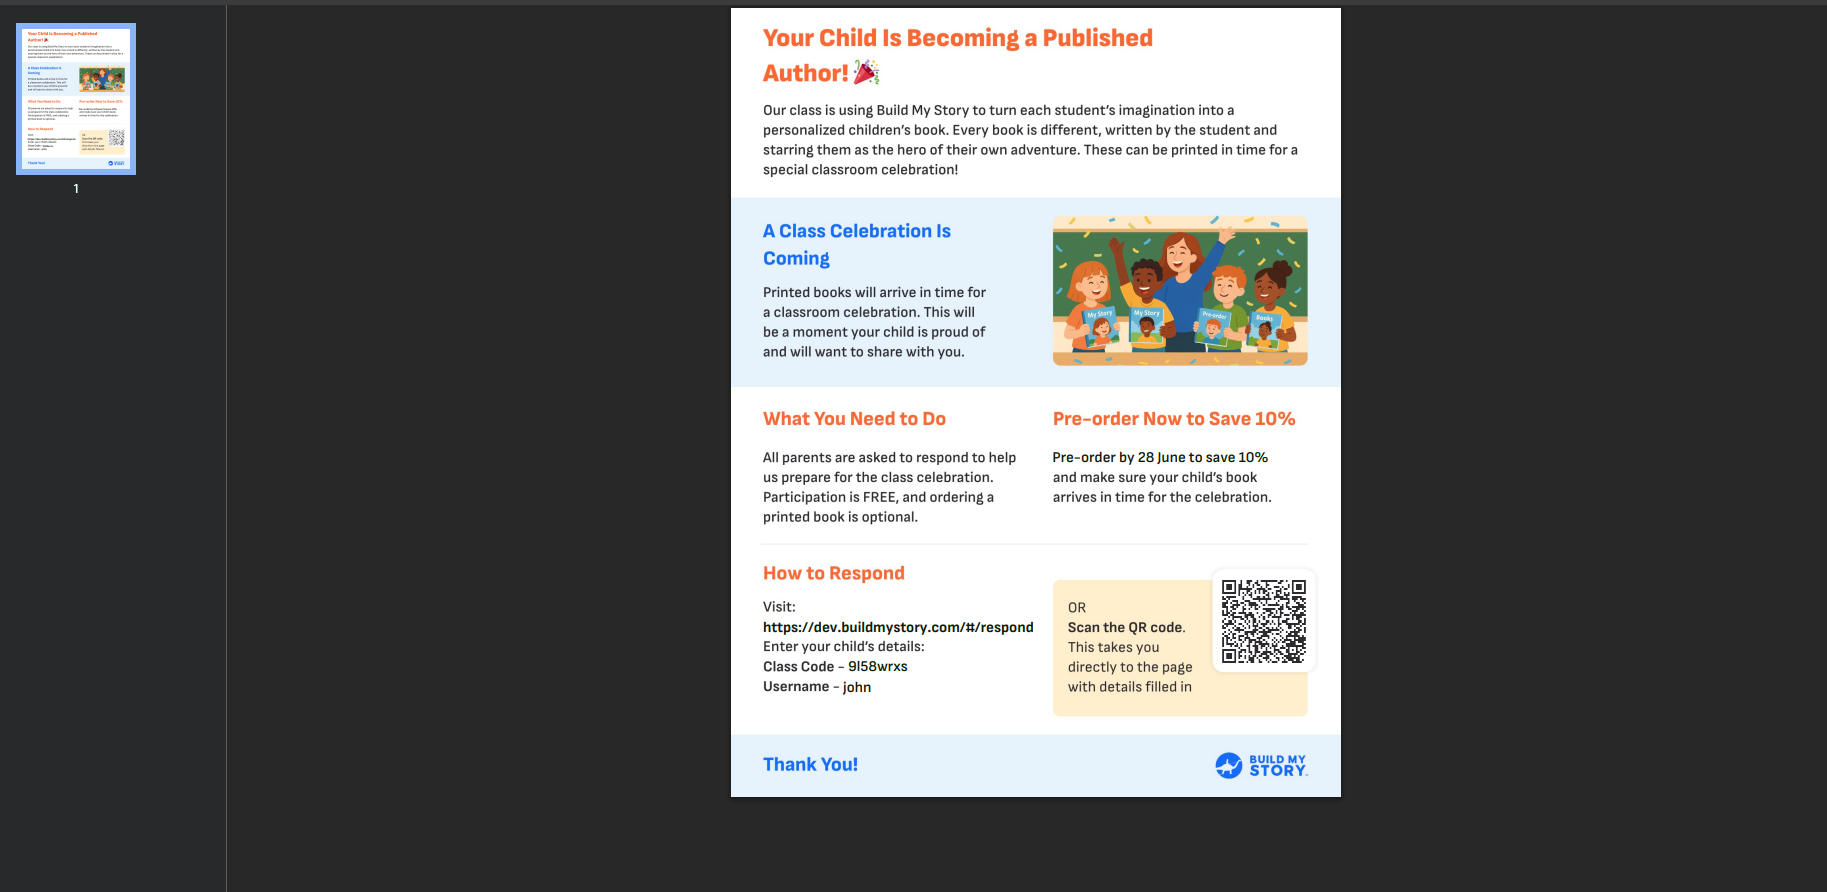
A new tab will open with a file containing flyers for every student in your class. Print the flyers and send them home with students to share with a parent or guardian. This gives families a chance to see what their child created and preorder a book.
How To Print Student Passwords
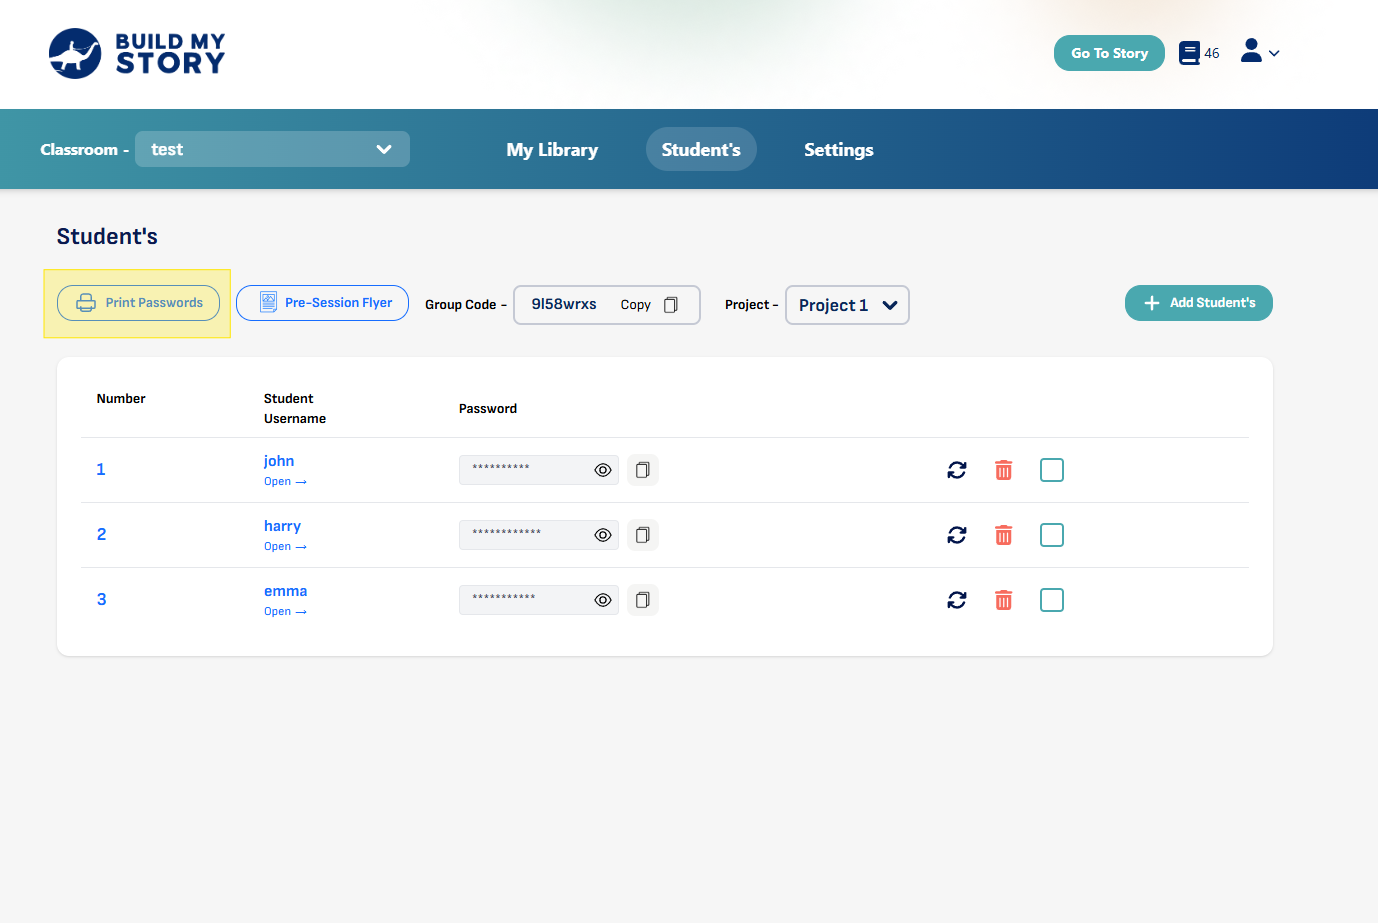
Click “Print Passwords”
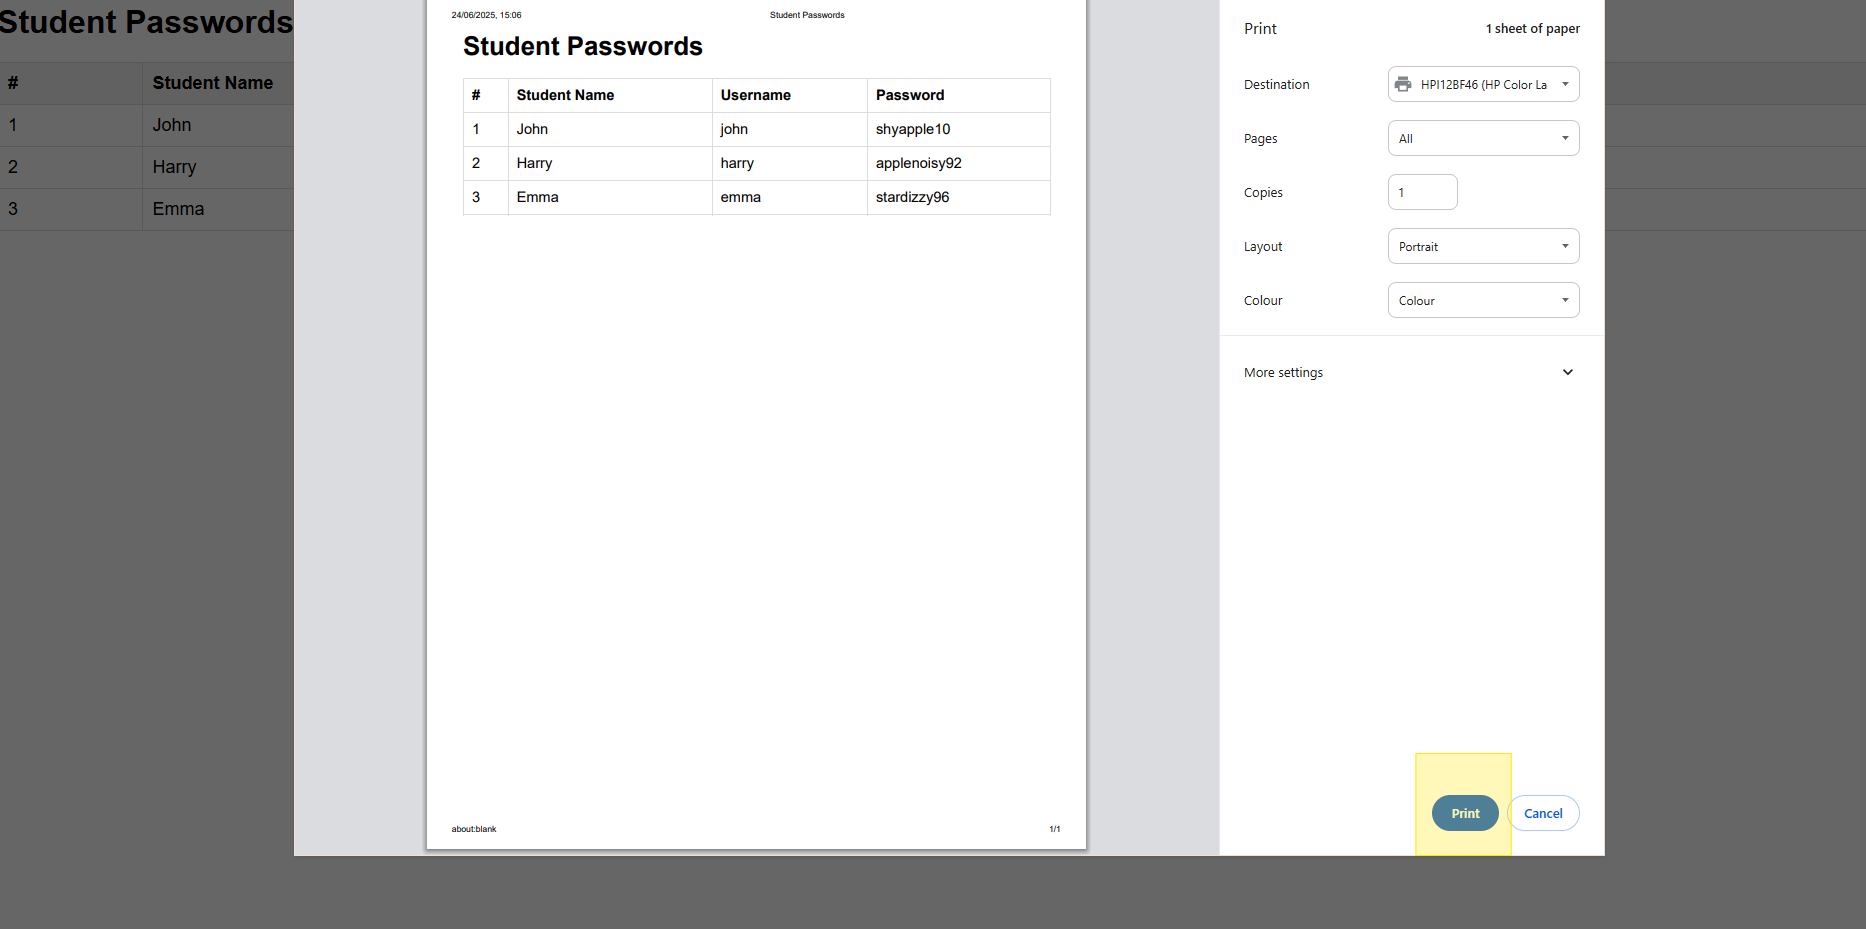
Print and handout login details for students and then proceed to next step.
How To Log Students Into Devices
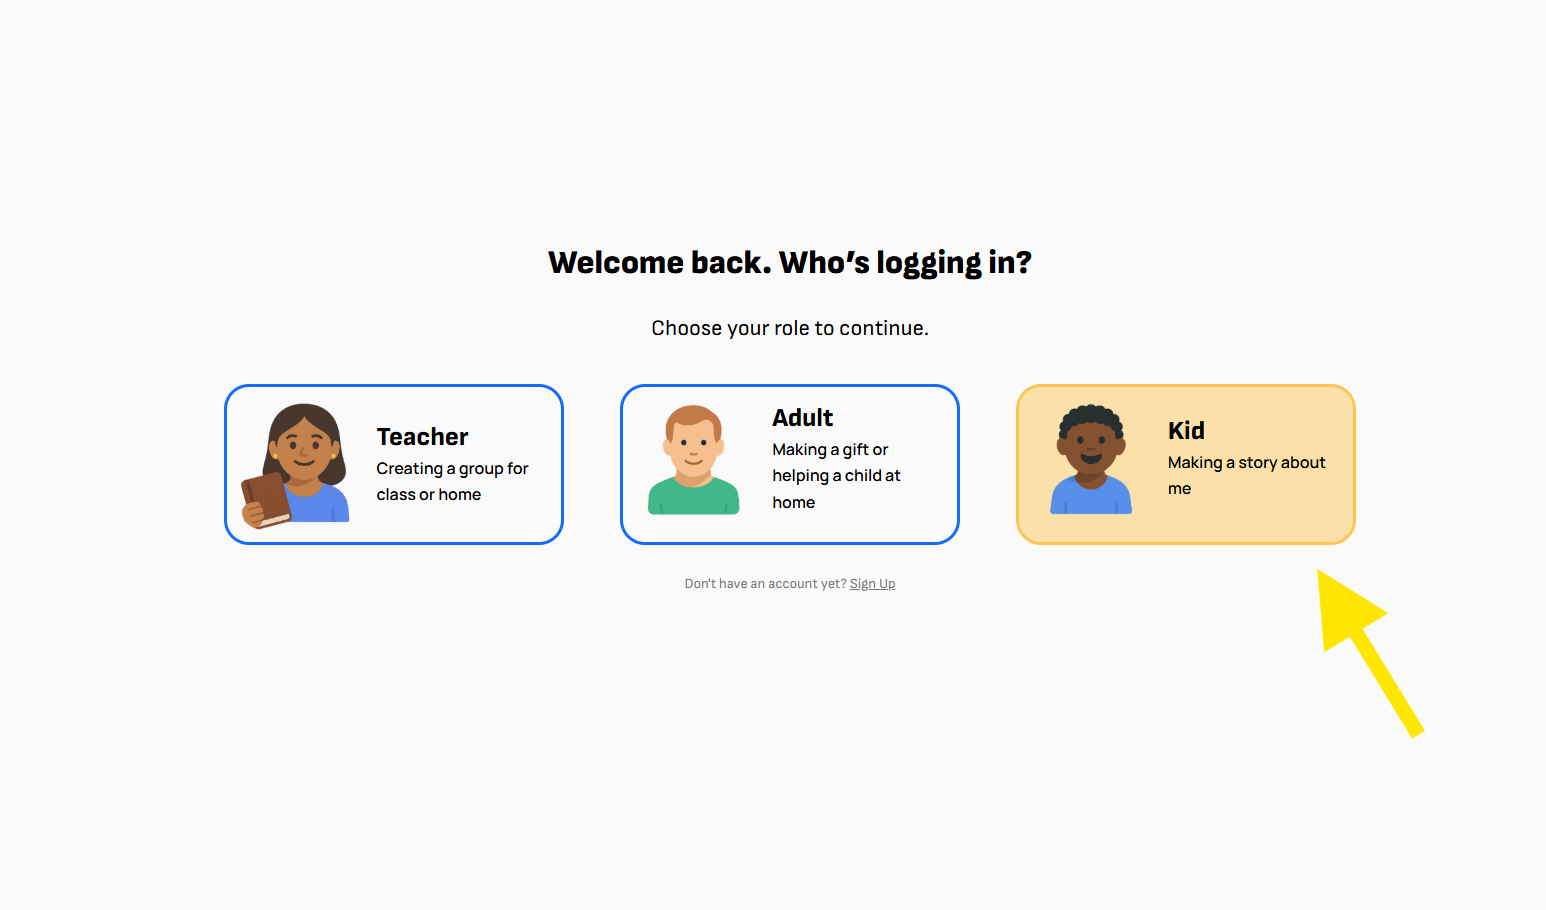
Open up devices for each student and then head over to the Log In Page
Then each student needs to select ‘Kid’
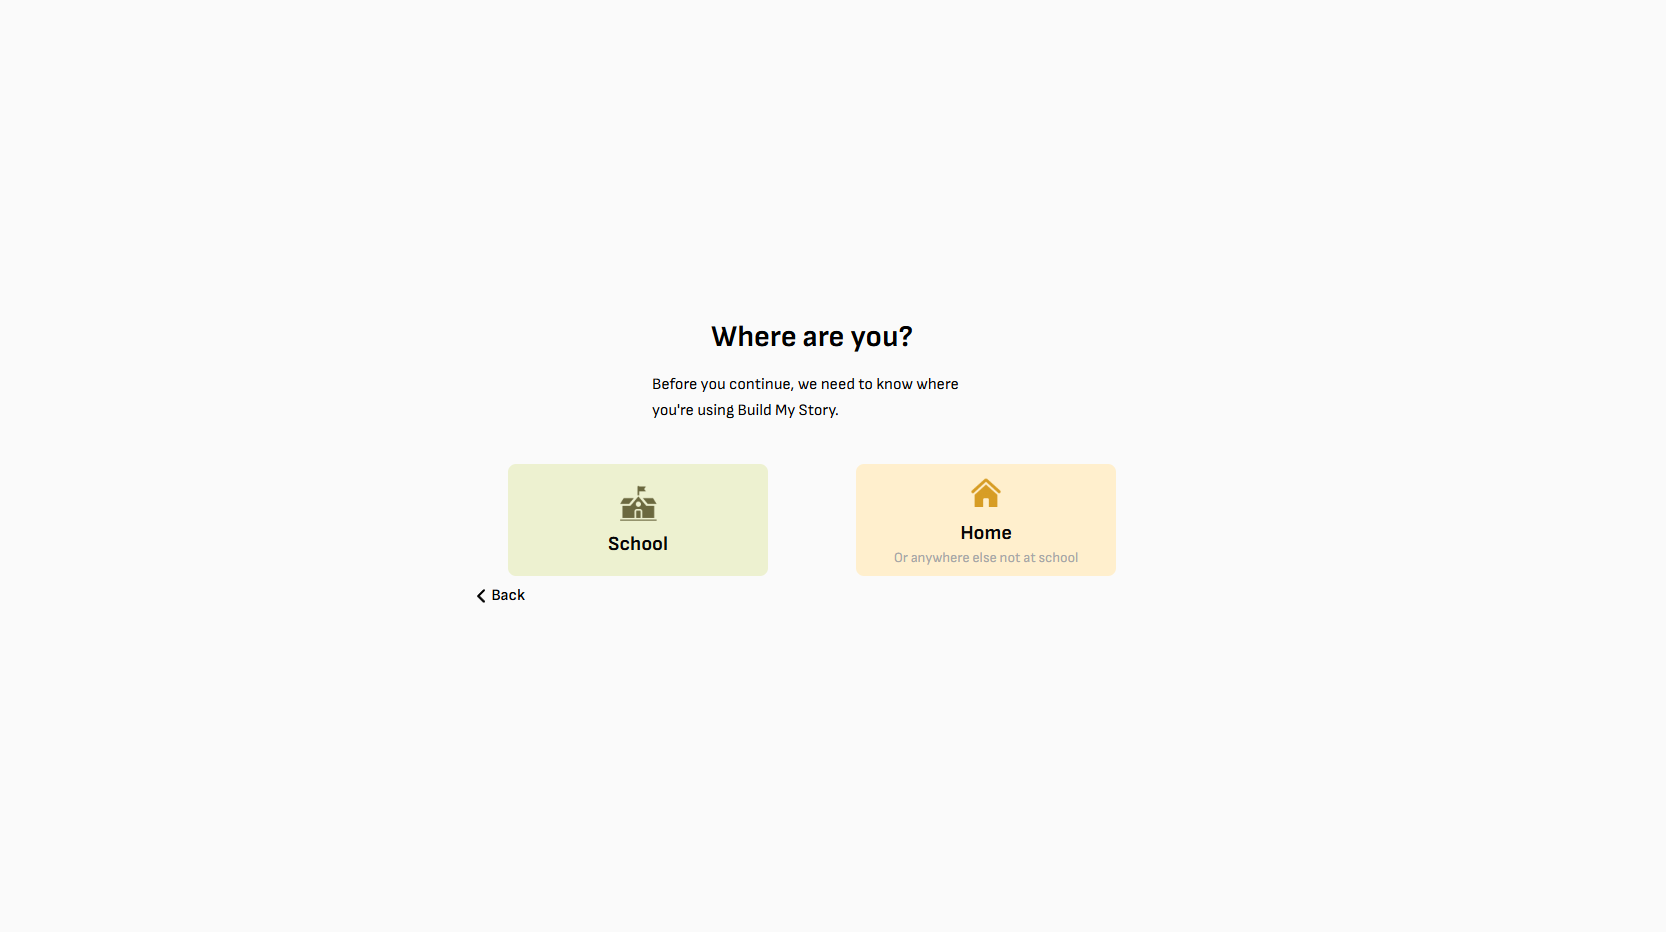
Choose the suitable option, whether you are running the program in school or as a homework task. Note that if the student is logging in at home, their parent or guardian needs to create an account to monitor.
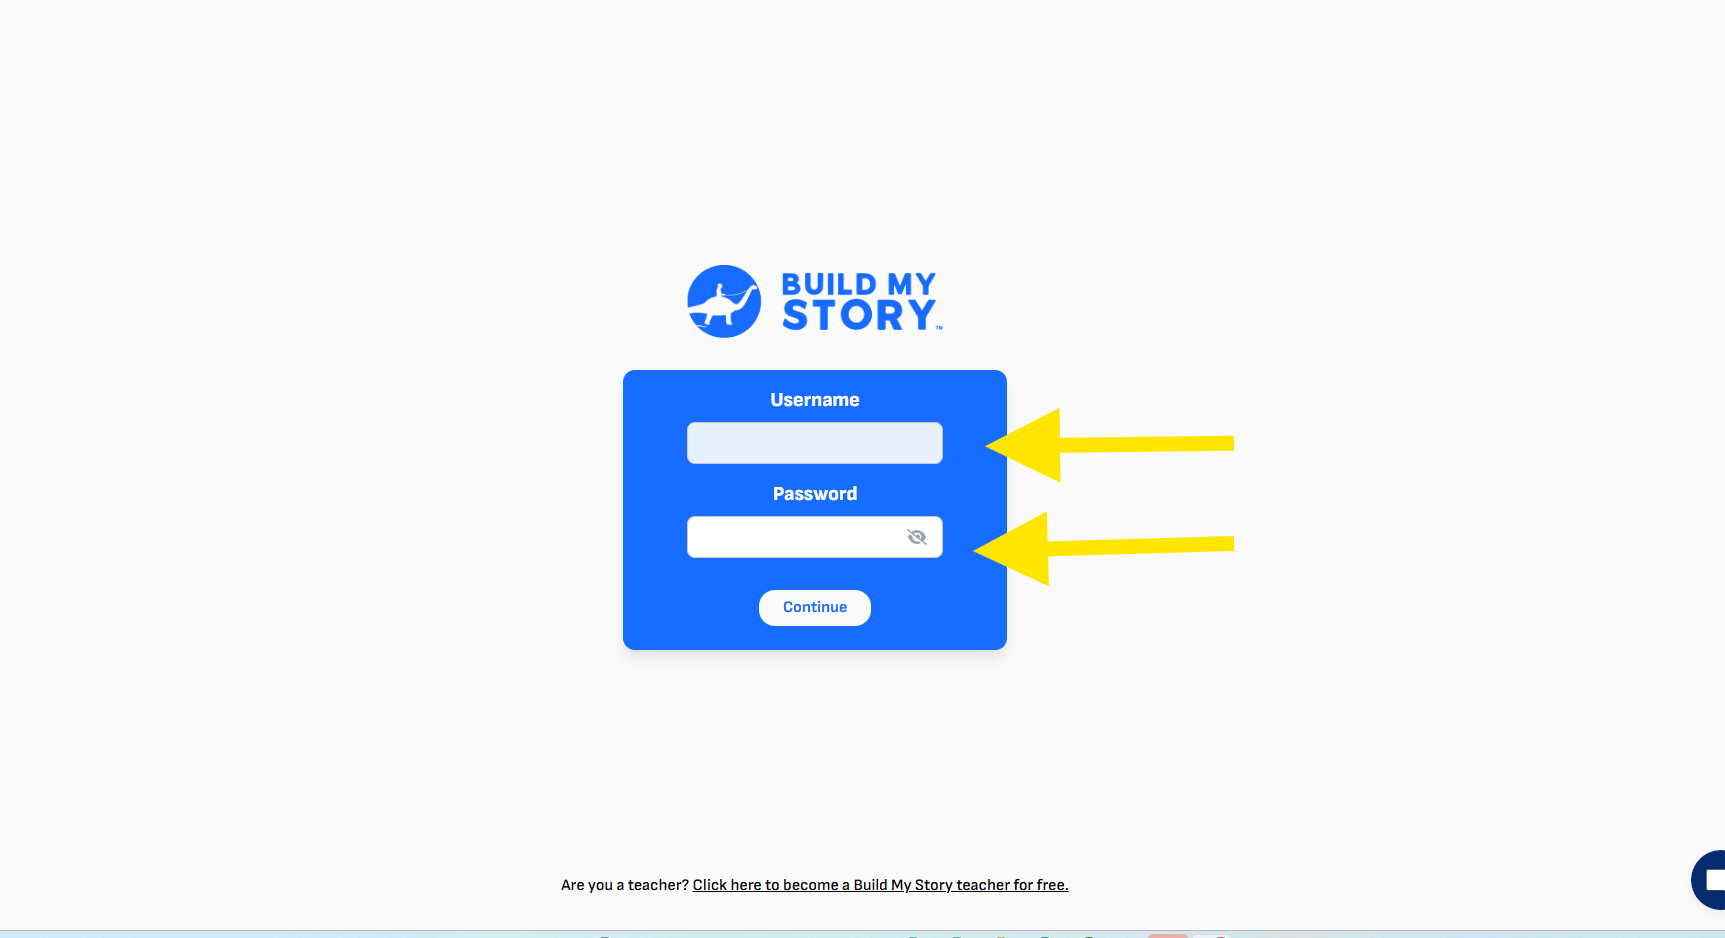
This is the student login page. Each student will now have a Username and password. They are to enter the details and login.
Then each student will follow the sameprocess outlined in How To Make Your First Book.
How To Manage Students
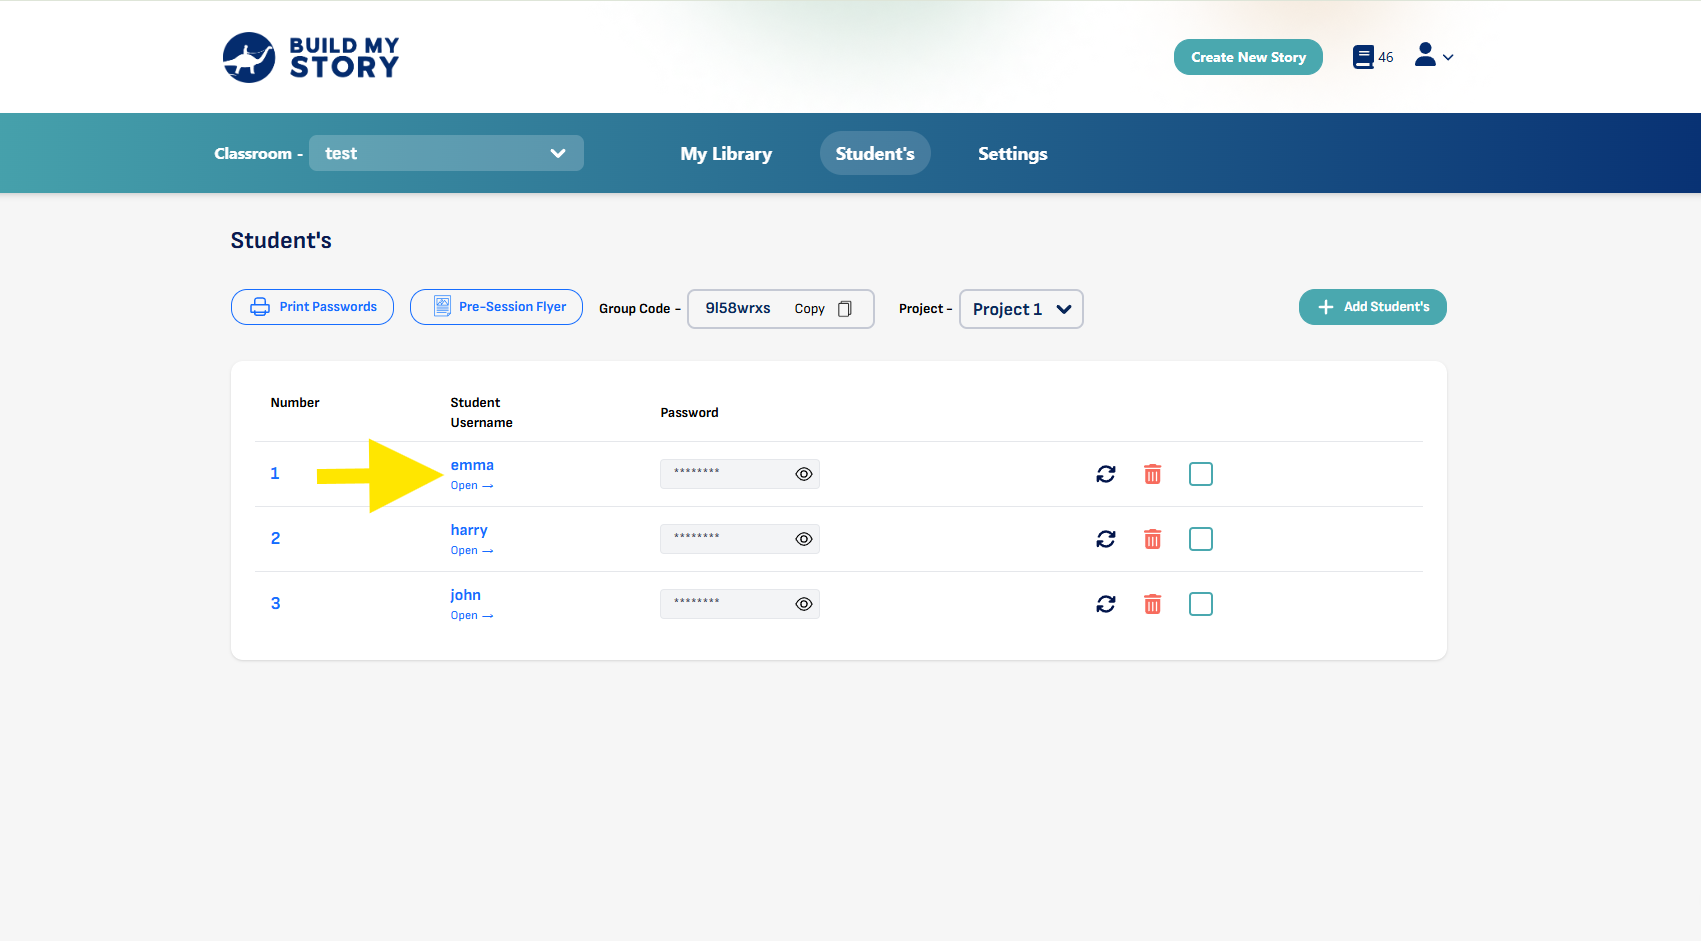
Click on a Student Username to add a book credit. This is helpful if there are any errors or your student wants to create another book.
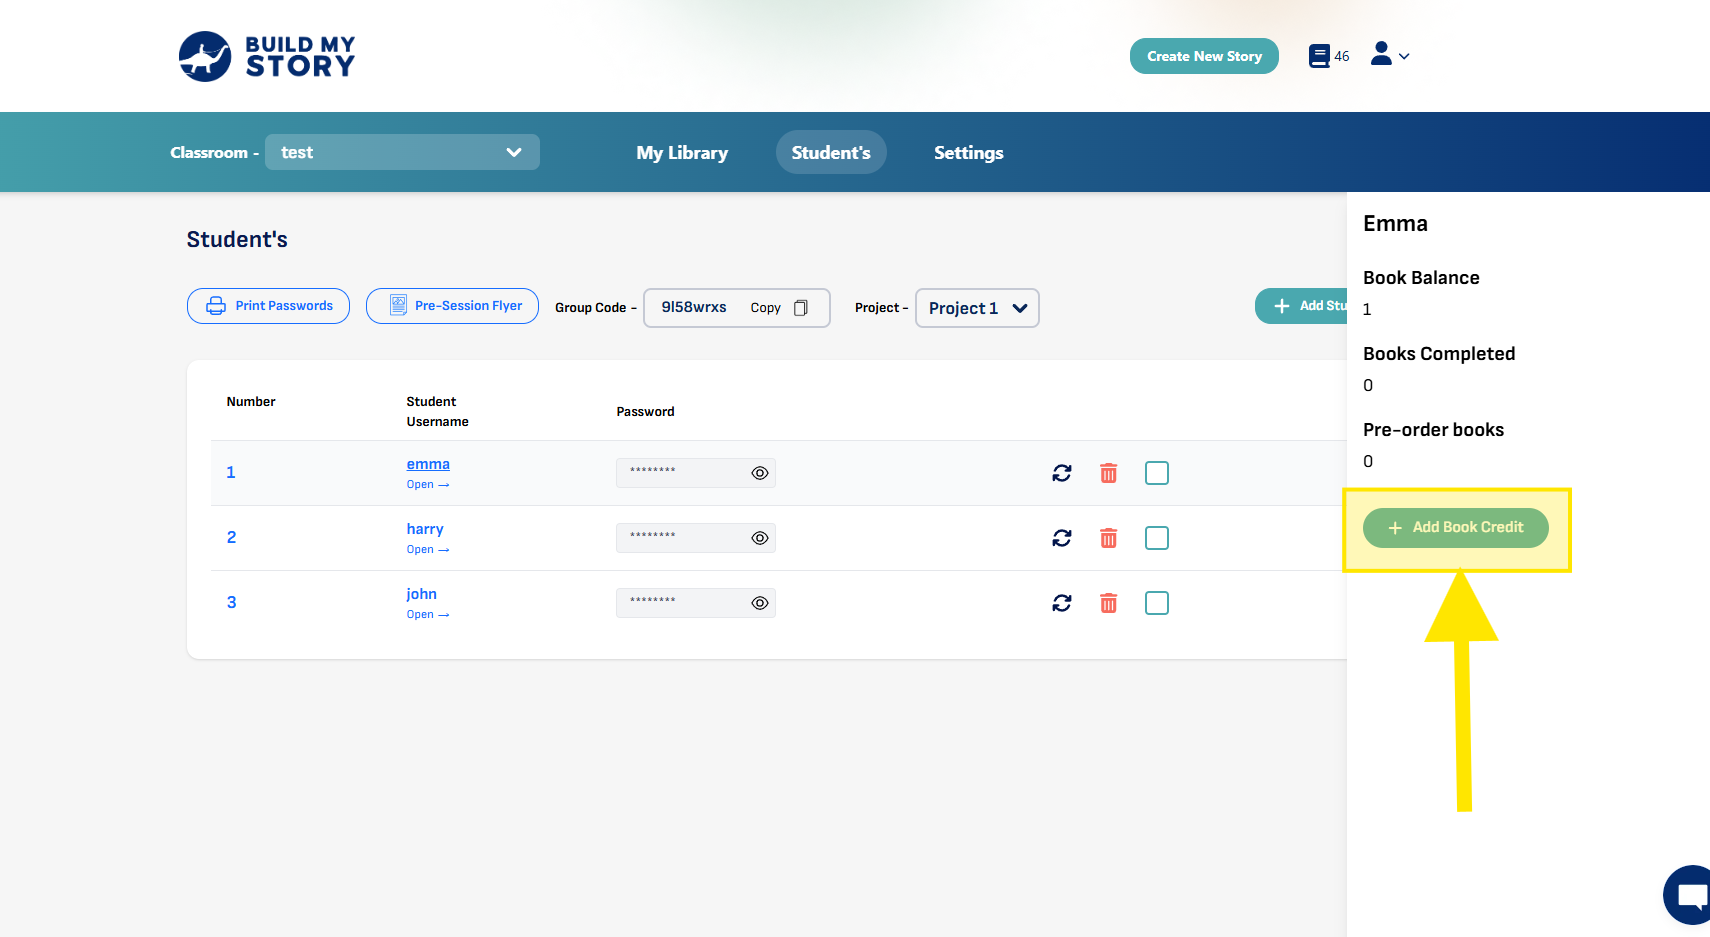
Click “Add Book Credit” which will increase the book balance by 1
How To Generate Post-Session Flyers
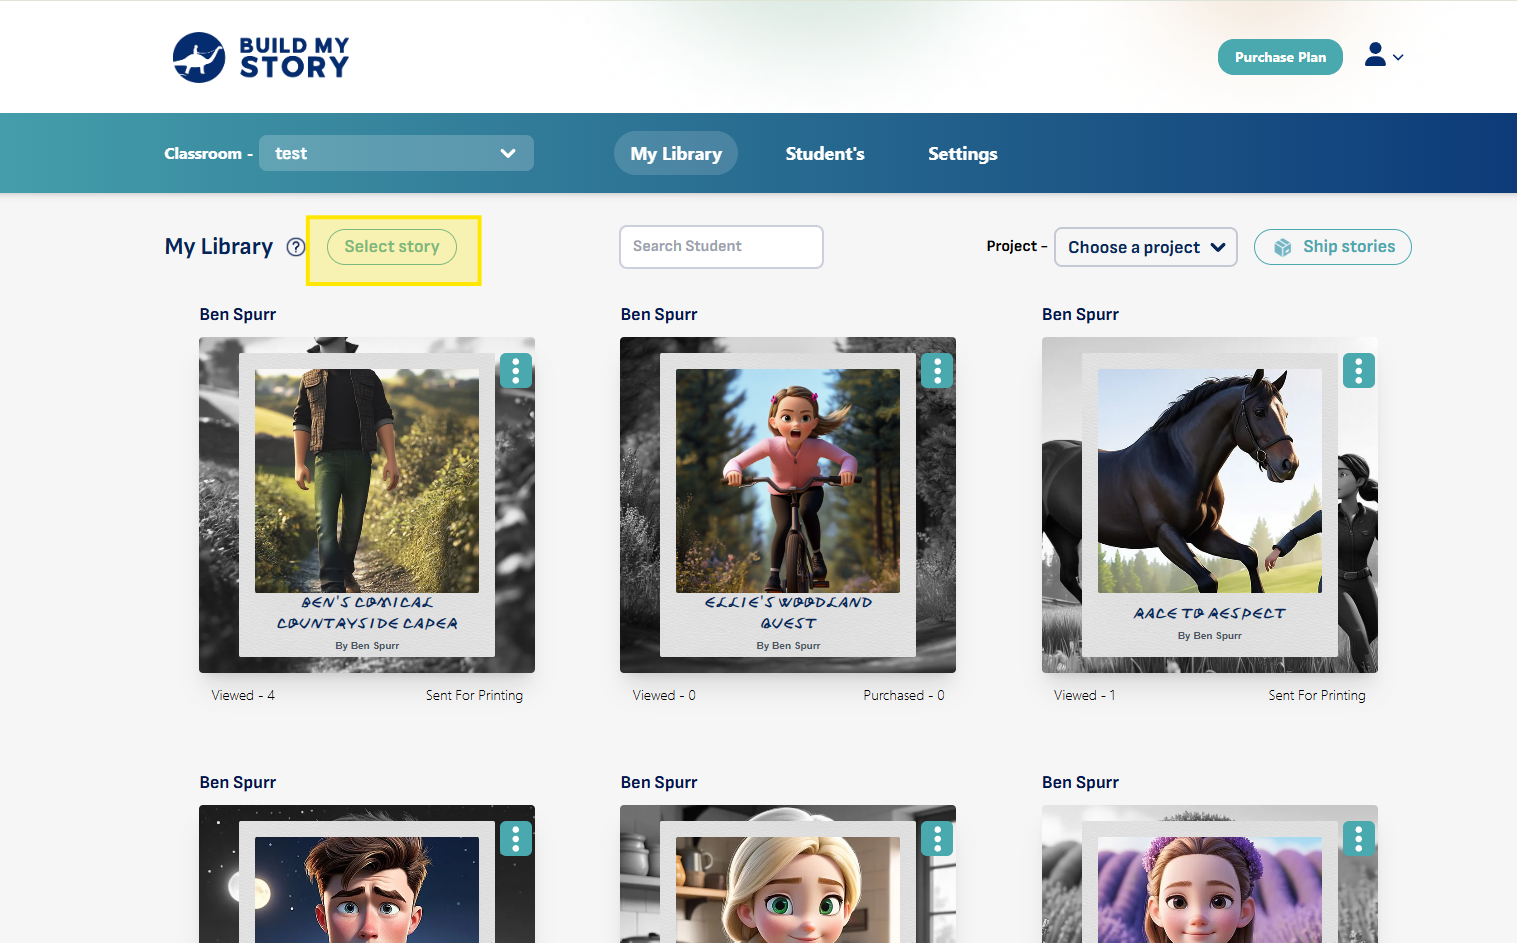
Once your students have completed the editing process, you can now send home flyers to parents for them to view and purchase the book.
To do this, click “Select Story”
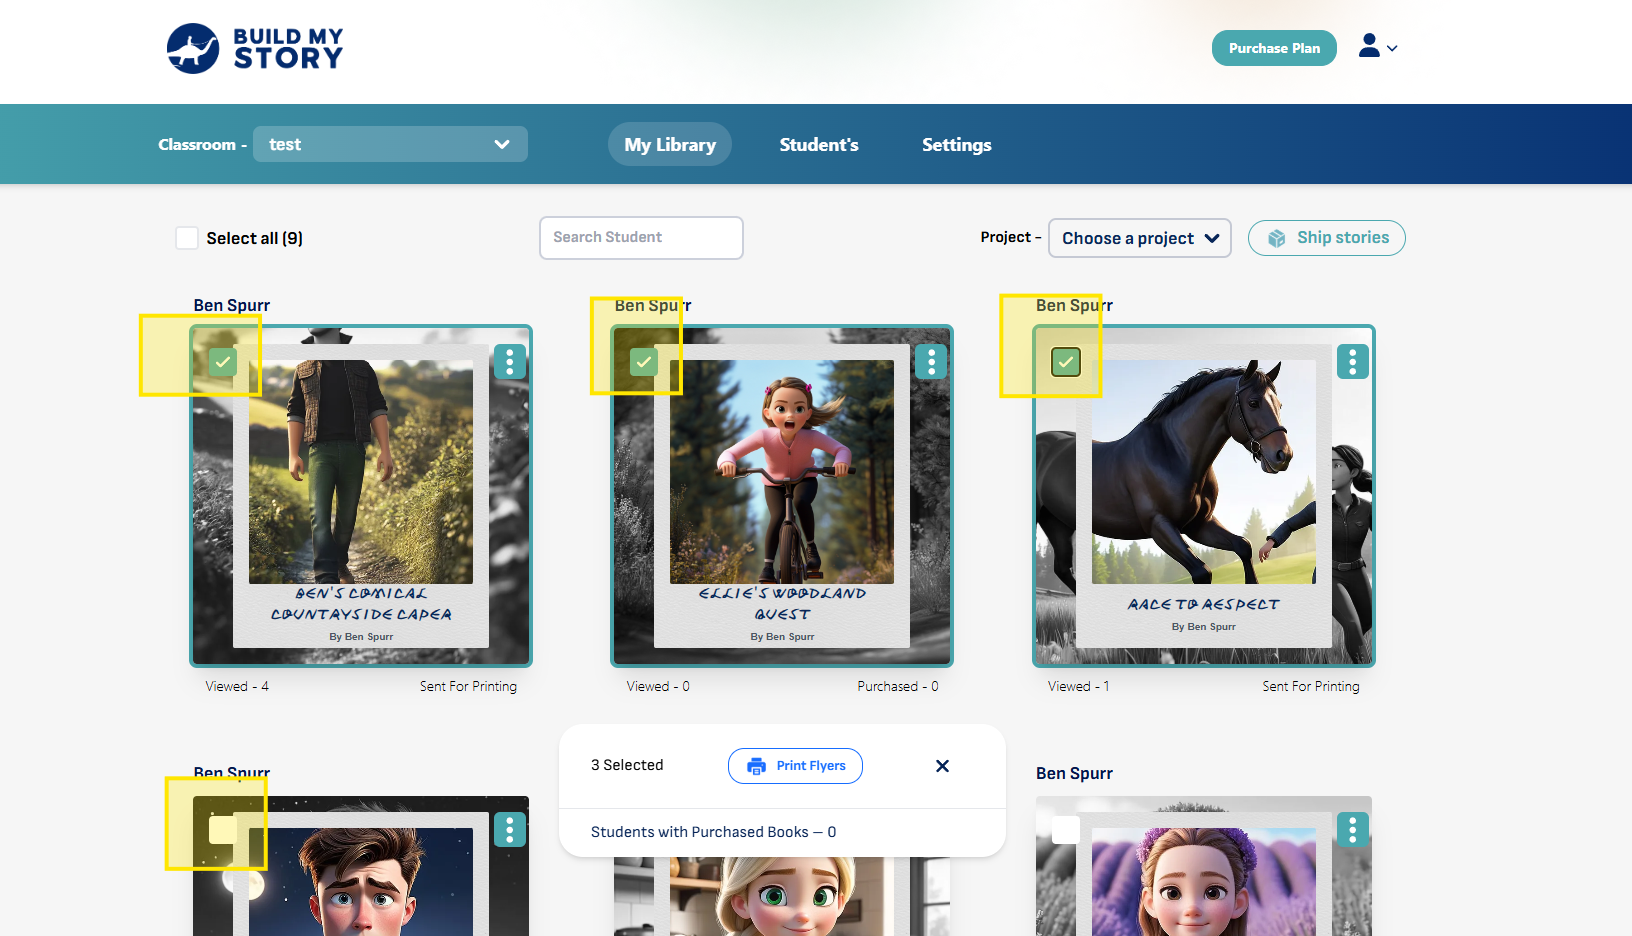
Select all stories that students have created. If students have created multiple books, then you can send home multiple flyers.
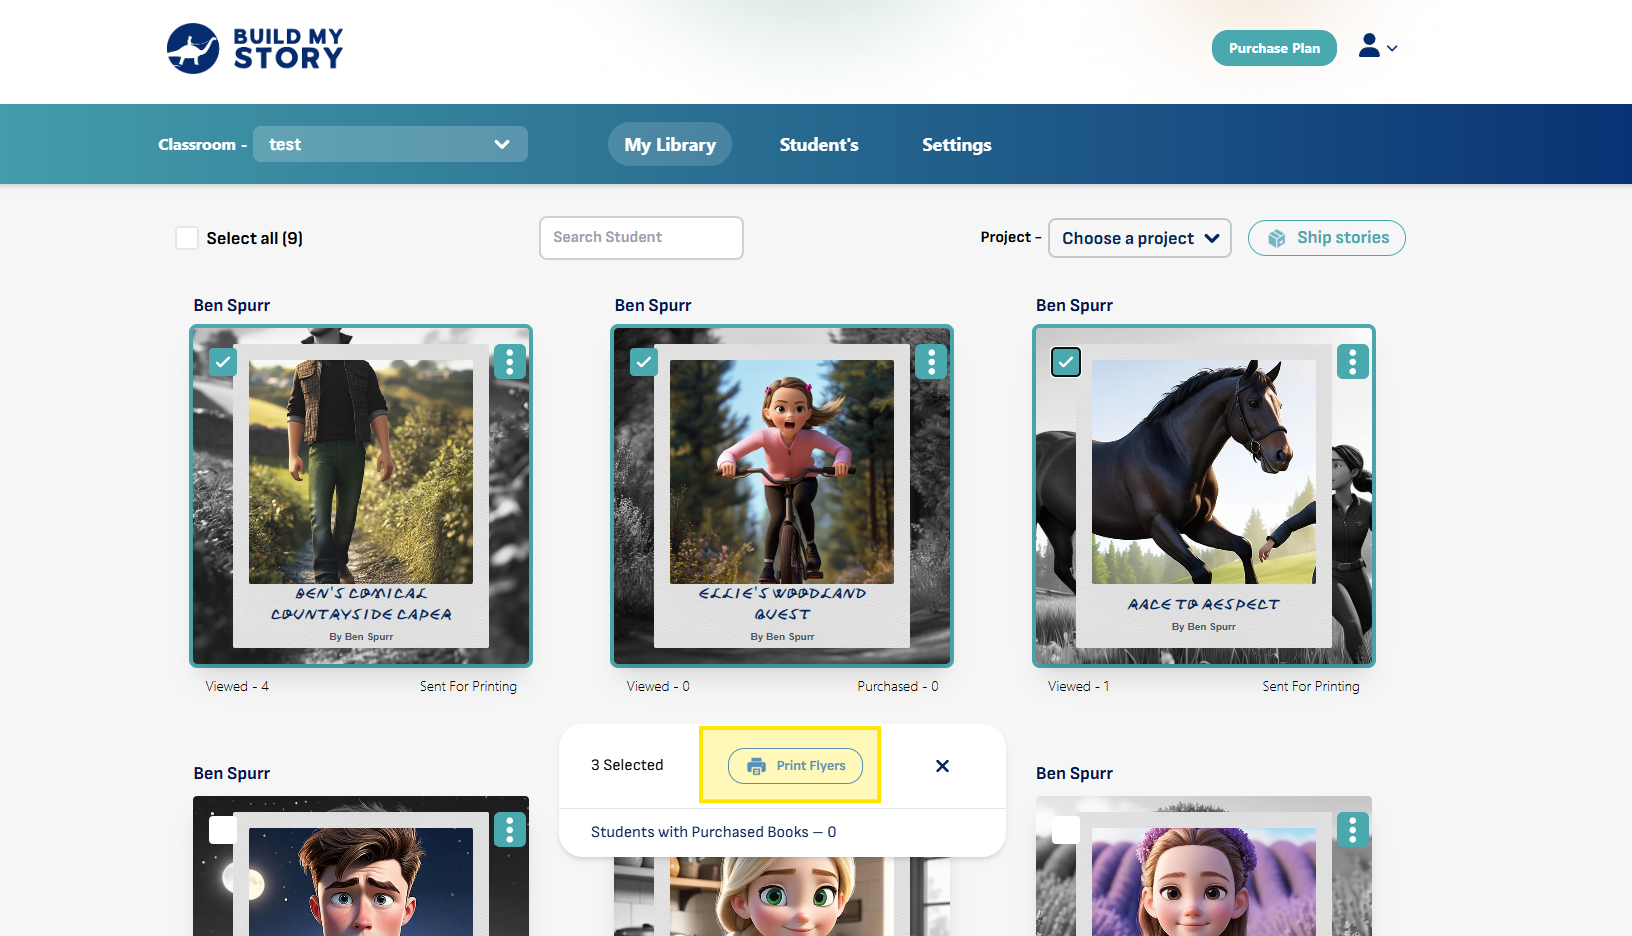
Click “Print Flyers”
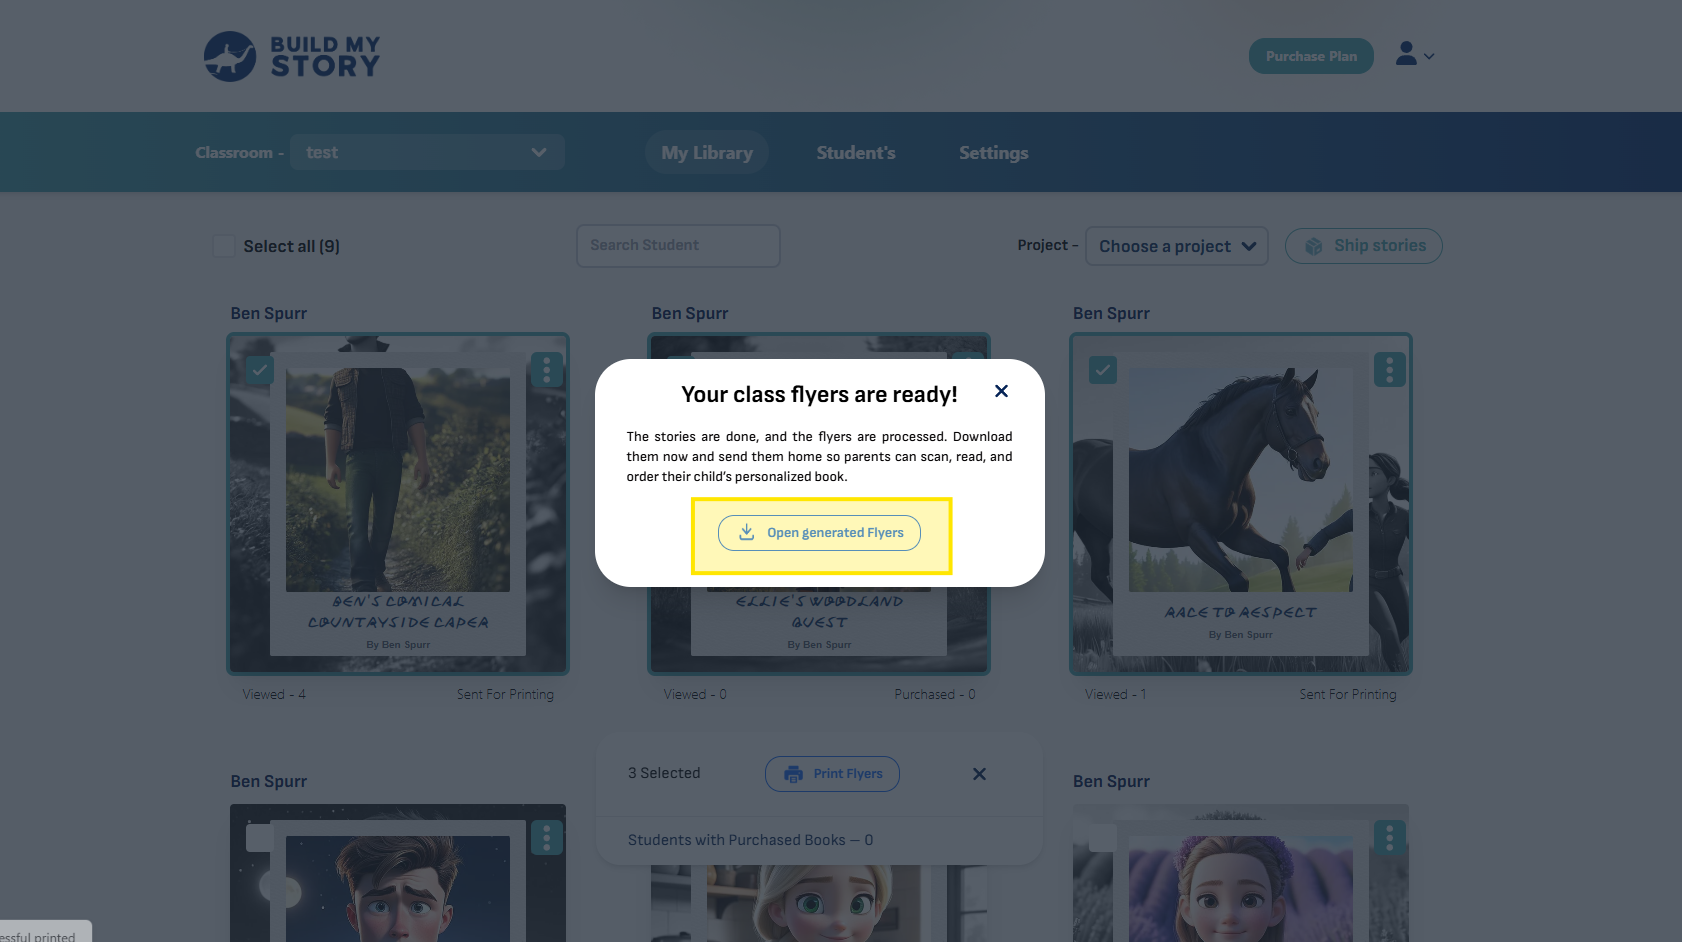
Click “Open Generated Flyers”
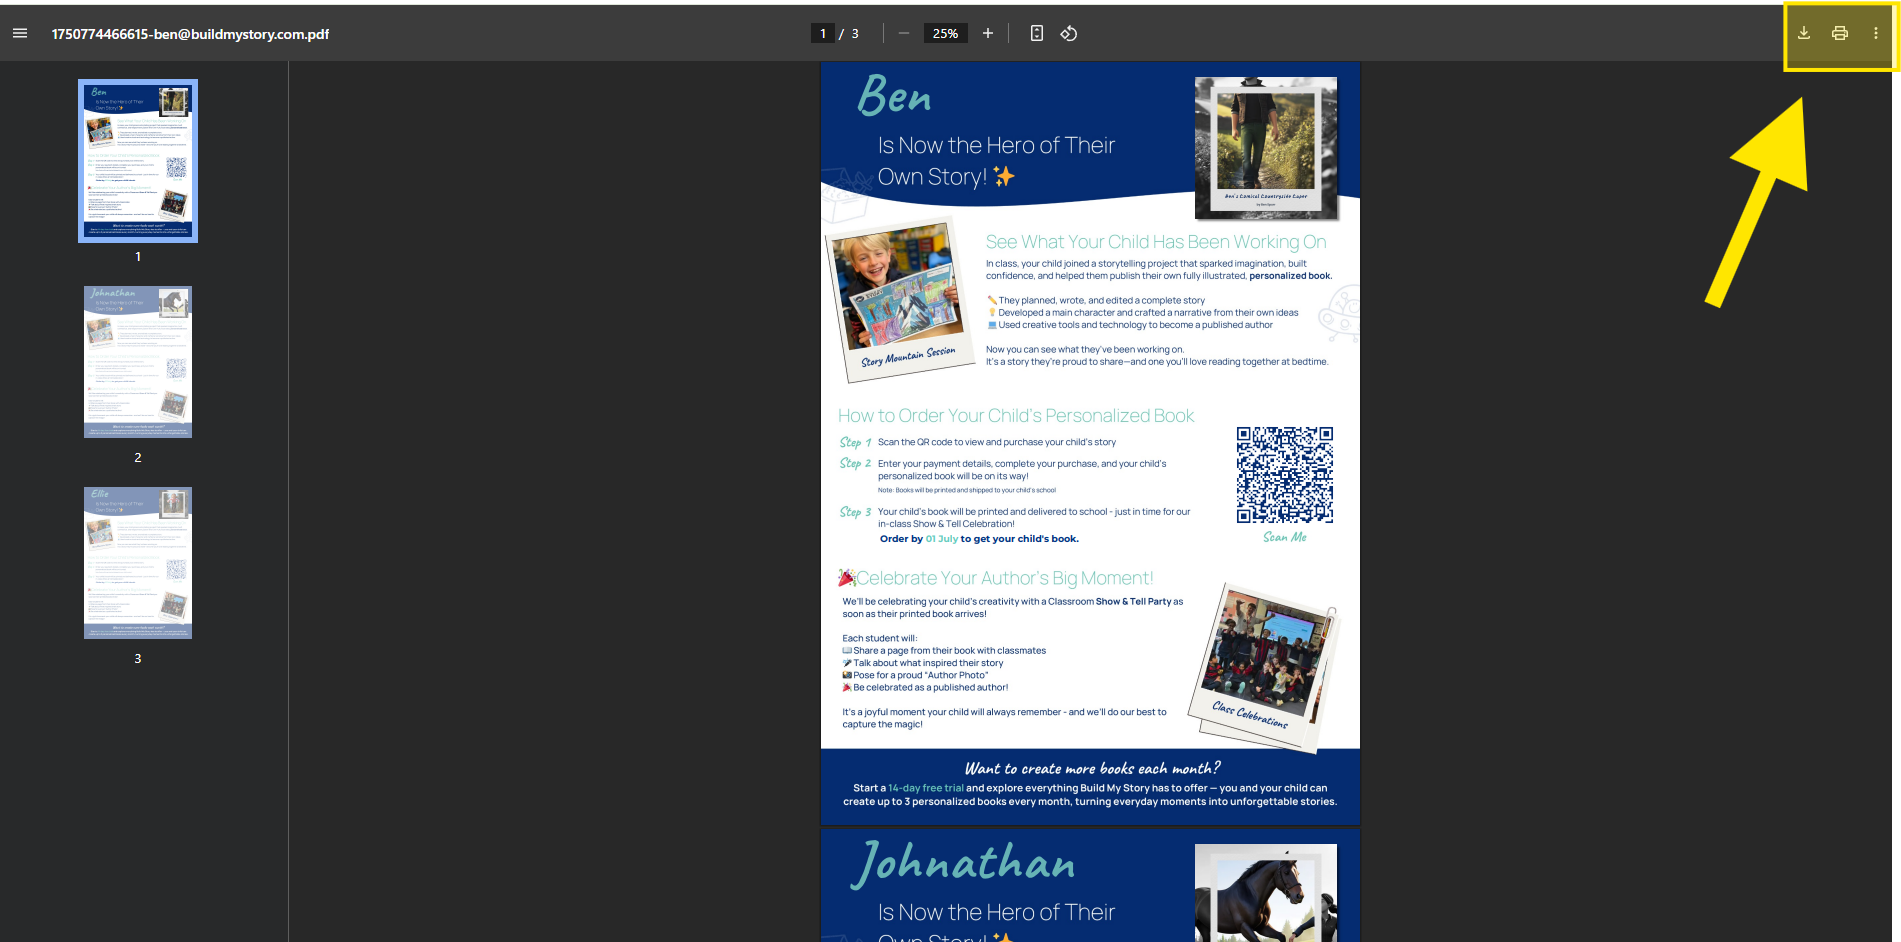
Here, you can print and hand out the flyers for parents to view and purchase the book if they haven’t already